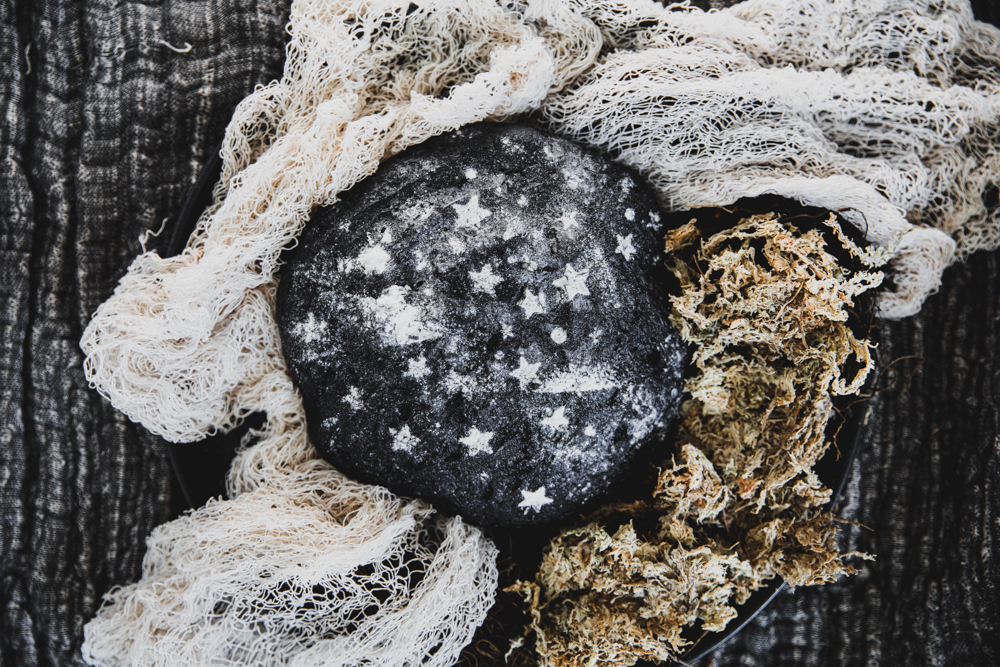
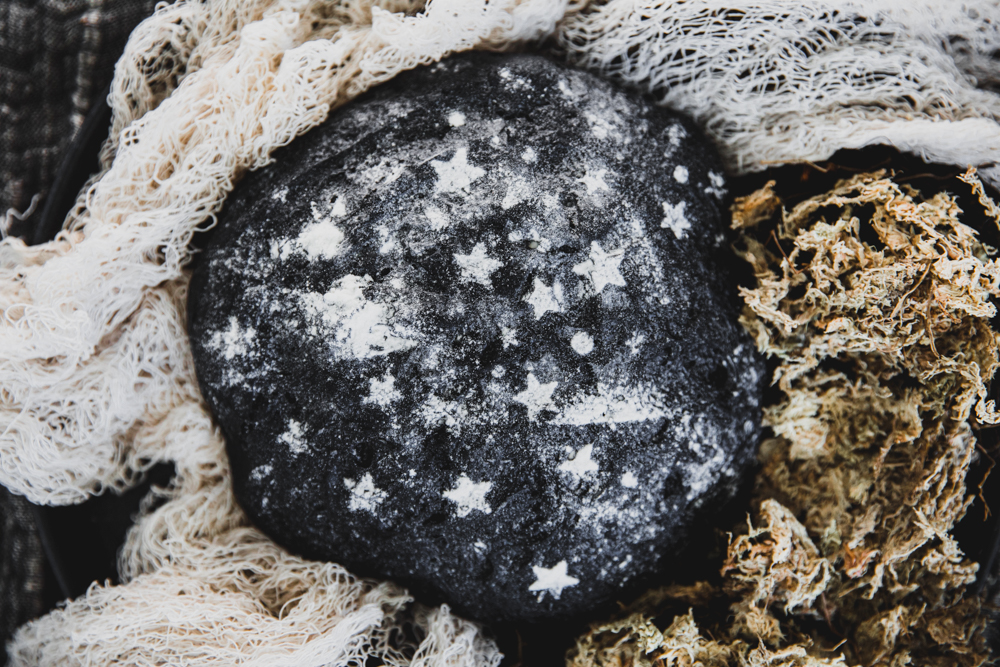
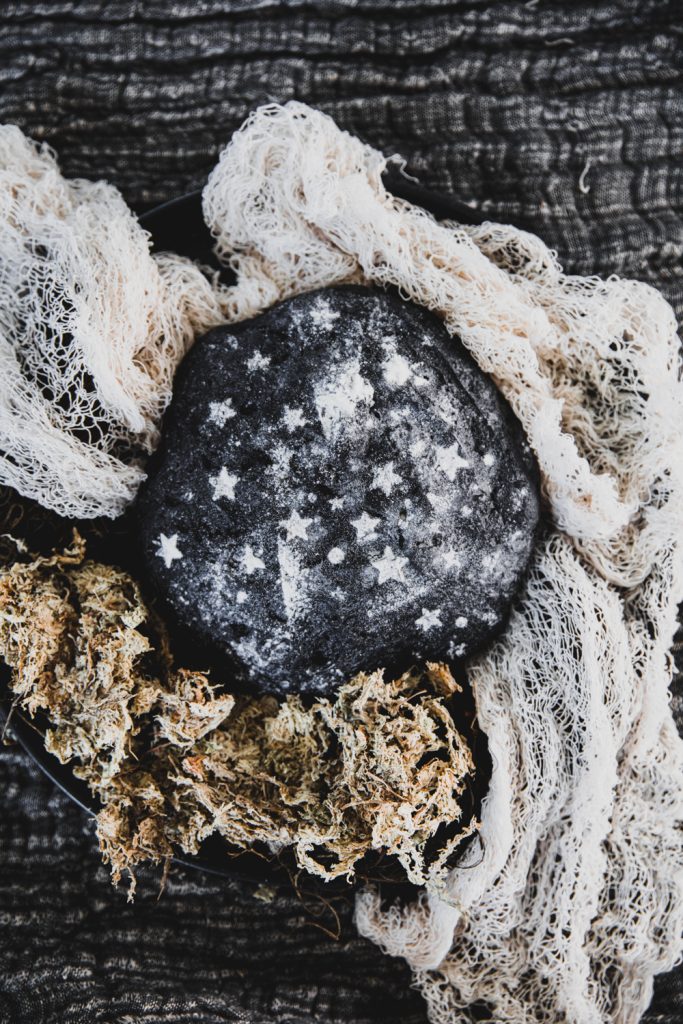
This holiday season, serve this yummy black charcoal sourdough for family and friends! It may not be the prettiest bread of the bunch, but I can tell it’s packed with goodness! These don’t last more than one day in my house, so if you are attempting, make a couple! Eat it plain, serve it with a dip, or even make grilled cheese. It’s a crowd-pleaser, and you get kudos for all the work that went into making this magical and frightening bread. This black charcoal sourdough is a must-try this Halloween!
Photos by Dayna Studios
BLACK CHARCOAL SOURDOUGH
SERVES: 12, yields 2 loafs | COOK: About 50 MINUTES
W H A T Y A N E E D
800 g cool water
200 g sourdough starter, refreshed*
20 g food grade activated charcoal
1000 g all-purpose flour, organic
20 grams unrefined sea salt
B U S T O U T
Large glass mixing bowl
Food scale
Dutch oven
Bread baskets
Wire rack
Star stencil
I N S T R U C T I O N S
In a large bowl, stir together the water and starter. Add flour and charcoal and mix with a dough whisk or by hand until there is no dry flour. Rest for 40-60 minutes to allow the flour to absorb the water thoroughly. This is called the autolyse phase.
After autolyse, add the salt and mix thoroughly. The gluten should have developed significantly during autolyse, but this is a reasonably wet dough, so it shouldn’t be too difficult. You may need to knead more than mix. Once the salt is sufficiently mixed in, allow resting for 15 minutes.
Using wet hands, pull from under the dough on the right side and fold it over to the left. Repeat on the left (to the right), top (to bottom), and bottom (to top). Think of it like swaddling a baby. Rest for another 15 minutes. Repeat the folding every 15 minutes for the first 2 hours. After the folds, allow the bread to rise on the counter for another 2-3 hours for a total of 5-6 hours.
Turn the dough onto a clean kitchen and slightly damp counter and cut it into two equal portions. Take one piece and fold it and turn it seam side down onto the counter. Repeat with the other half and let rest for 10-15 minutes.
Prepare two clean kitchen towels. Take a ball of dough and lay it on the prepared towel, seam side up. Repeat with the second ball of dough. Place the towels in medium bowls or baskets, cover them with a plastic bag, and place them in the fridge overnight or for up to 24 hours.
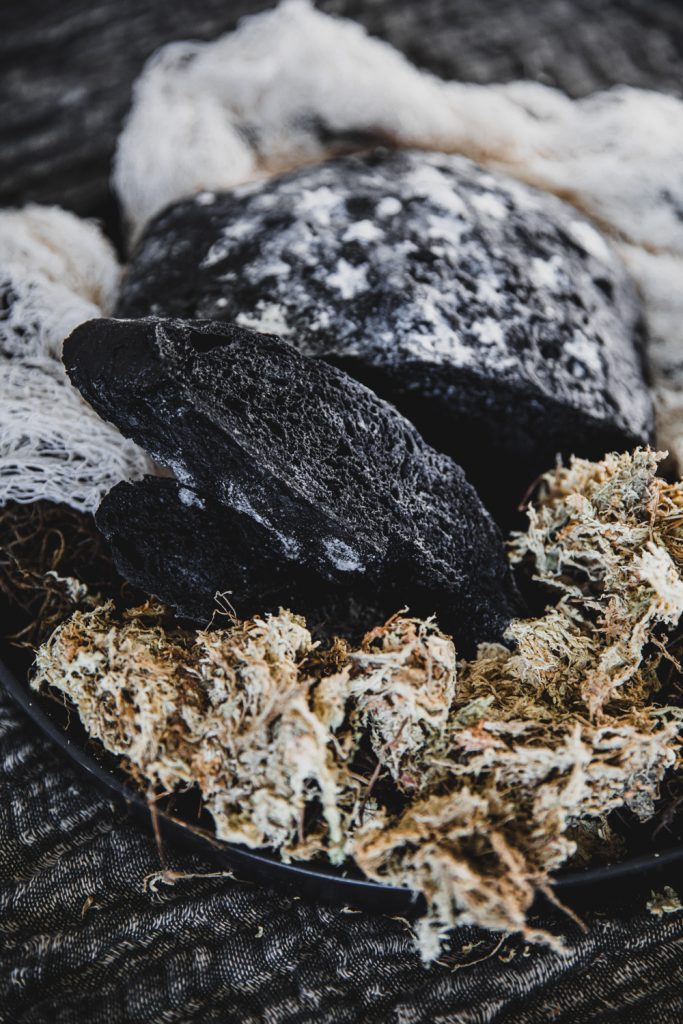
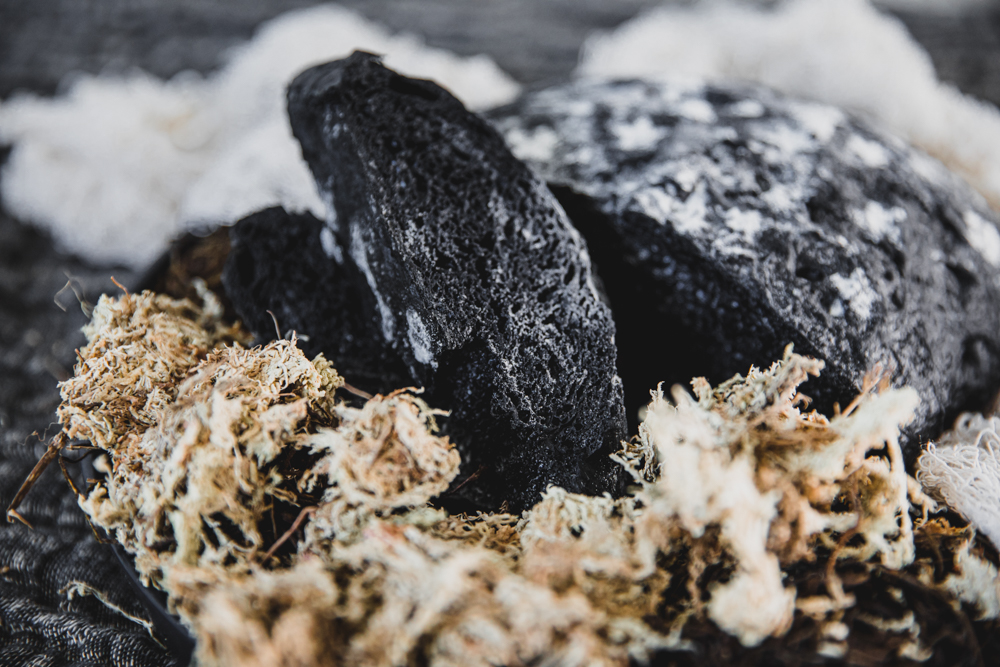
Preheat the oven to 475°F with a heavy-bottomed, lidded pot inside. Spritz the top of the loaf with water, and then lightly dust with flour. This is where you can score designs into your loaf. They are, however, hard to see on black bread, so I used a star stencil to create some Halloween fun. Once preheated, place the bread inside the pot, seam side down. Place the lid on the pot and bake for 30 minutes. After 30 minutes, remove the cover and bake for 10-20 minutes until the crust is fully formed and you can see slight browning on the edges. It’s harder to see proper browning on black bread, but you’ll see it a little.
Remove the bread from the pot and let it cool on a wire rack until completely cool before slicing.
Notes
*to refresh your starter, feed it approximately 8~12 hours before using. It should double in size and be nice and bubbly when ready. You can test for readiness by dropping a spoonful in some water. If it floats, it’s ready to use. If it doesn’t float, let it rest for another 30 minutes and try it again.

xx
Abby