We have covered Thanksgiving tables pretty well this year… We had a gorgeous boho and cozy feel when we partnered with The Little Market and we had a colorful and cute one for the kiddos. Today it’s an adult Friendsgiving feel with a few DIY elements that are easy to do and will make your Thanksgiving table shine! This one has all of our favorite fall colors and some of the most gorgeous florals!! I’m excited to share all of the pretty with you, especially with the countdown to Thanksgiving really on!!!
Photos by my lovely friend Alison Bernier
Another pretty invitation from Poppy Jack Shop! She always does stunning work, and that’s why we love her! I styled it on a Stile & Co mat with pretty flowers from Earth & Grace Co.
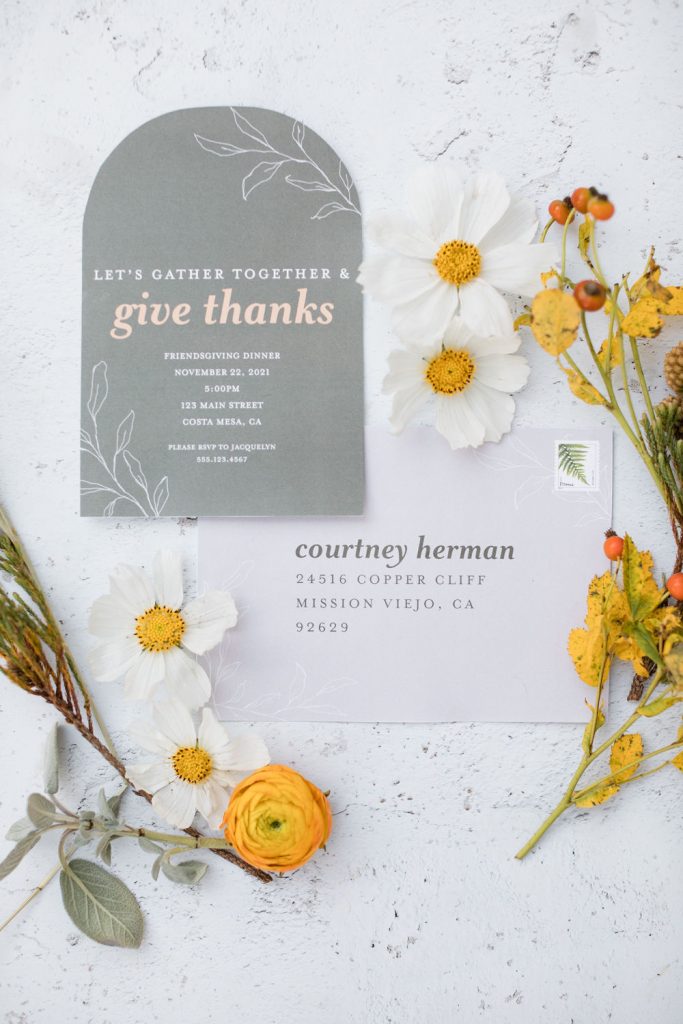
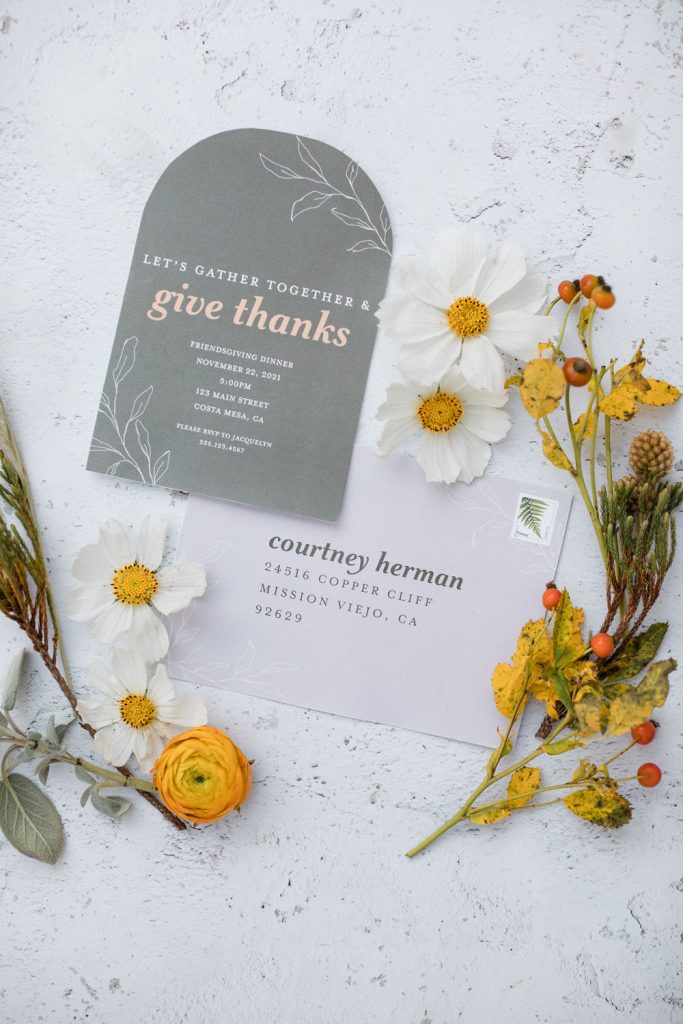
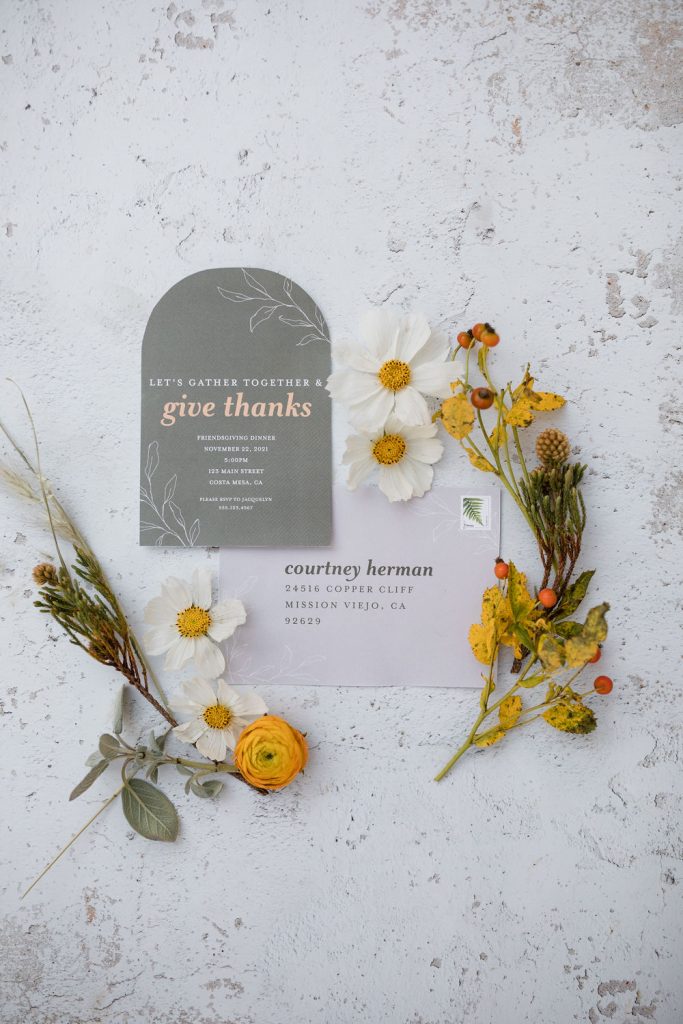
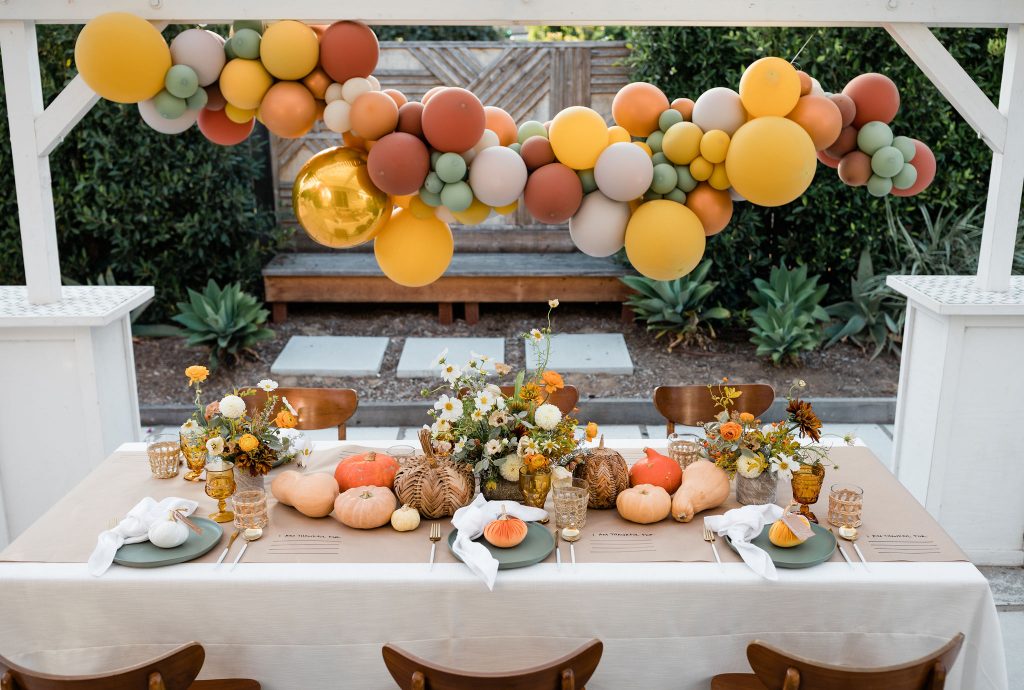
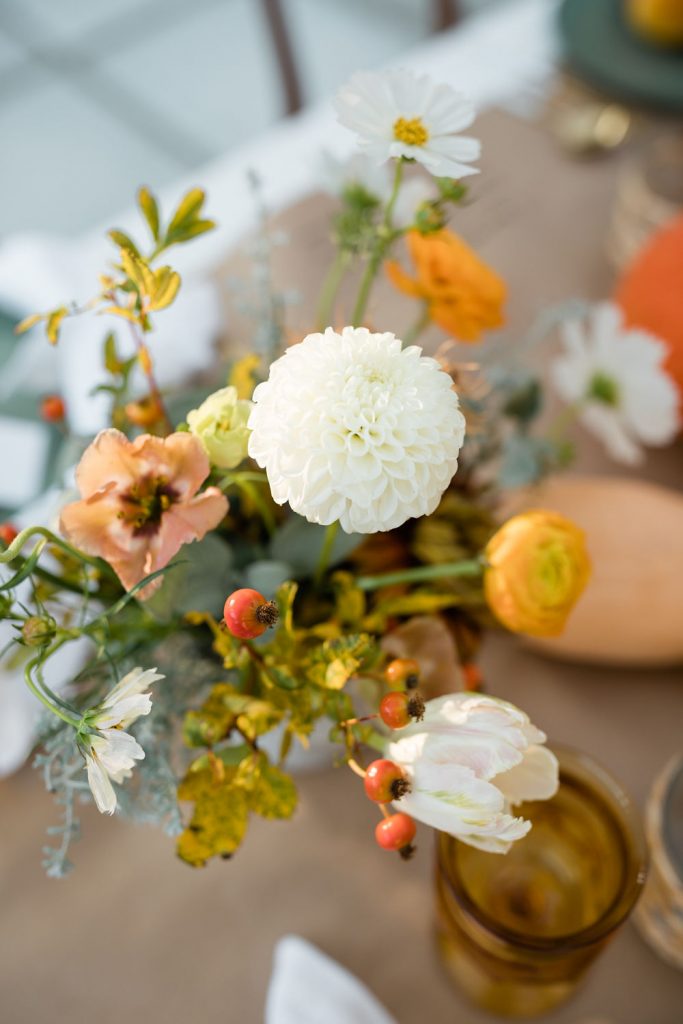
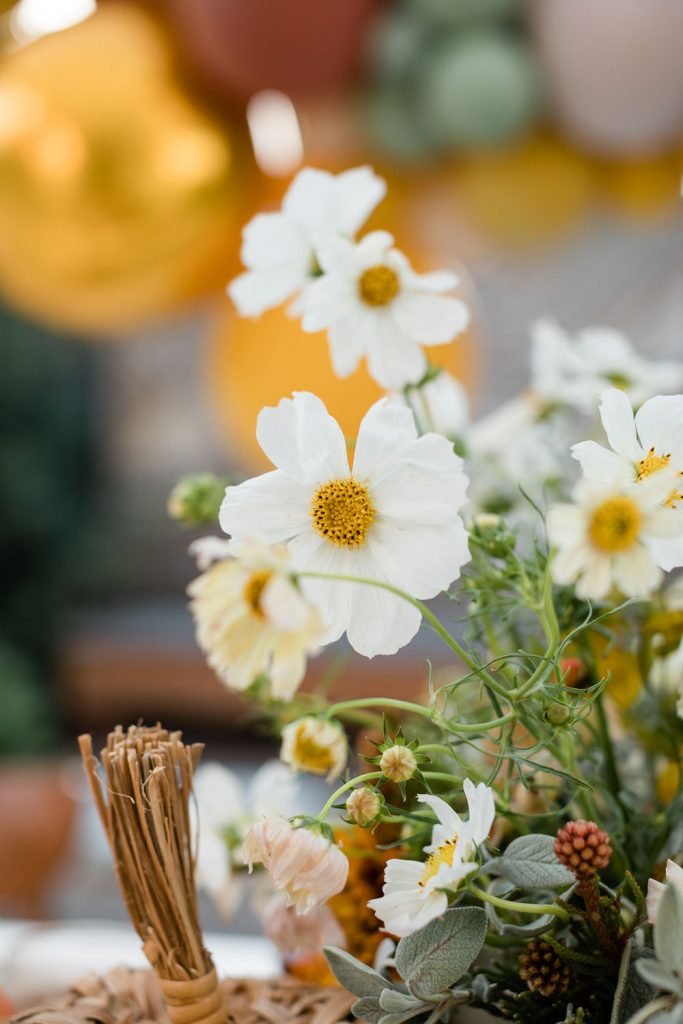
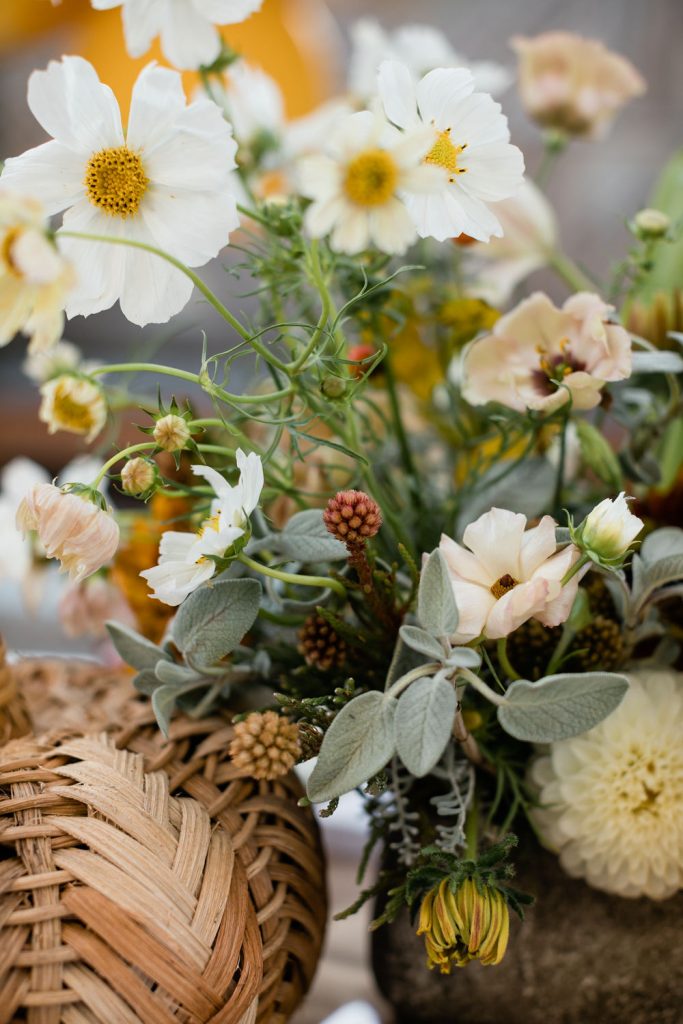
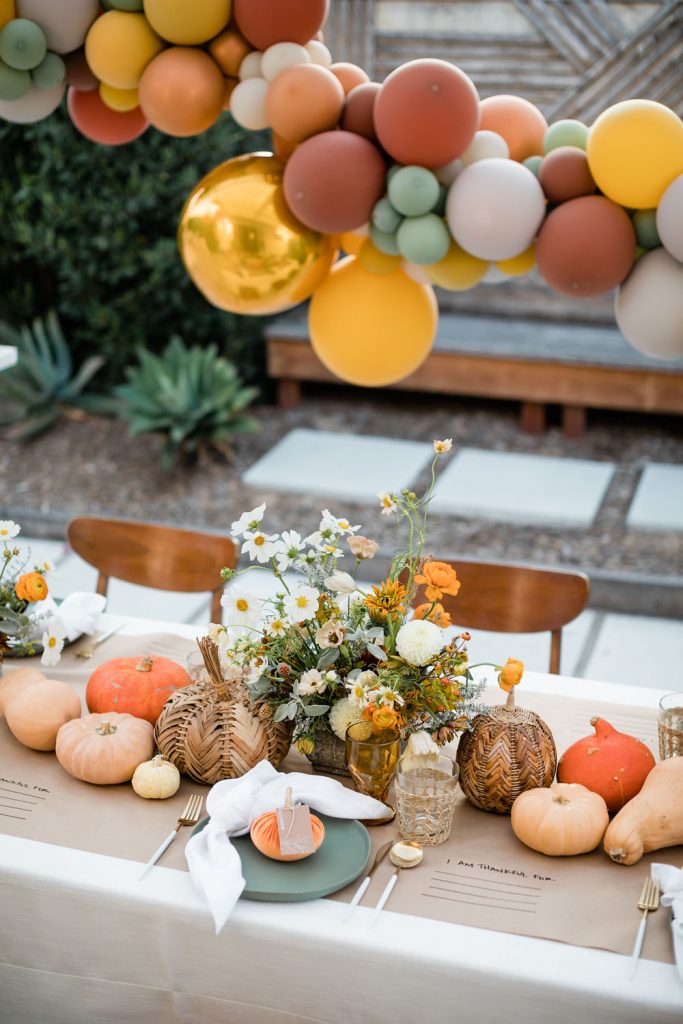
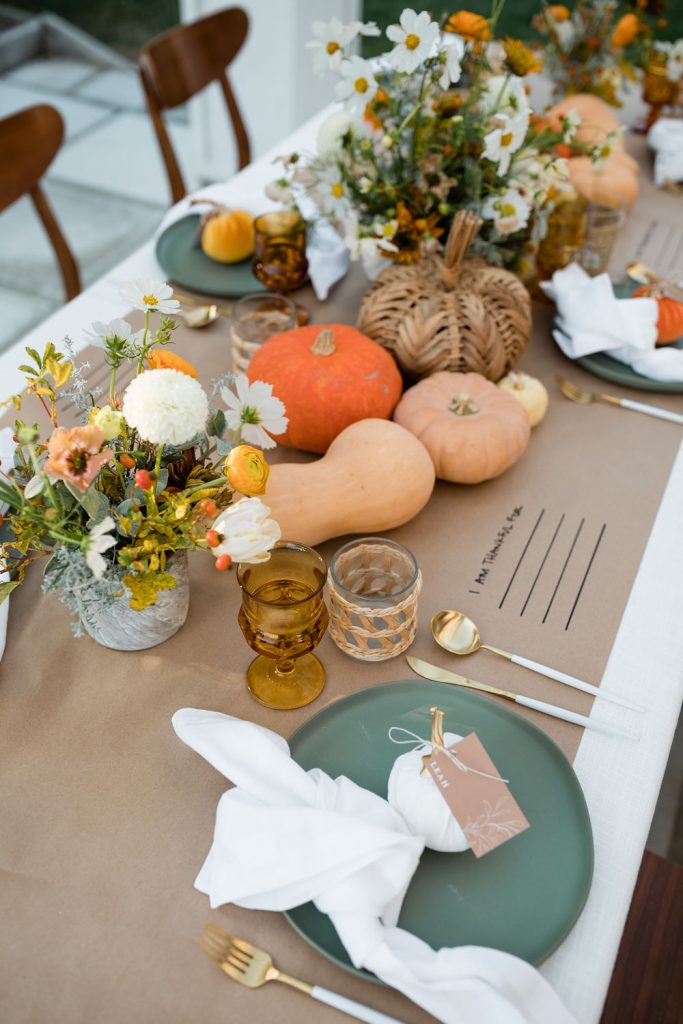
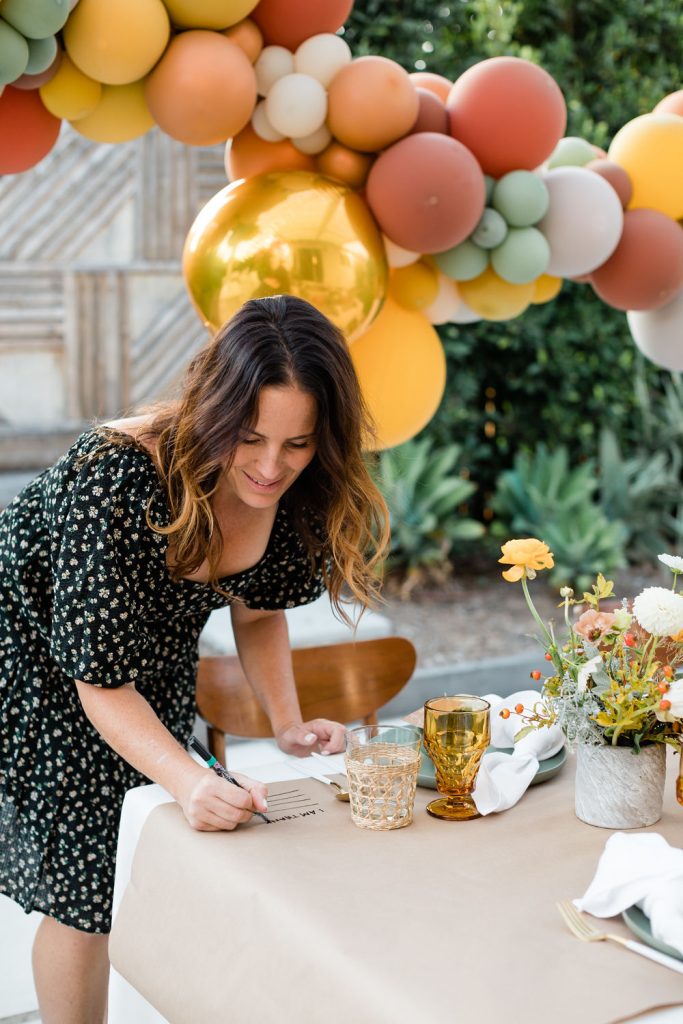
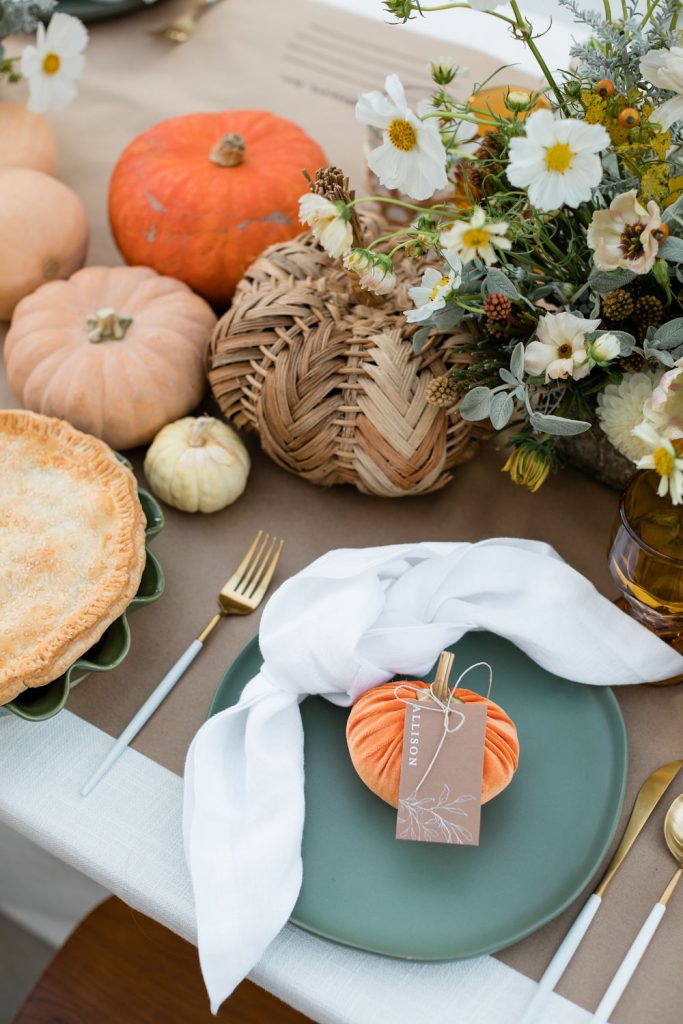
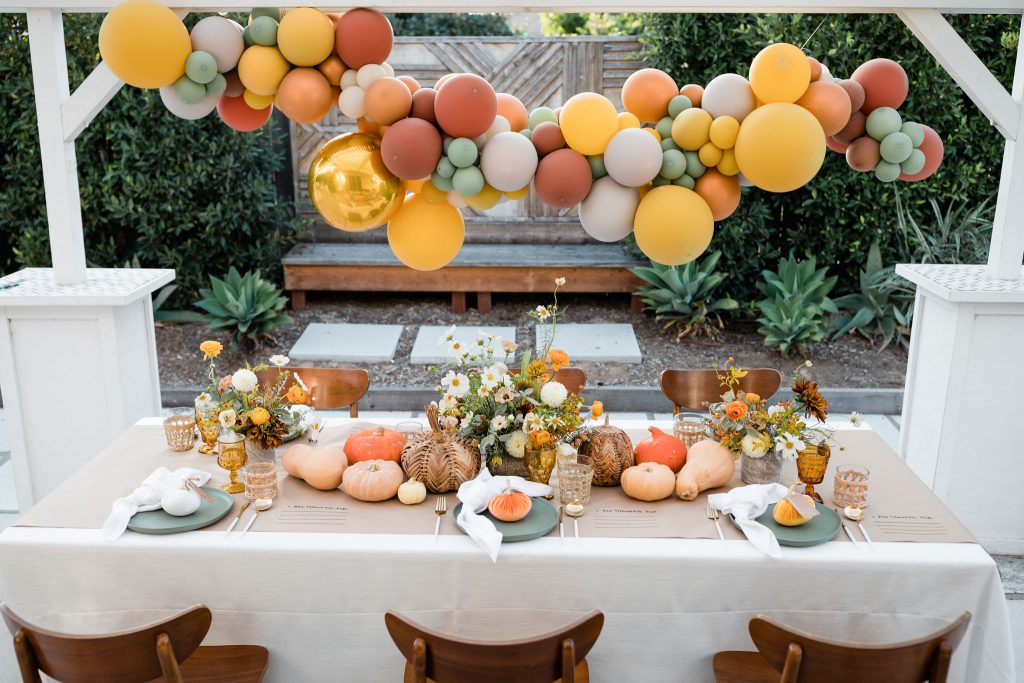
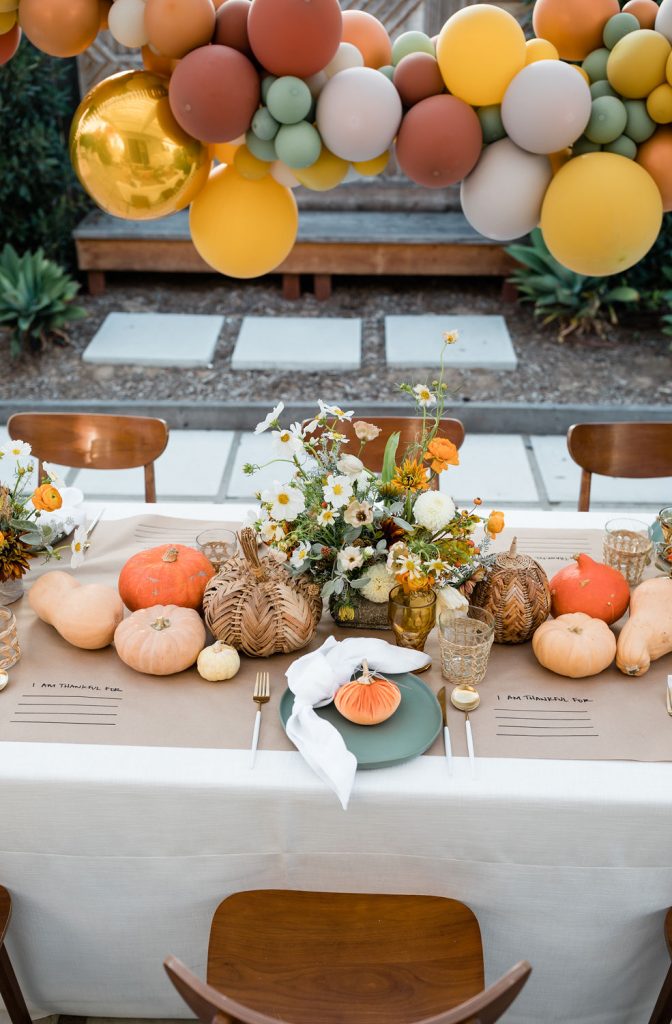
Our table was set! We had the most beautiful fall-inspired balloons behind it by none other than The Pop Shop! Such pretty colors together, don’t you think? Since we had those show stoppers I kept the table fairly simple. I used tabletop goodies I already own like the green plates, white napkins, white and gold flatware, and a mix of amber and rattan glassware. Another show stopper was those amazingly gorgeous flowers! Earth & Grace knocked my socks off with those bad boys! So so pretty!!
For the rest of this pretty table, I did white linen from Signature Party with a kraft paper runner. More on that soon, but I also added fresh pumpkins and rattan pumpkins. They are one of my favorite purchases this fall season. I plan on using them year after year, they are so cute. Especially mixed with freshies!!
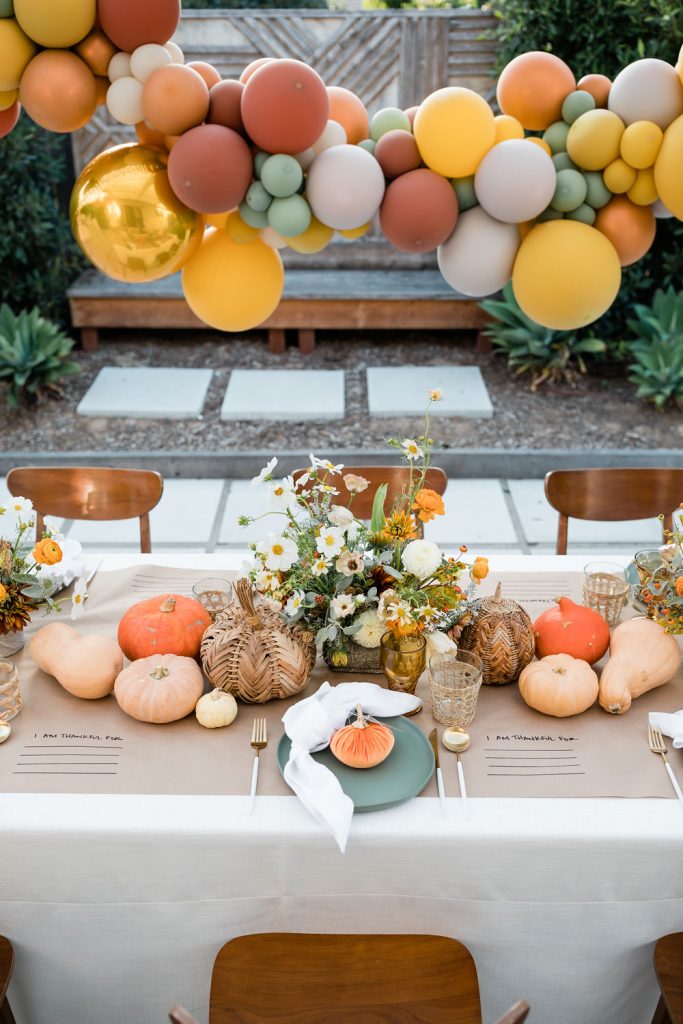
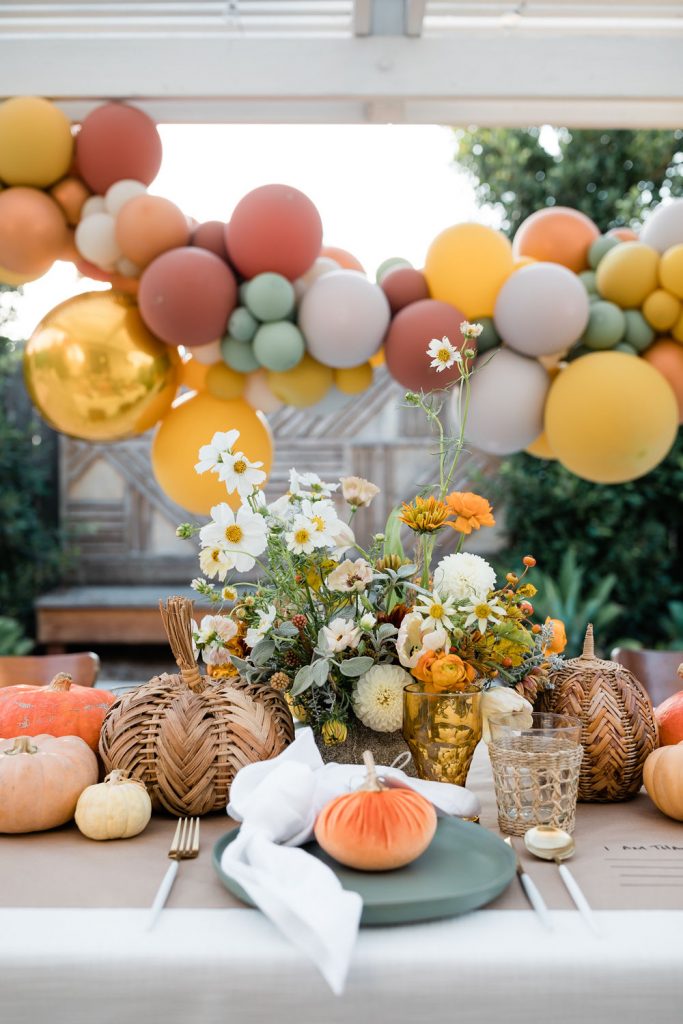
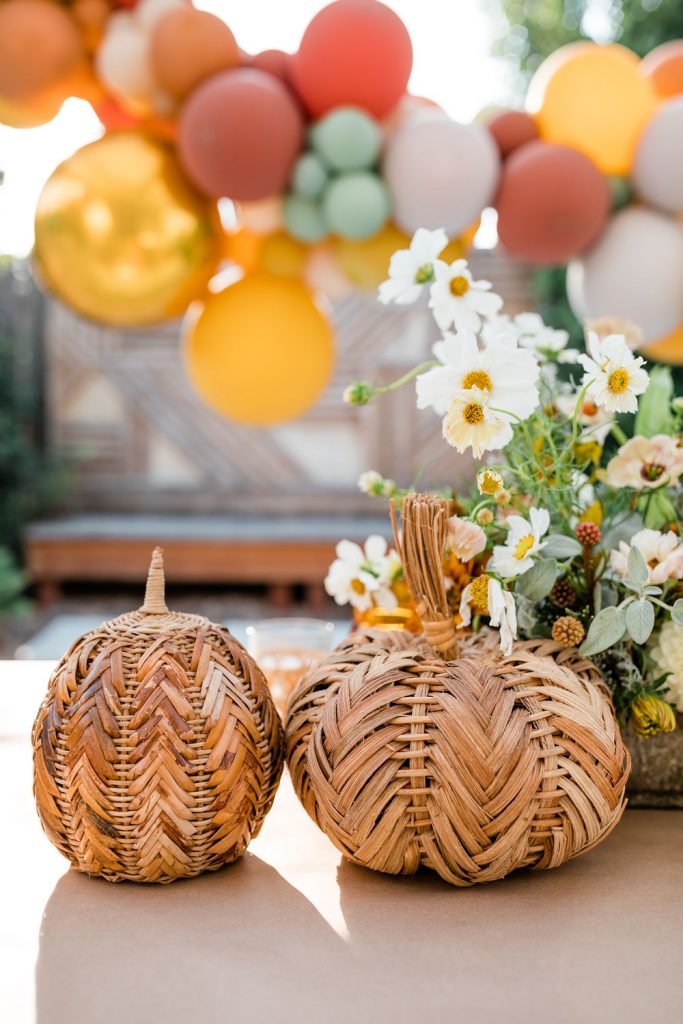
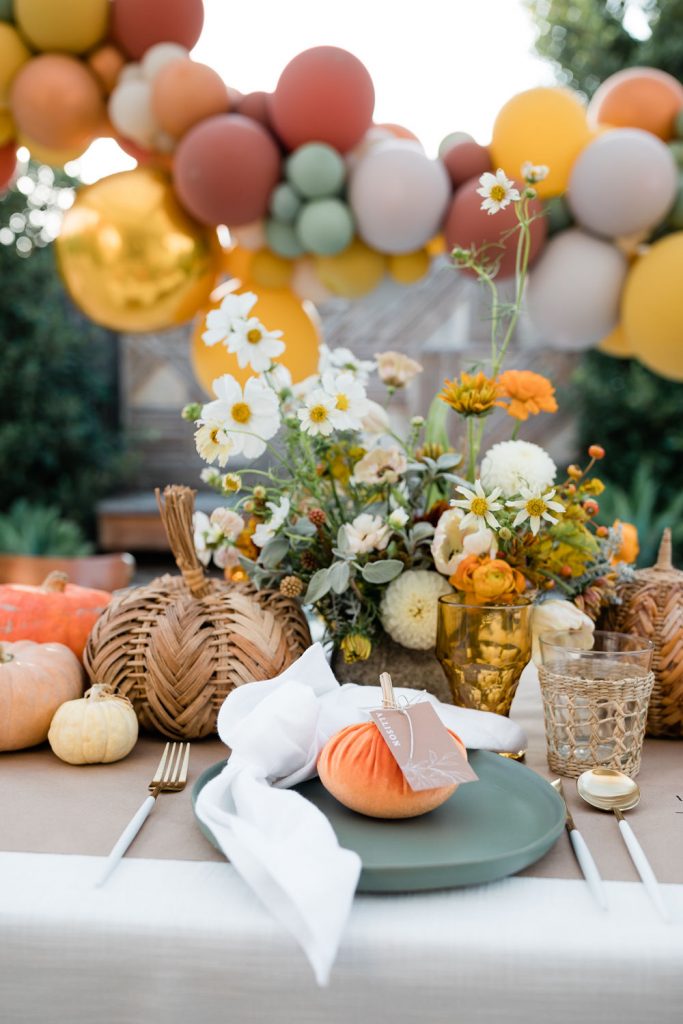
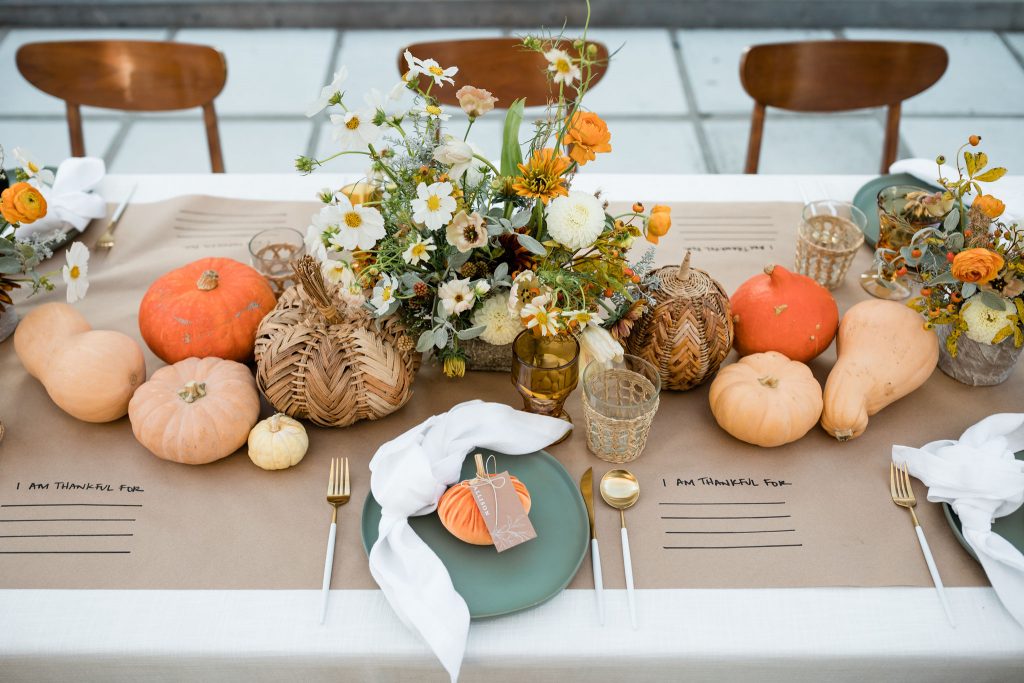
Don’t you love the fall colors on this one?! More to come on those cute little pumpkins too!!
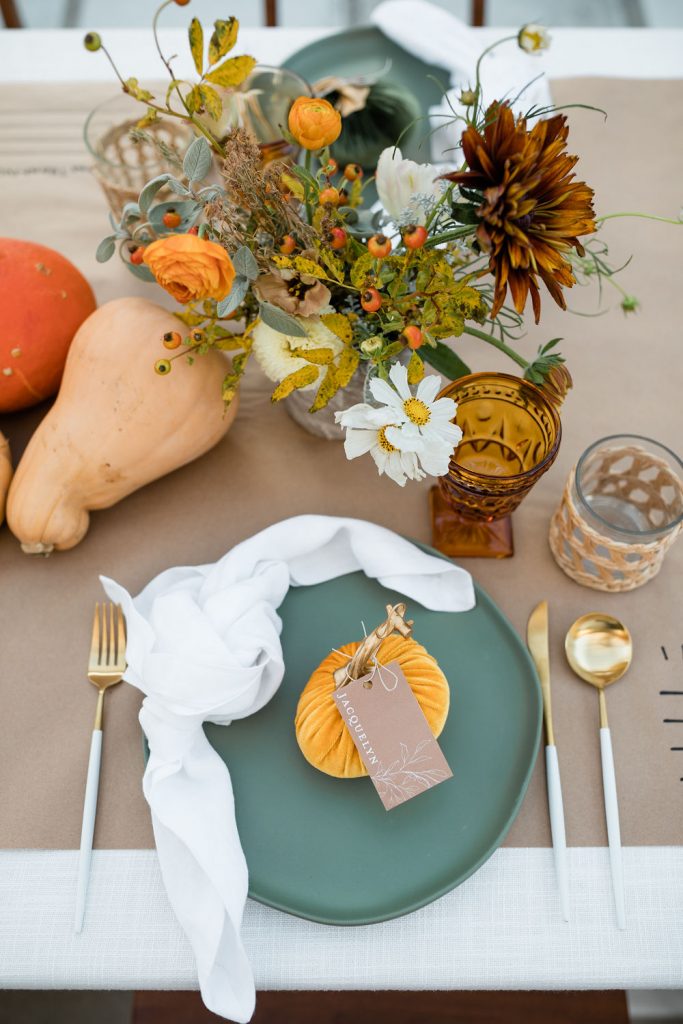
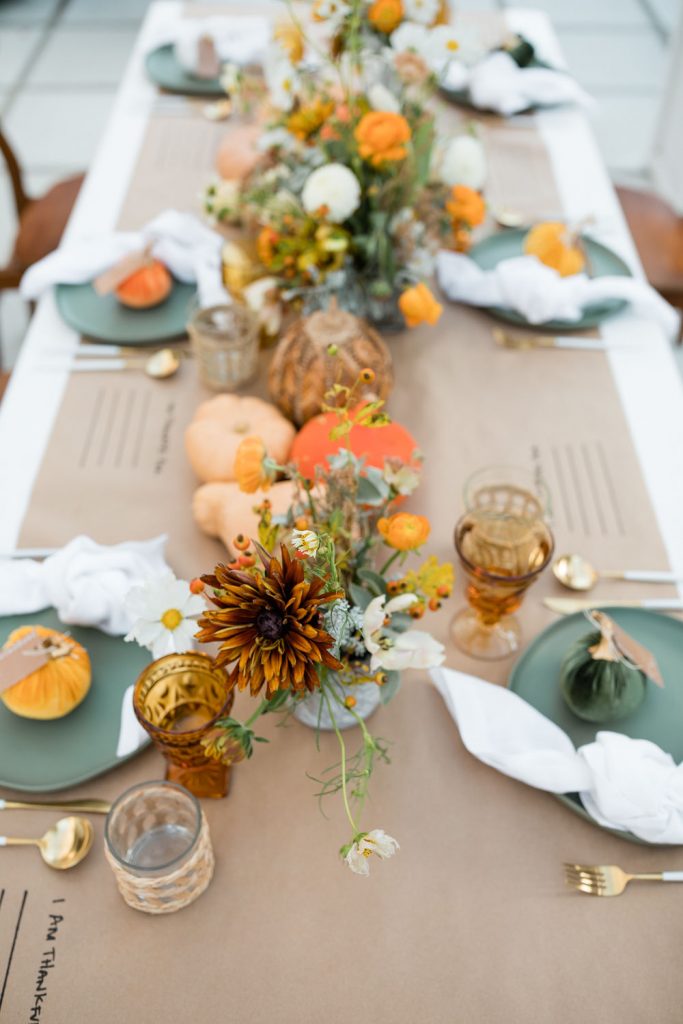
I just adore all of these details!!
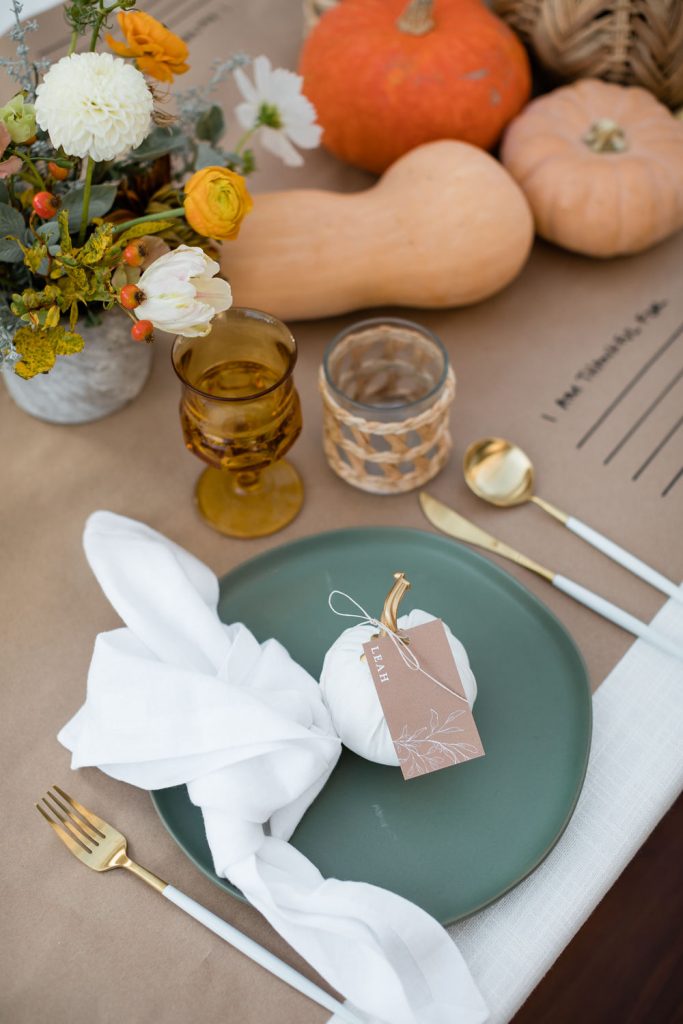
Ok, so I told you we had a few DIYs!! These velvet pumpkins were surprisingly very easy to make! I have all of the step-by-step info for you below. They are the perfect addition to your Thanksgiving table. I used them as place cards with a cute paper name tag from Poppy Jack Shop. Just scroll to see how!
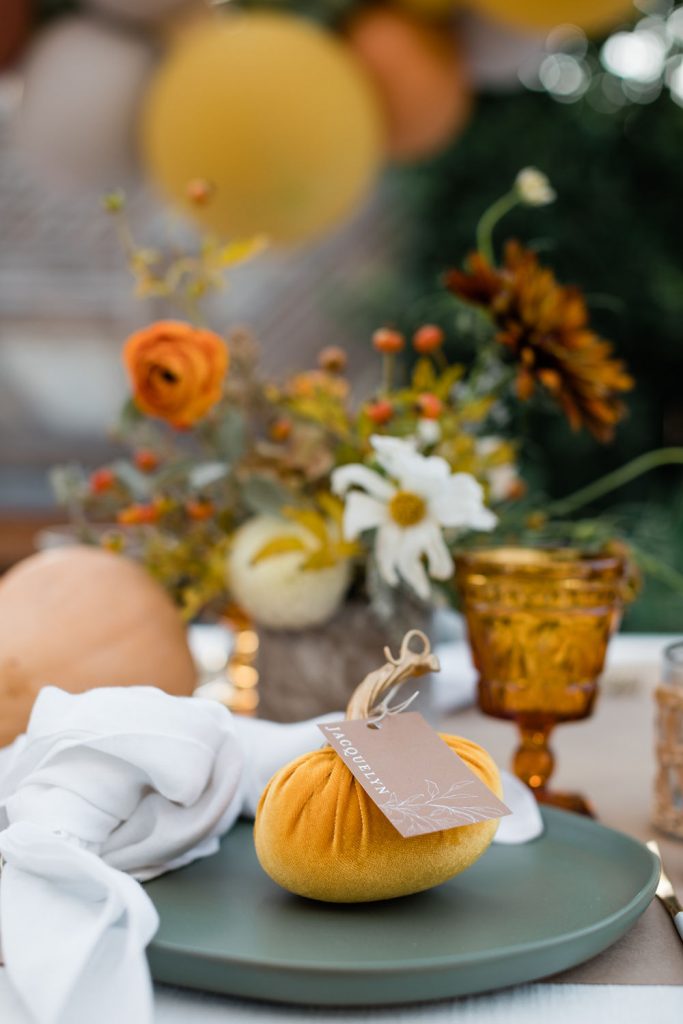
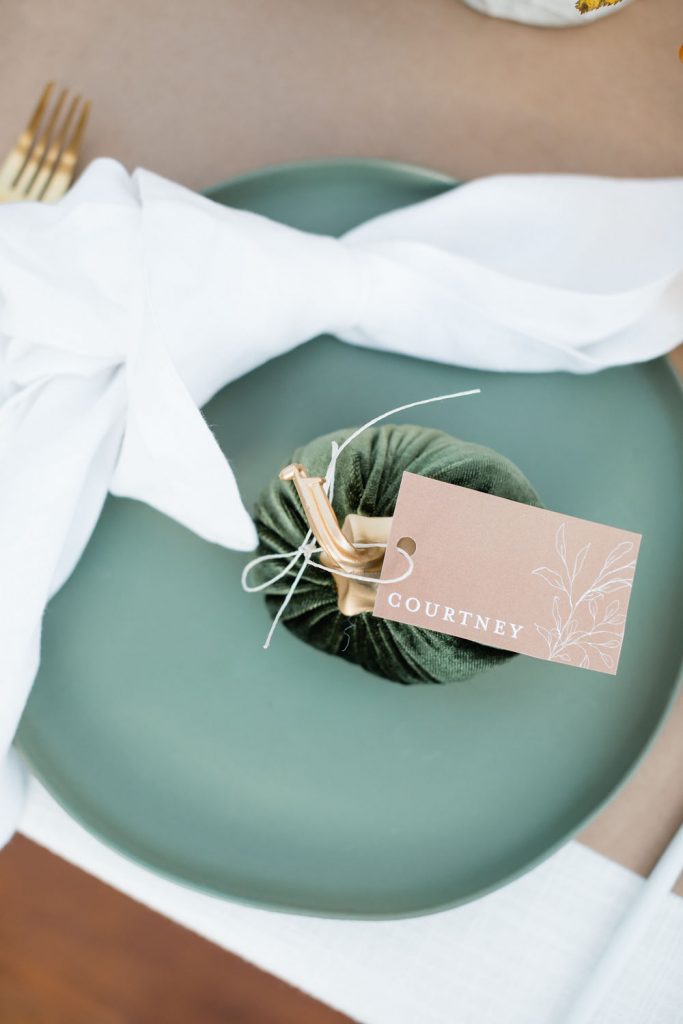
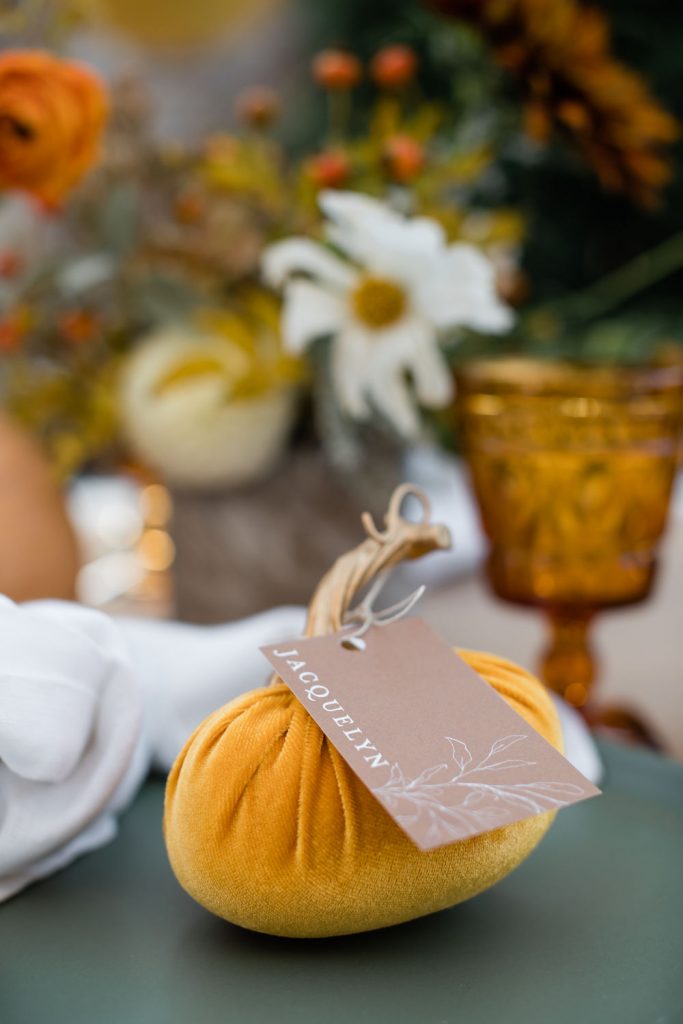
DIY Velvet Pumpkins
Materials Needed
Velvet Fabric in Colors of your Choice
Bowl
Rice
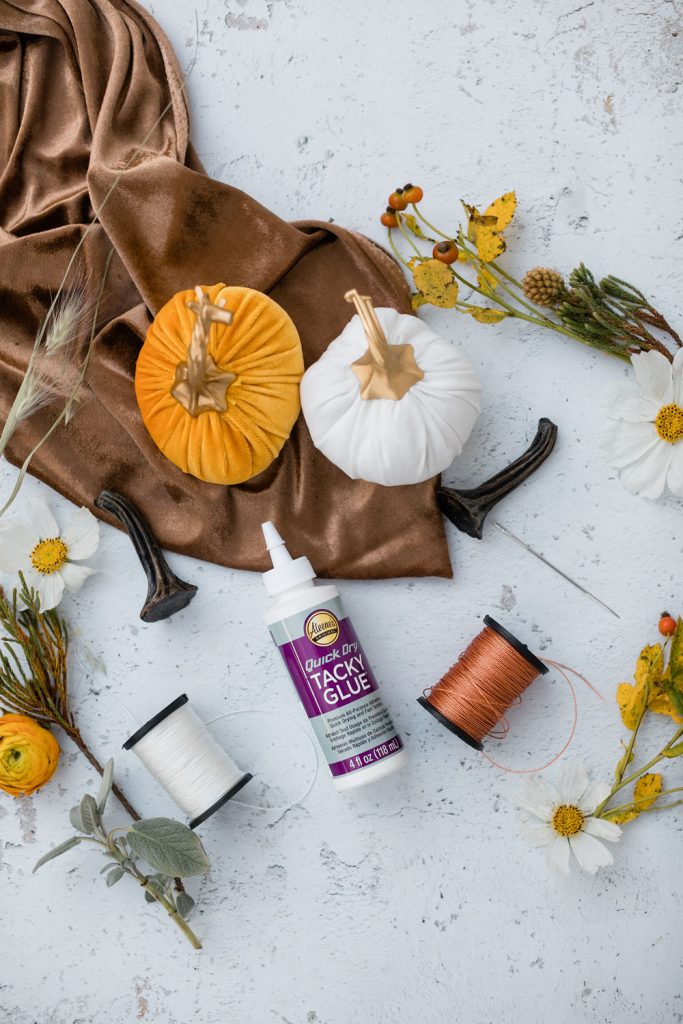
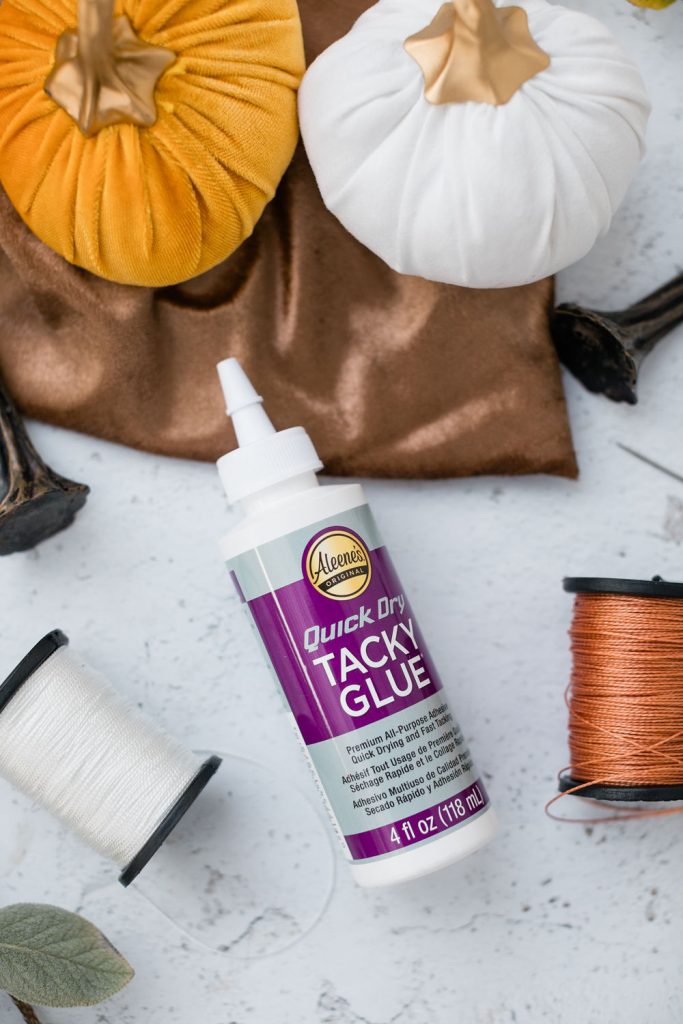
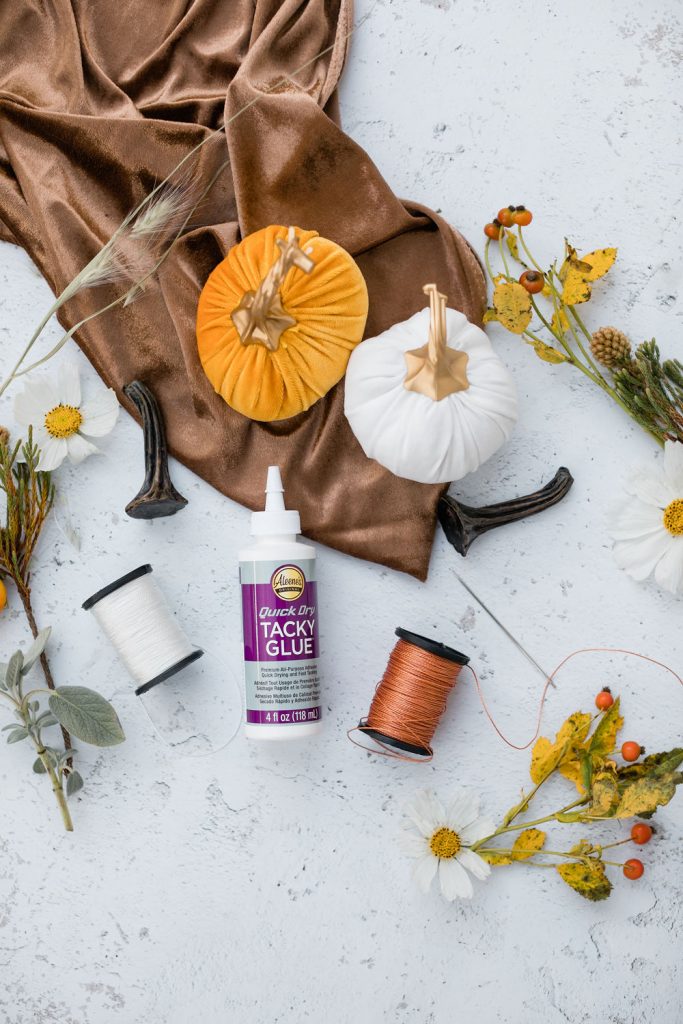
Here are the steps to create those cuties…
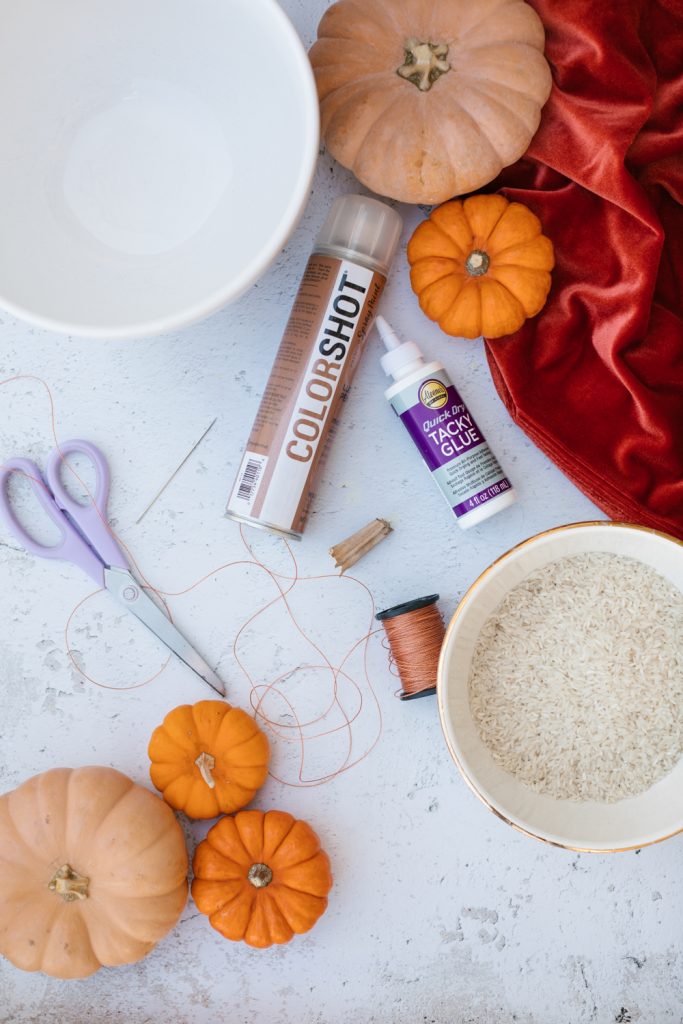
Step 1
Take your fabric and bowl and use it as your pattern. I used a medium-sized bowl for my pumpkins, so I would have extra fabric just in case. Draw your circle and cut.
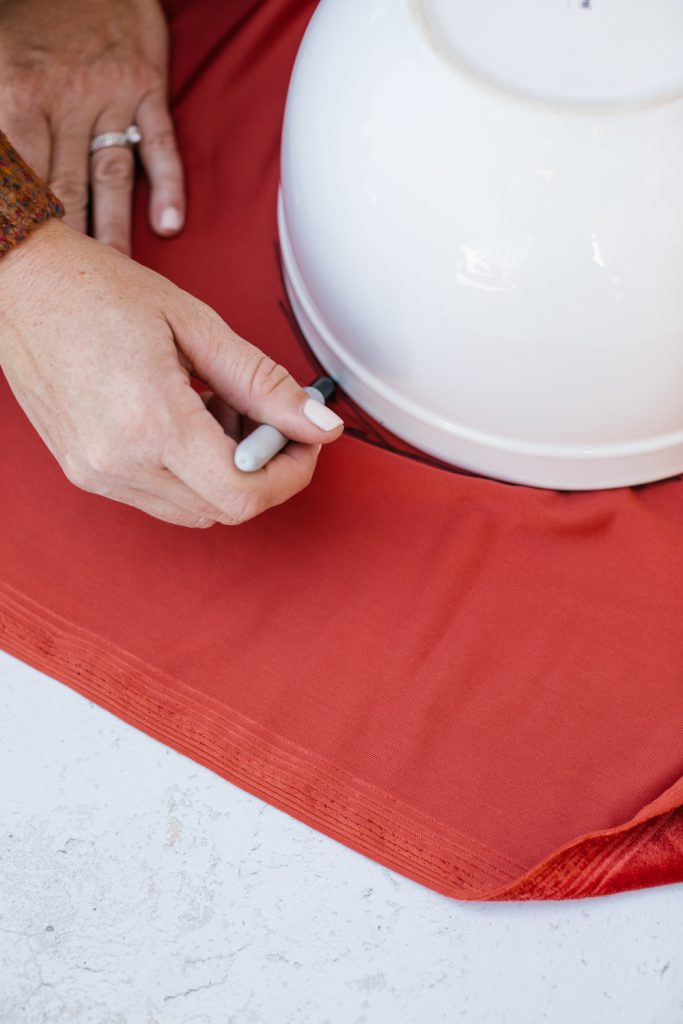
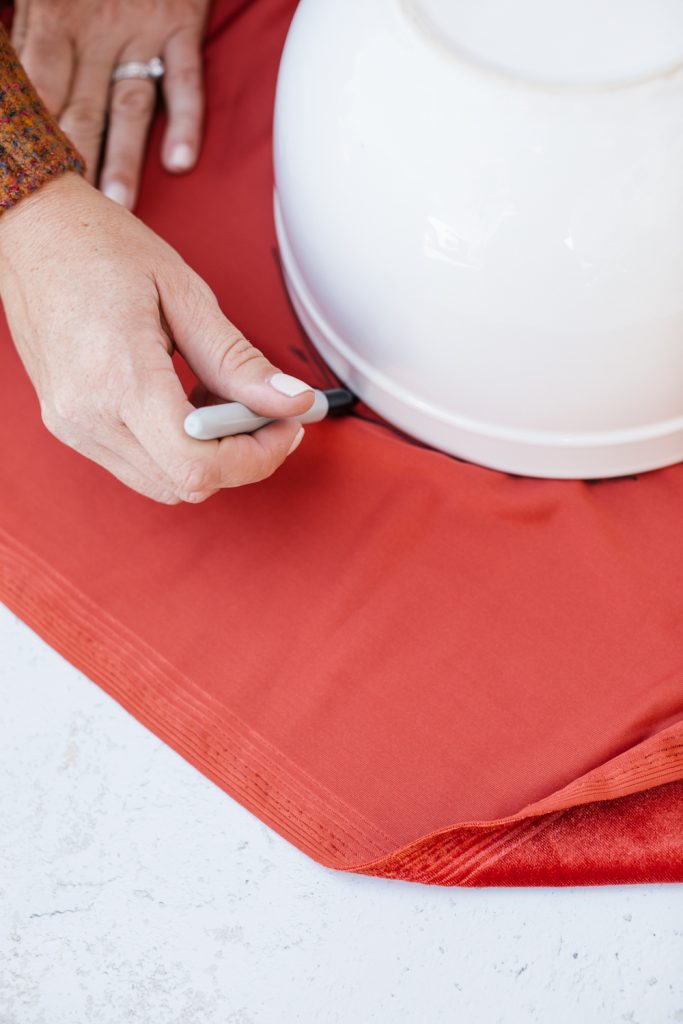
Step 2
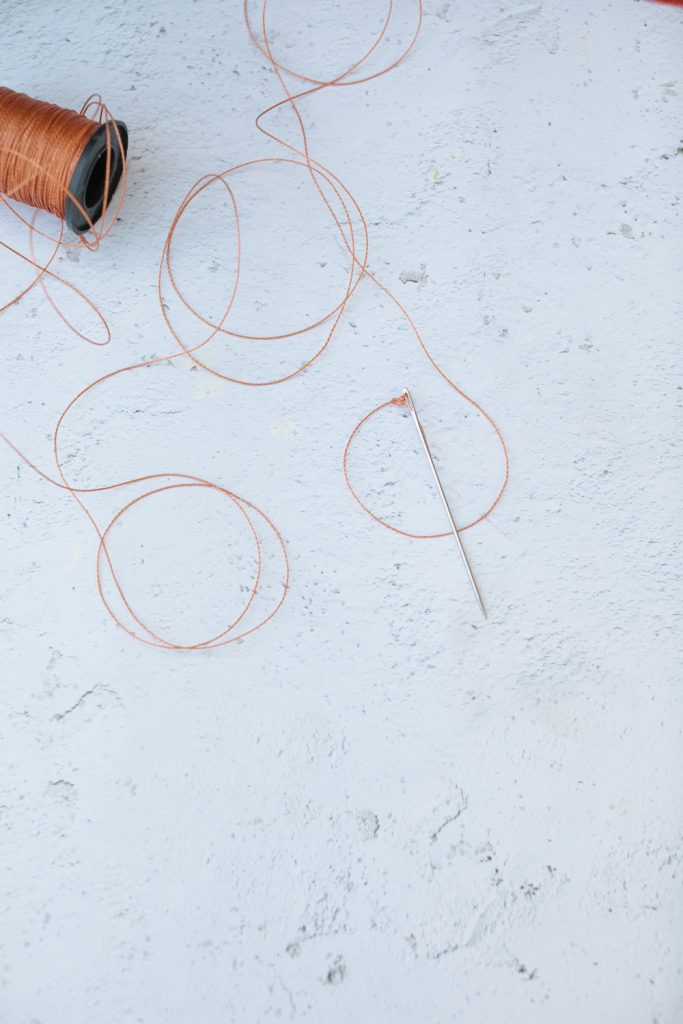
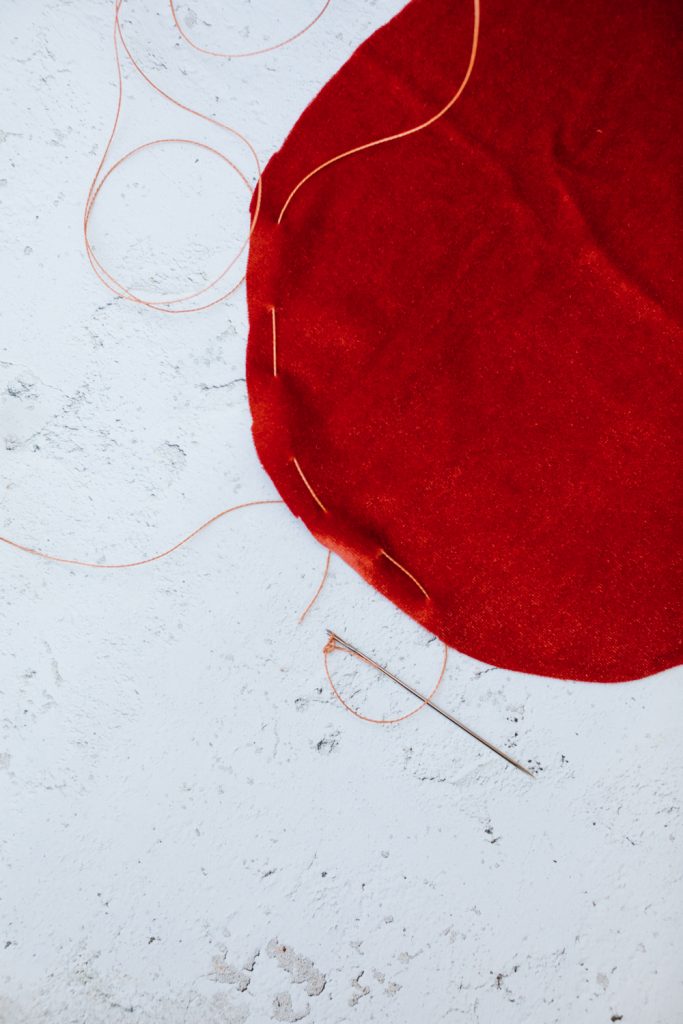
Thread your needle with the Thick Thread and stitch around the edge of the fabric, mine was about a 1/4″ apart.
Step 3
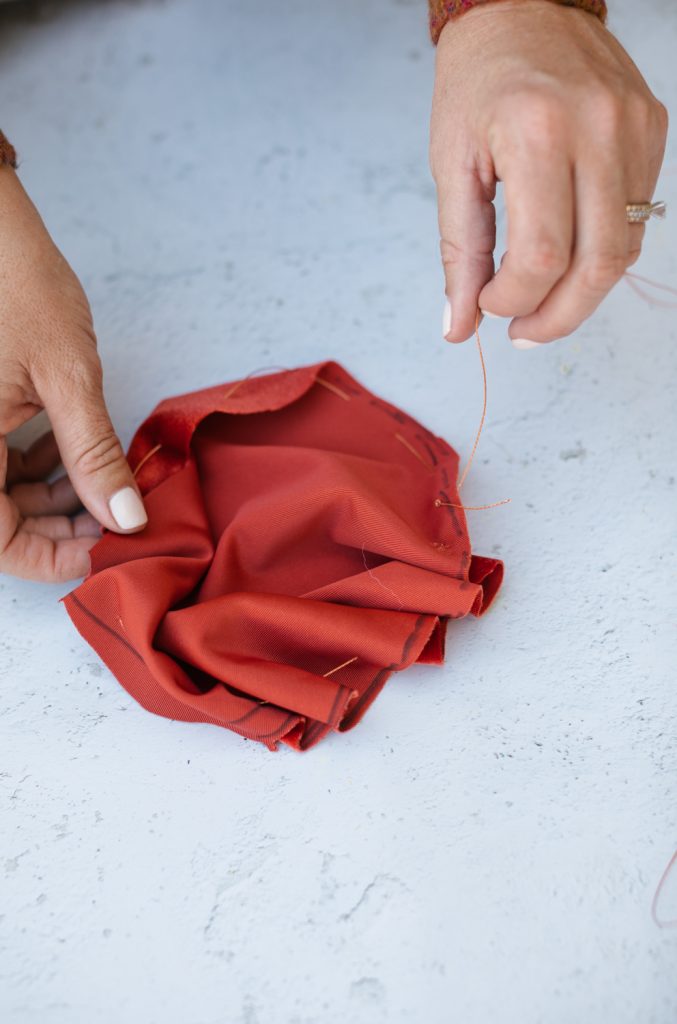
As your stitching pull your thread through creating a gather.
Step 4
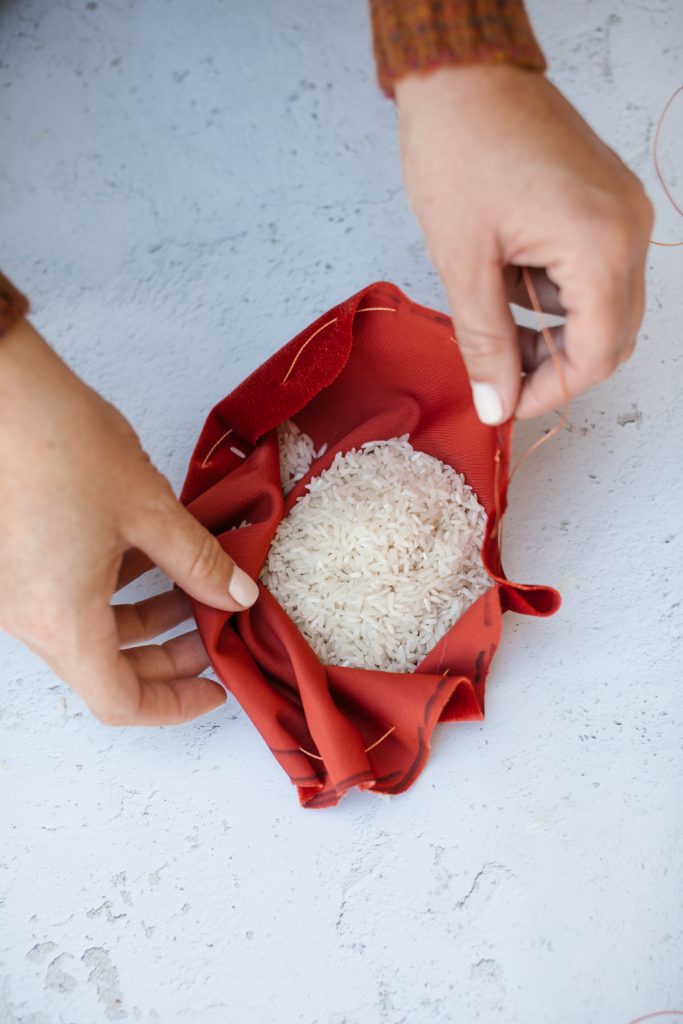
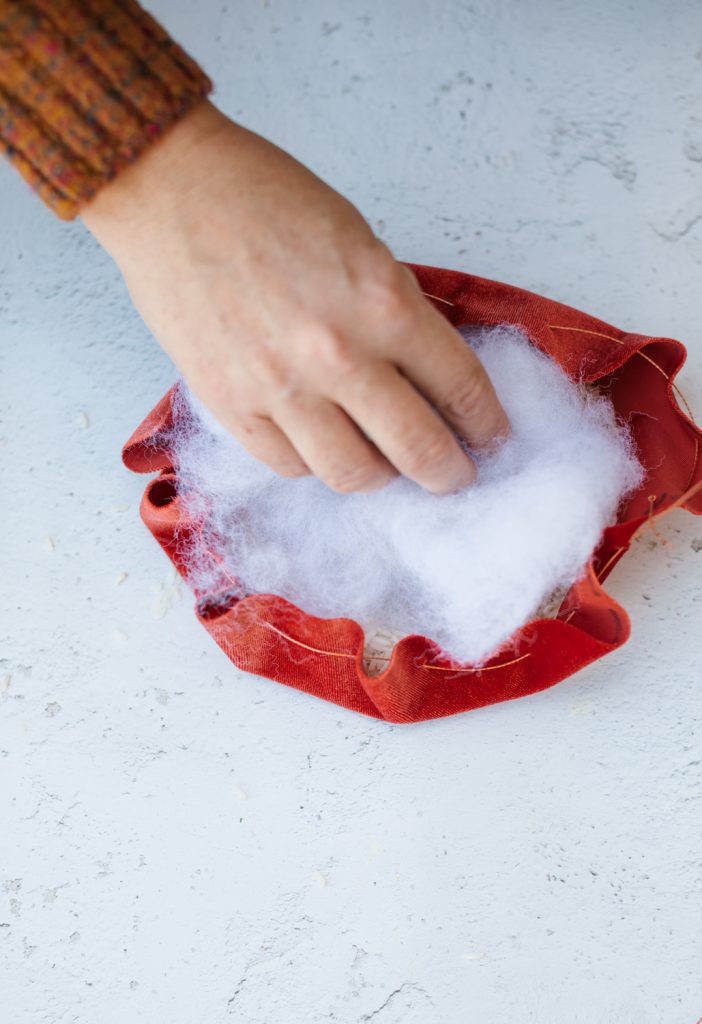
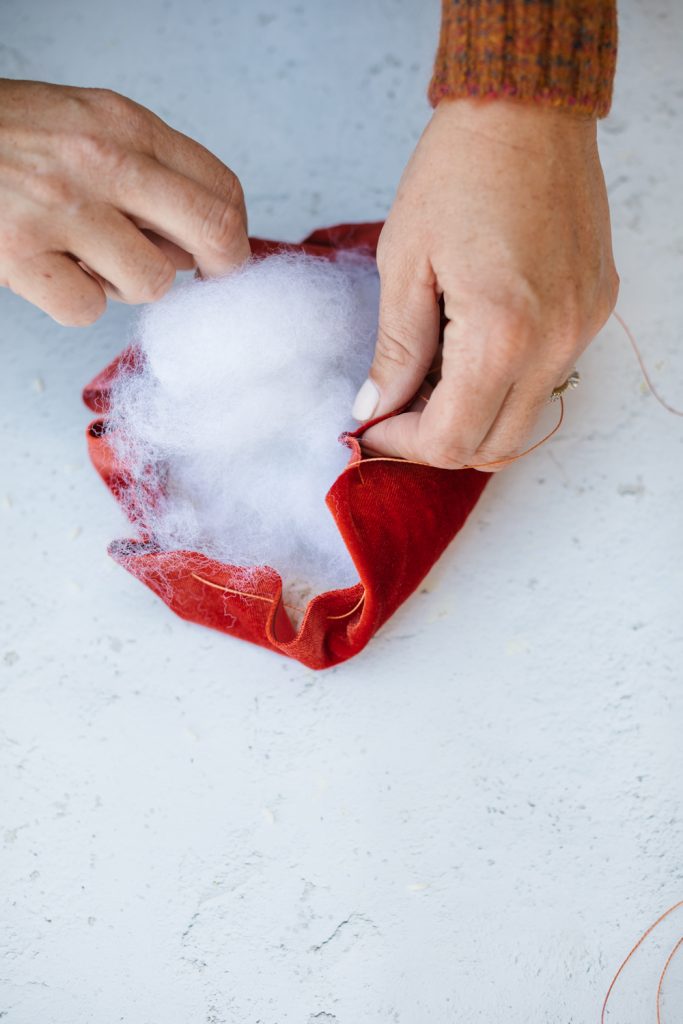
Fill your pumpkin with rice on the bottom, then add the Polyester Packing Fiber. I got this tip from here. Overfill your pumpkin, keep filling it to the brim, and cinching it till you have the right shape. I had to maneuver and push mine around a bit.
Step 5
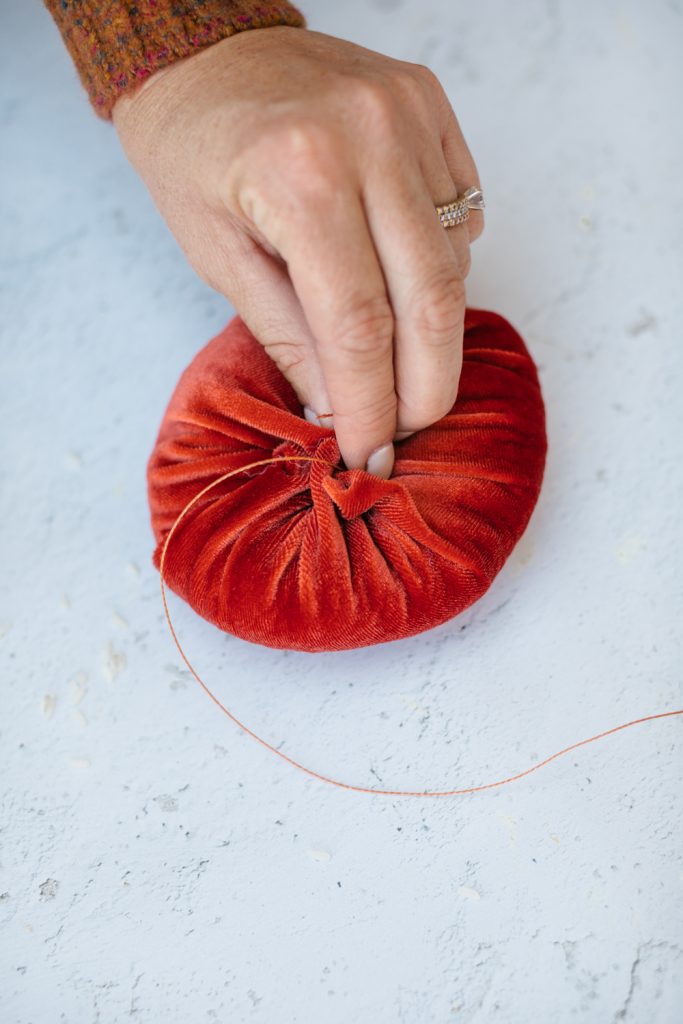
When you have the pumpkin where you want it to, cinch the thread, this is where I noticed the thick thread came in handy! Make a cross with the thread then secure the opening. Finish it off with a secure knot.
Step 6
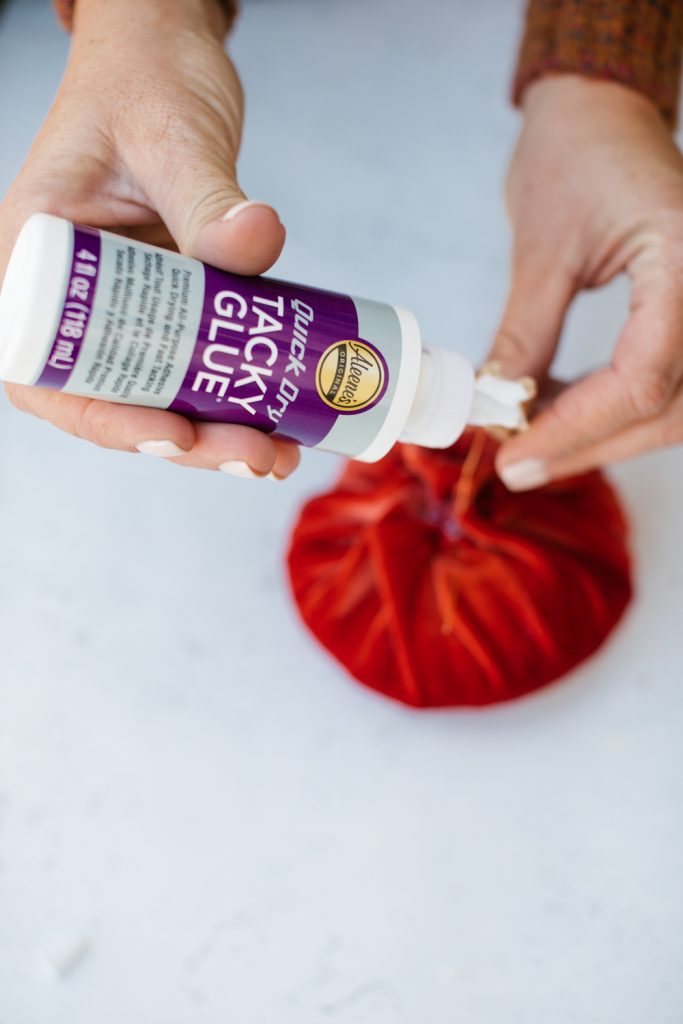
Take your Pumpkin Stems – I spray-painted my stems for the table gold with My Color Shot Spray Paint, and find the perfect spot on the pumpkin. Then glue it down to the center with your Aleene’s Quick Dry Glue.
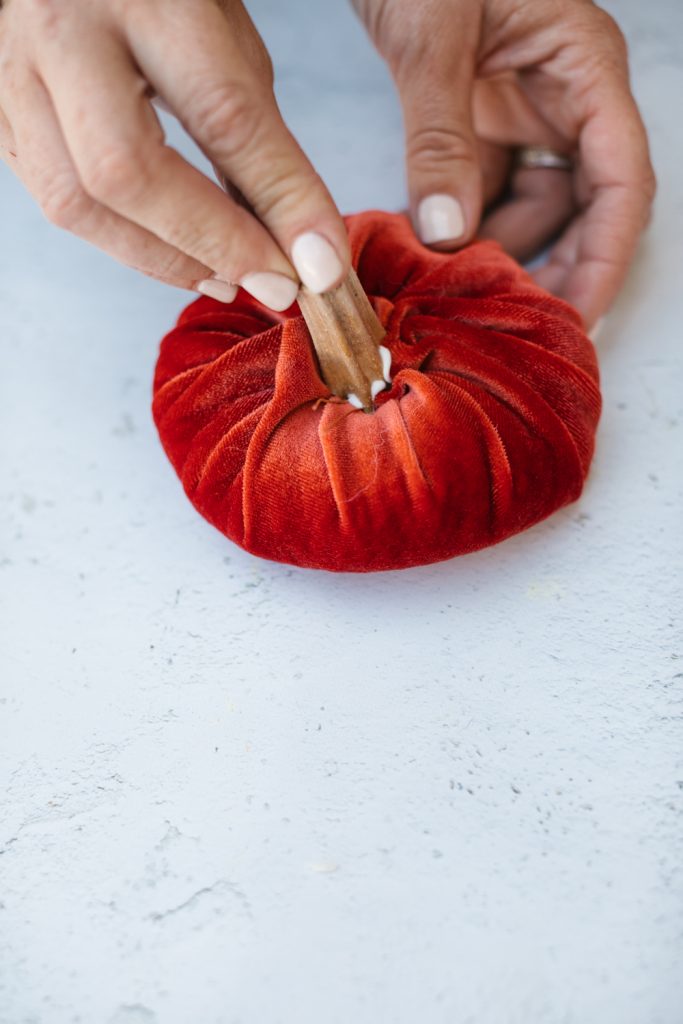
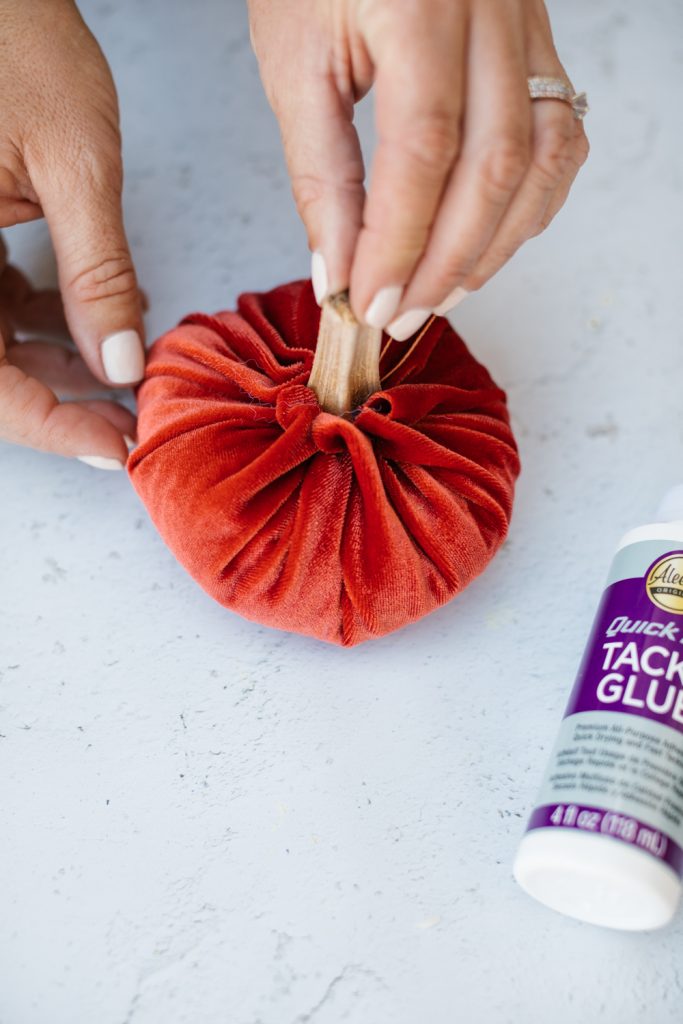
Step 7
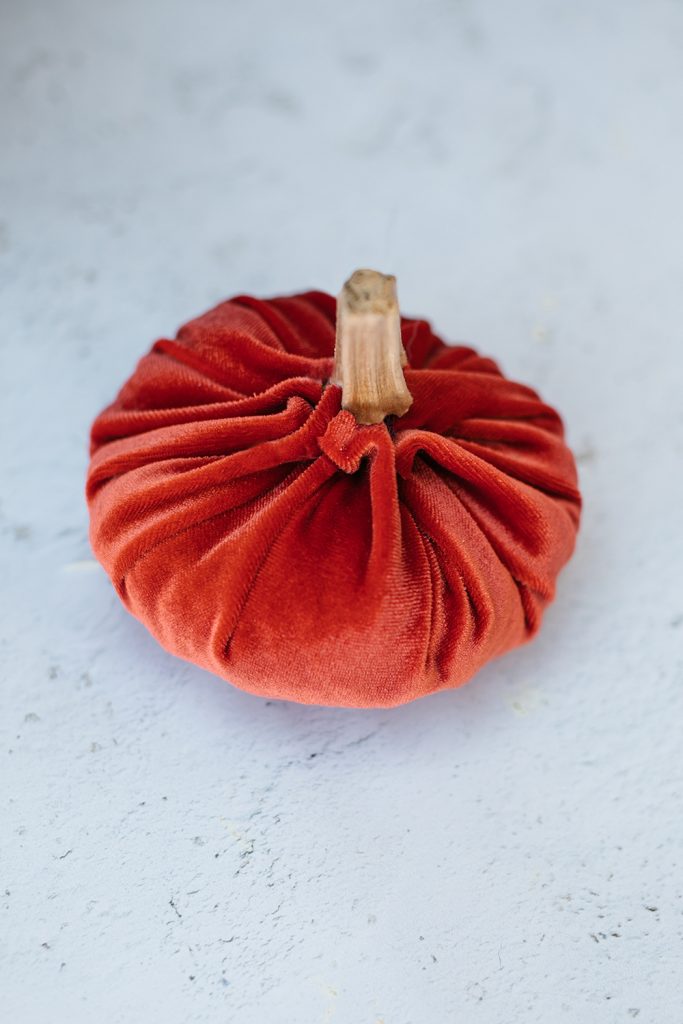
Use in your home as decorations or on your table this Thanksgiving!!
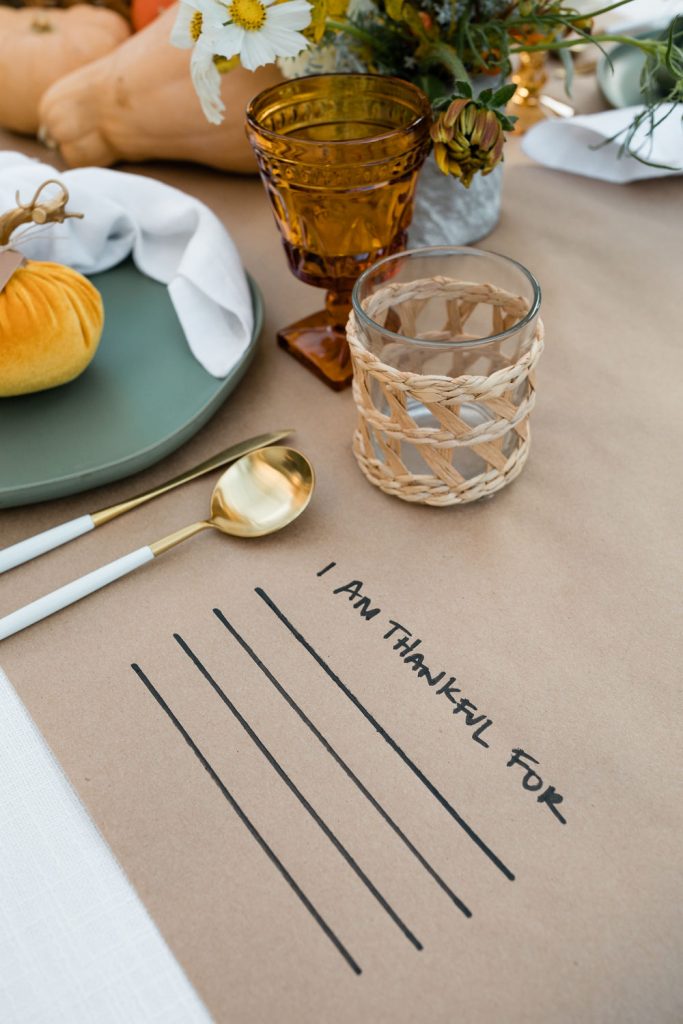
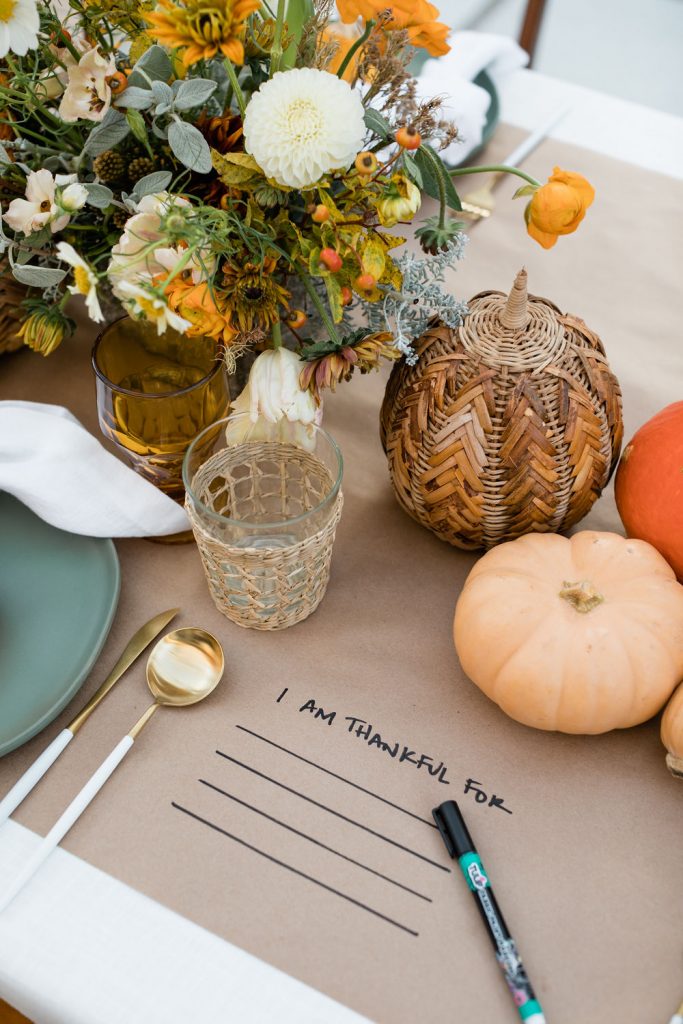
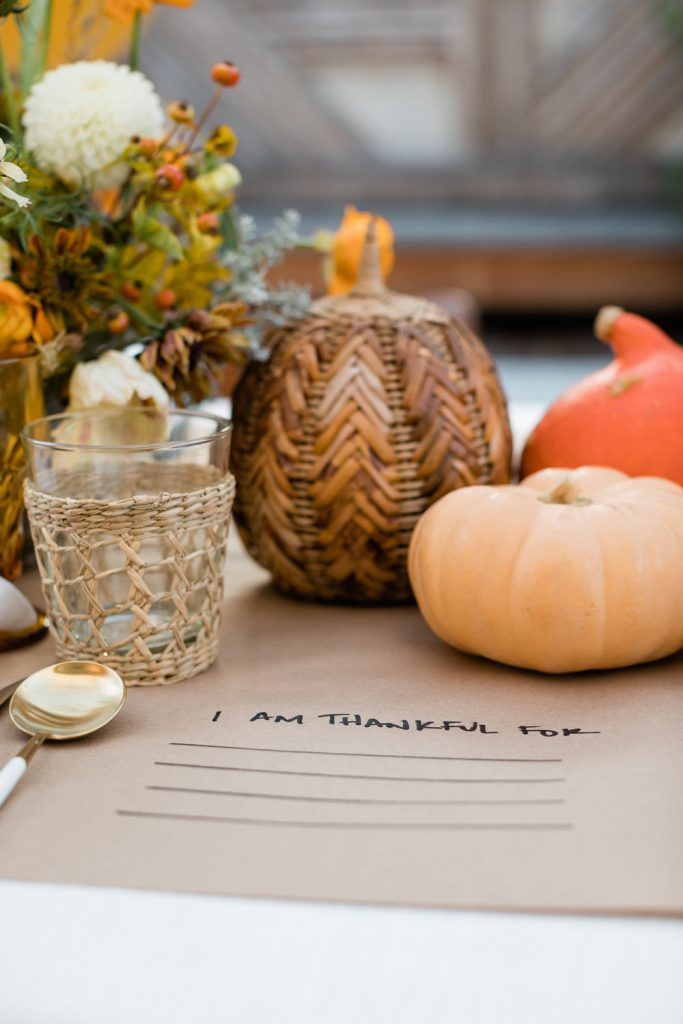
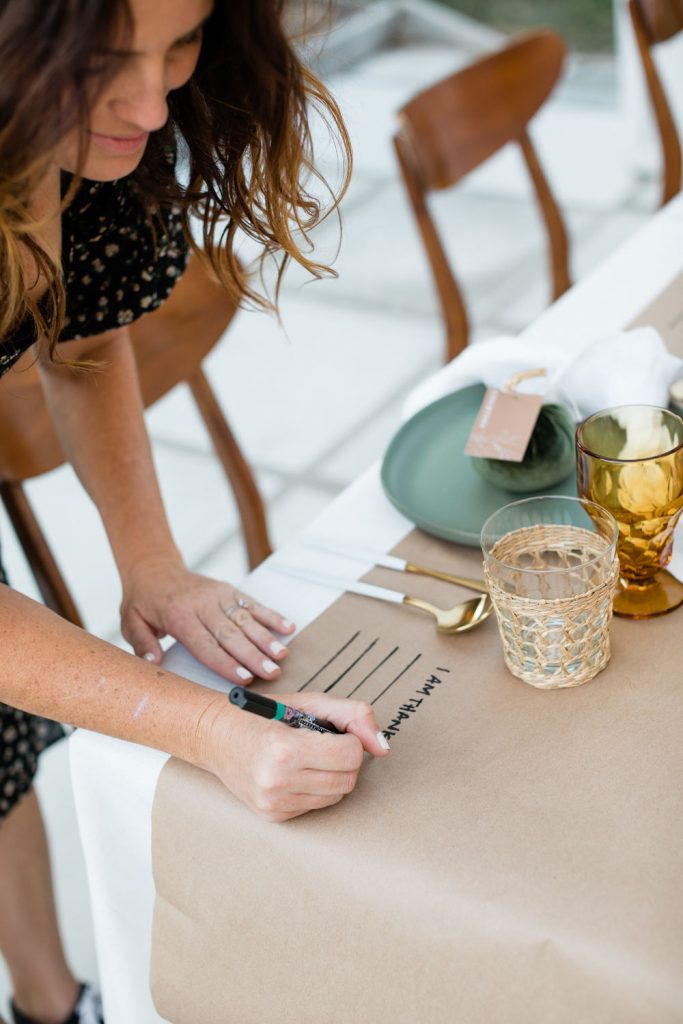
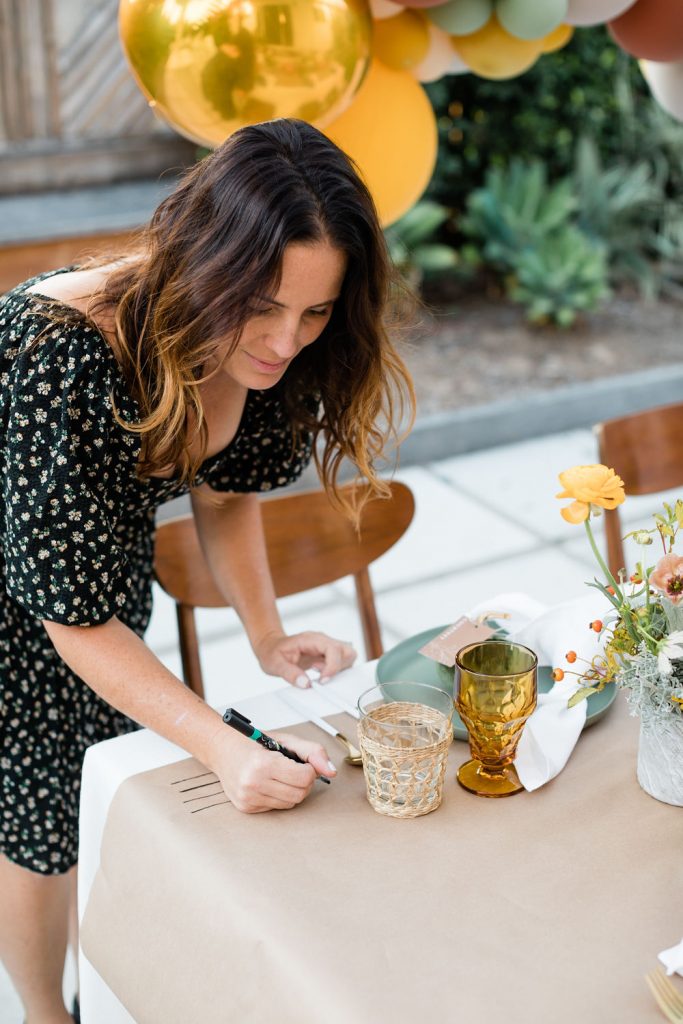
Another quick and easy DIY that is also a great conversation starter was this Thankful table runner. I simply purchased this kraft paper roll cut it to the length desired then used a Tulip Marker and went to town! Having a fun conversation starter is always nice at dinner parties, and sharing what you’re thankful for is festive and kind.
And after all of your hard work, make sure you pour yourself a glass of wine! You deserve it!!
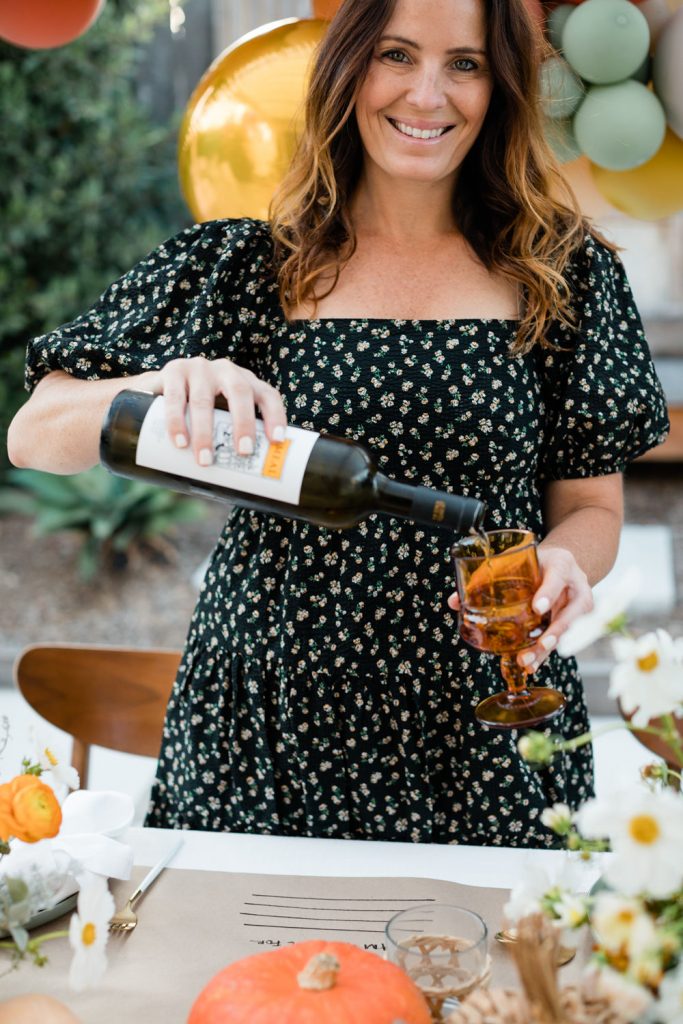
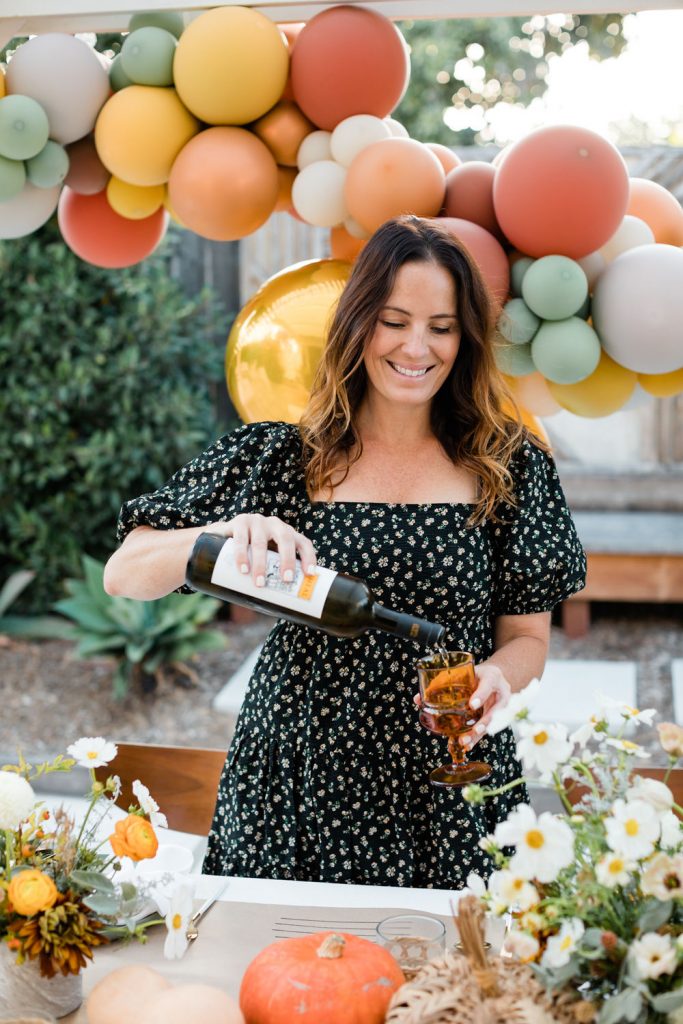
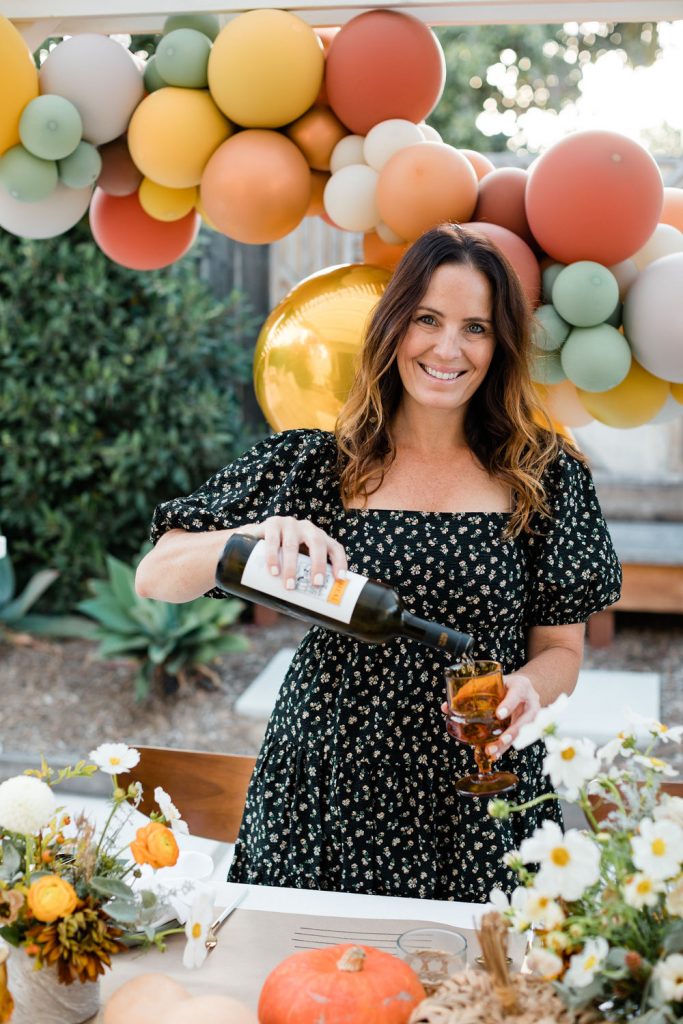
Cheers to a beautiful Thanksgiving! I for one can’t wait!!
Shop this post below!
xx
Jacquelyn


