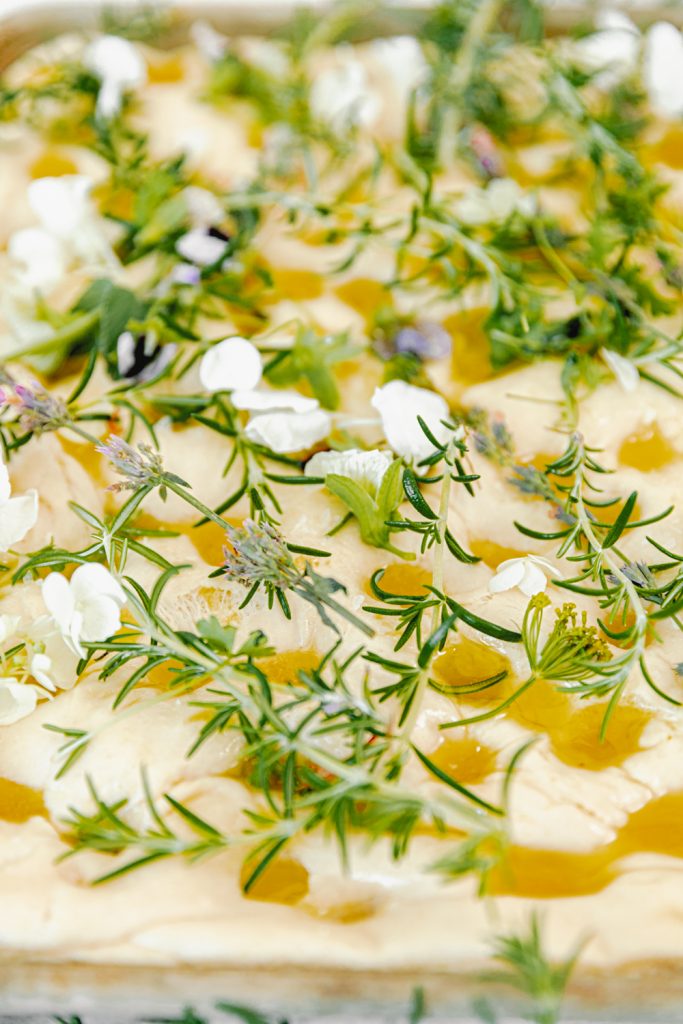
We are well into Spring now, and those herb plants are screaming to get picked and used in the kitchen. One of the ways I use my herbs is by making focaccia bread. This was one of the first bread recipes that I tried making, and I continue on the regular cause of how easy it is, and the family will eat it all up within one day. There is nothing better than taking a bite out of a warm piece of fresh focaccia bread topped with olive oil, fresh herbs, and flaky salt!
Photos by Dayna Studios

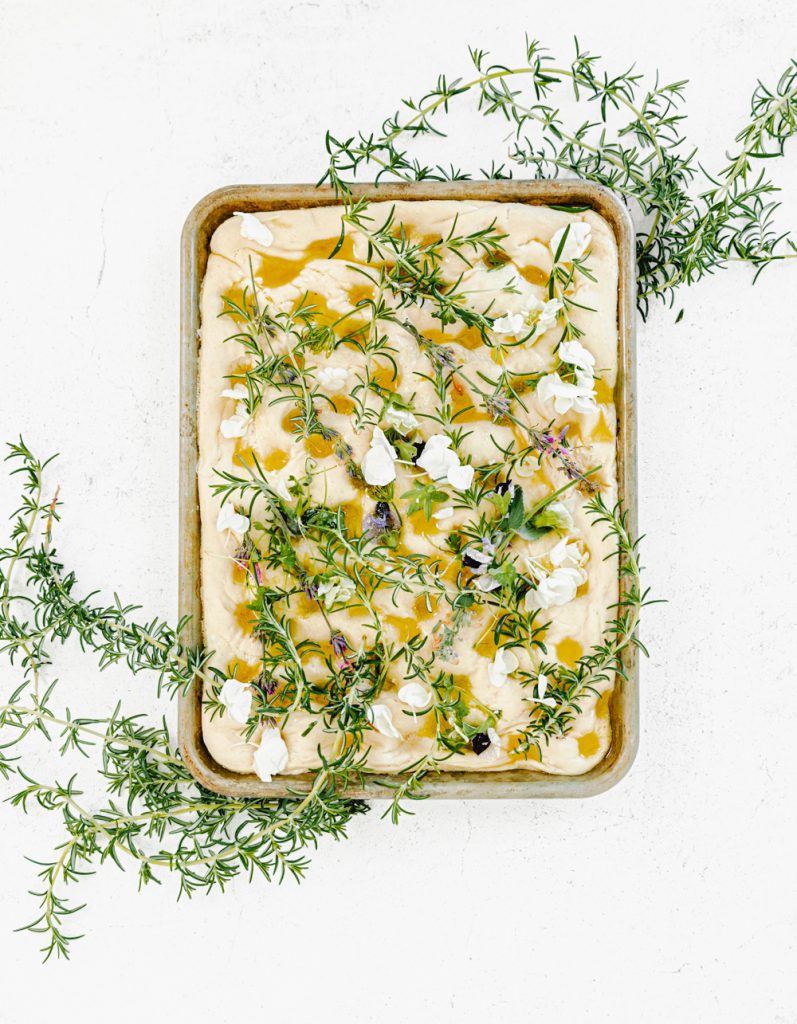
FOCACCIA BREAD
SERVES: 20 | PREP: 20 MINUTES | COOK: 15 MINUTES
W H A T Y A N E E D
Herb Oil
1 3/4 cups olive oil
1/2 cup fresh chopped herbs (I like a mix of rosemary,thyme, and oregano)
2 1/2 teaspoons kosher salt
1 teaspoon fresh ground pepper
6 garlic minced cloves
Dough
5 cups bread flour
2 teaspoons salt
2 teaspoons instant yeast
6 tablespoons olive oil
2 cups lukewarm water
1/4 cup olive oil (for spreading on the baking sheet)
More fresh herbs and Maldon finishing salt
B U S T O U T
Glass Mixing Bowls
Baking Sheet
Stand Mixer
Whisk
Plastic Wrap or Damp Towel
Parchment Paper
I N S T R U C T I O N S
Herb Oil
Let’s start with the herb oil! In a small sauce pan add the olive oil and salt. Stir over medium-low heat. Add the herbs, pepper, and garlic and stir to combine. You can used dried herbs if you don’t have any fresh herbs. Remove from heat and let the mixture steep while you make the focaccia dough.
Dough
In the bowl of a stand mixer add the bread flour, salt, and instant yeast. Whisk to combine. Next up, add the olive oil and water. Mix with the either a paddle attachment or whisk until the ingredients form into a sticky ball. Change to the dough hook and mix on medium speed for 5 minutes, or as long as it takes to form a tacky ball. The dough should clear the bottom and sides of the bowl. If yours doesn’t clear the sides of the bowl, add a tablespoon of flour at a time until the dough does so.
Transfer the dough to a floured work surface. Pat the dough into a rectangle. Grab both ends and stretch the dough until it’s twice it’s size. Spritz the top of the dough with olive oil or nonstick cooking spray. Cover the dough with plastic wrap and let rest for 15 minutes.
Stretch and fold the dough again. Spritz the dough with olive oil, cover with plastic wrap and let rest for 15 more minutes.
One last time, stretch and fold the dough again. Spritz the dough with olive oil, cover with plastic wrap or damp towel and let rest for 30 more minutes. The dough should rise slightly during this time.
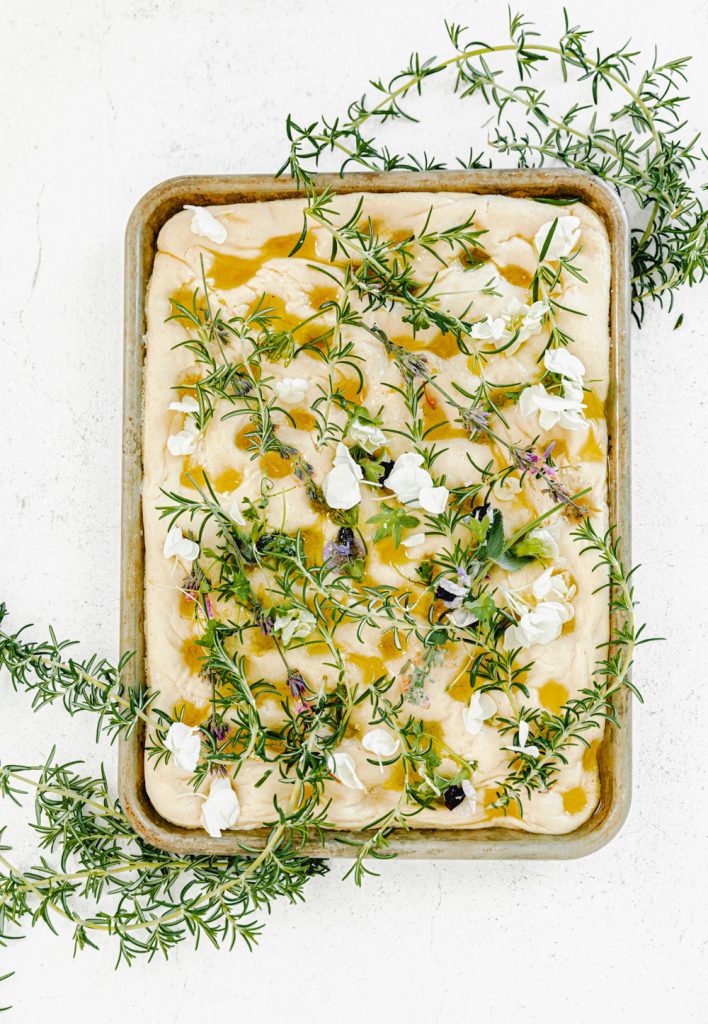
Line a baking sheet with parchment paper and spread the ¼ cup of olive oil over the parchment, making sure the olive oil covers the entire surface. Then, transfer the dough to the baking sheet. Spoon half of the herb oil over the dough.
Using your fingertips, dimple the dough, gently inching it to the a majority of the pan. The dough doesn’t have to fit into the corners at this time. Add more herb oil as needed to the top of the dough. You want the entire surface coated in oil. Cover the pan with plastic wrap and place in the refrigerator for 2 hours
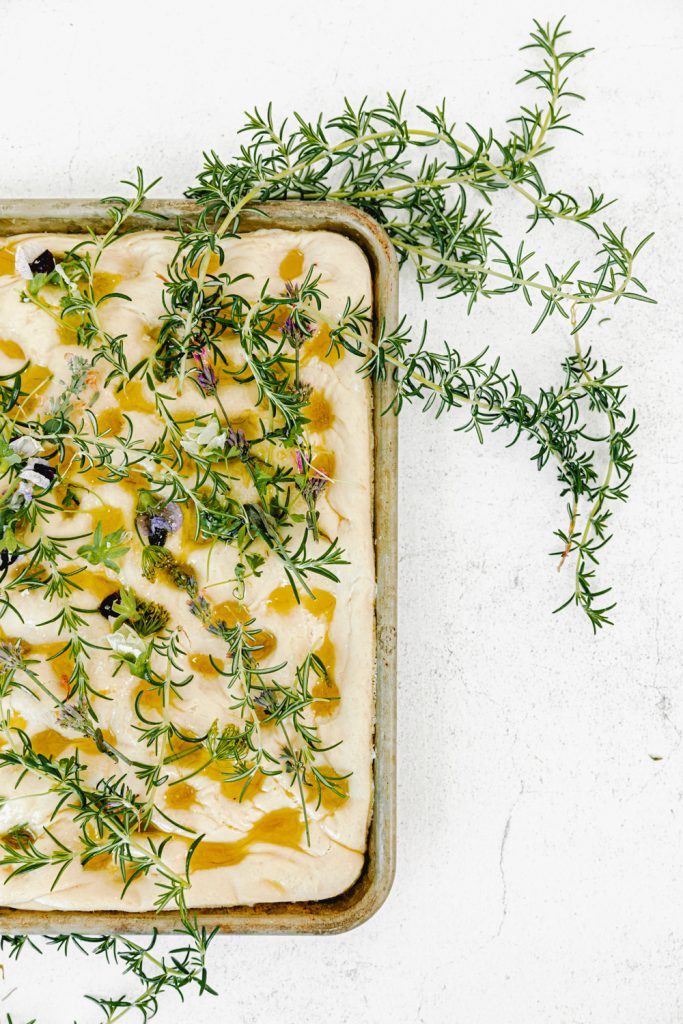
Remove from the fridge. Drizzle remaining herb oil over the dough and dimple again. The dough should go to the sides and corners of the pan. Loosely cover with the plastic wrap and let sit at room temperature for 1 hour or until doubled in size. About 30 minutes into the proofing, preheat the oven to 500°F. When ready to bake, remove the plastic wrap, place the dough in the oven and immediately turn the oven to 450°F. Bake for 10 minutes. Then, rotate the pan 180° and bake an additional 5-8 minutes or until the top is lightly golden brown.
Remove from the oven and transfer the bread to a cooling wrack. Let cool for 15 minutes before slicing. I like to add fresh herbs and more olive oil on top and a sprinkle of maldon finishing salt.

xx
Abby