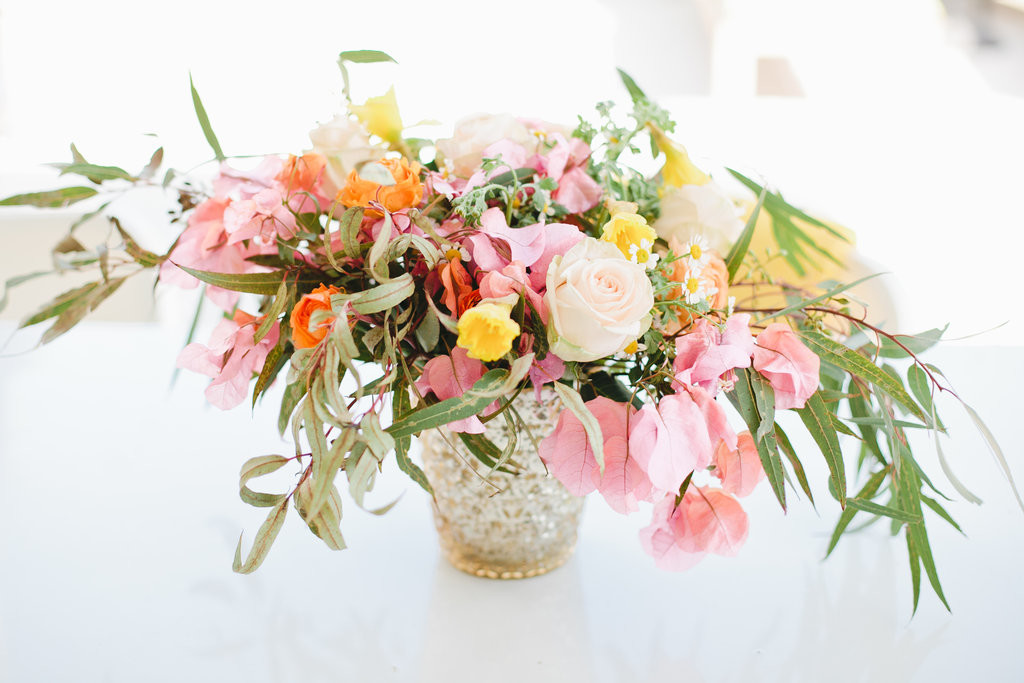
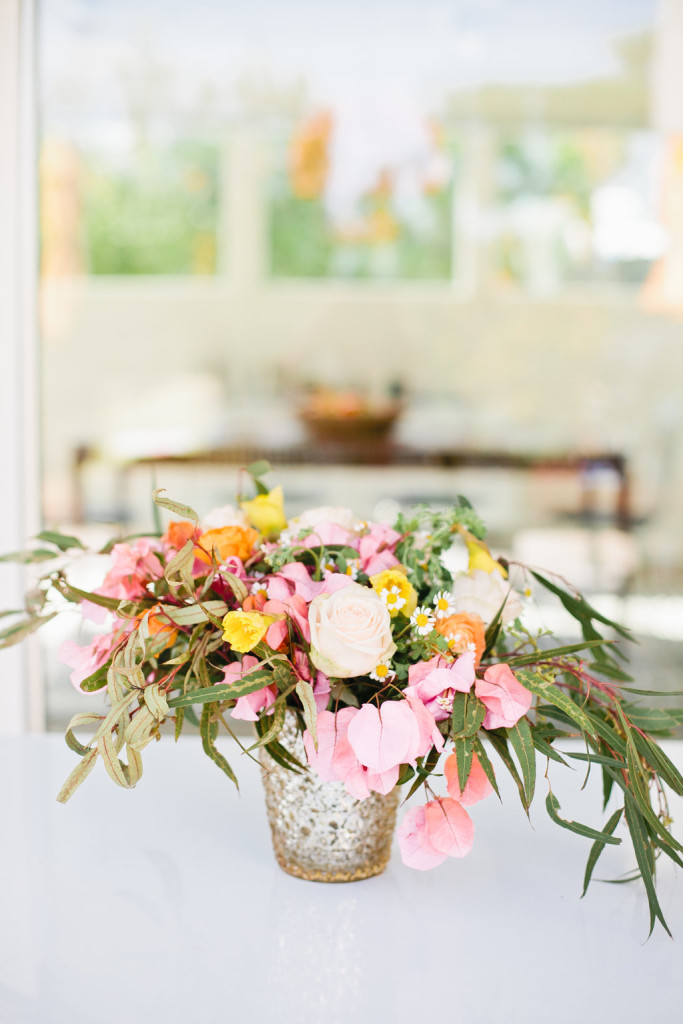
Spring is approaching and all we can think about are the flowers that come along with it!! Since Spring and Easter are a week apart this year, your also going to see some Easter talk coming up pretty soon here. Let’s kick this time of year off with this easy DIY Spring floral arrangement. It’s great to know how to make simple arrangements especially around the holidays when you have people coming over for gatherings or just stopping by for a quick visit. Florals brighten up rooms, corners, and even days if you are gifting them! For this pretty one, we picked some our favorite flowers. We wanted it to say “Spring is here” and “Happy Easter” at the same time, so we used a variety of colors we are currently crushing on.
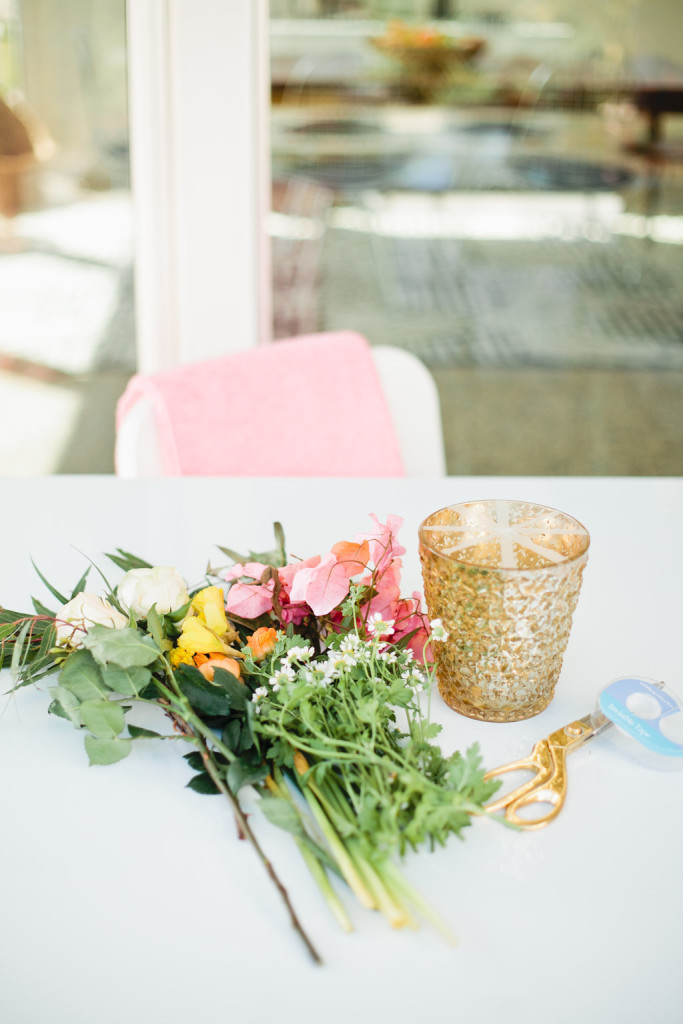
If you want yours to look exactly like ours, here’s what you will need:
A medium sized vase
Tape
Scissors
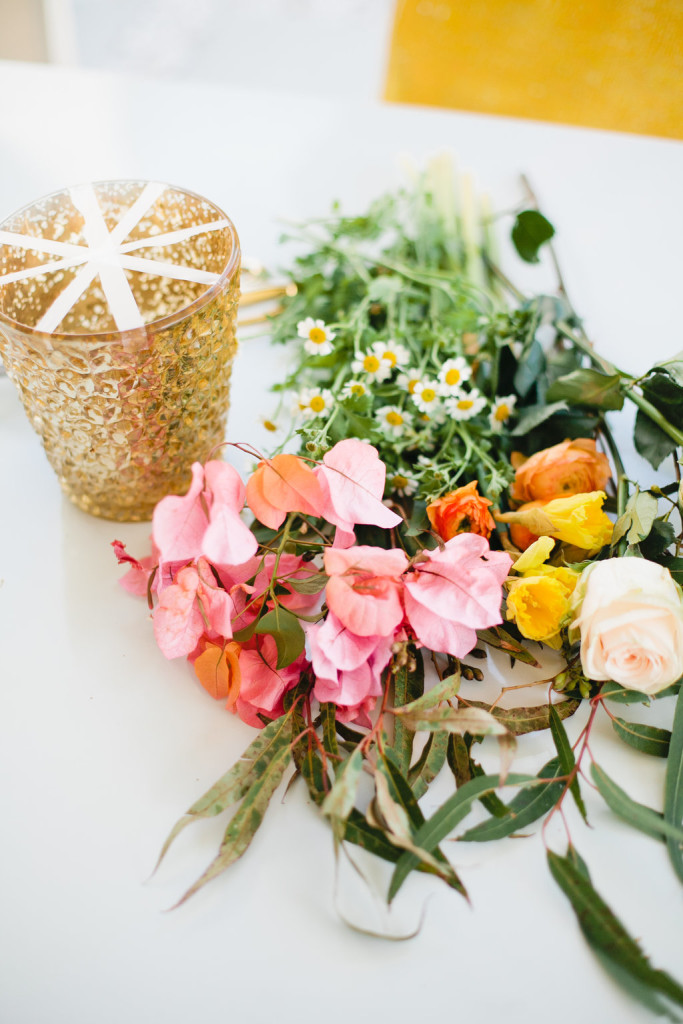
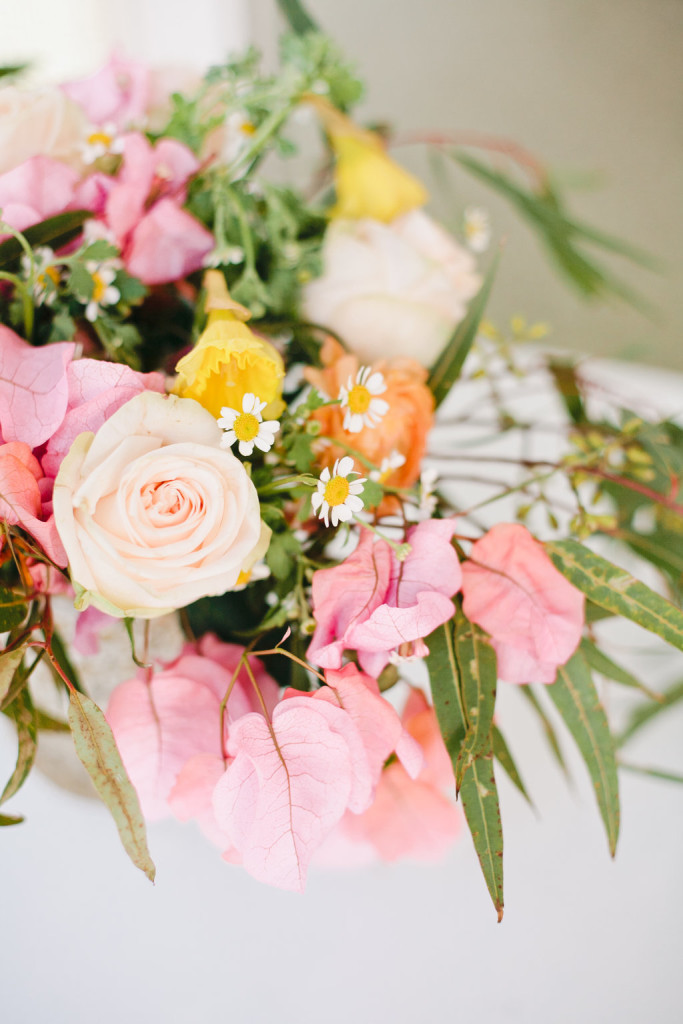
Focal Flowers: Garden Roses, Tulips, and Ranunculus
Filler Flowers: Seeded Eucalyptus, Chamomile, and Bougainvillea
Let’s get started
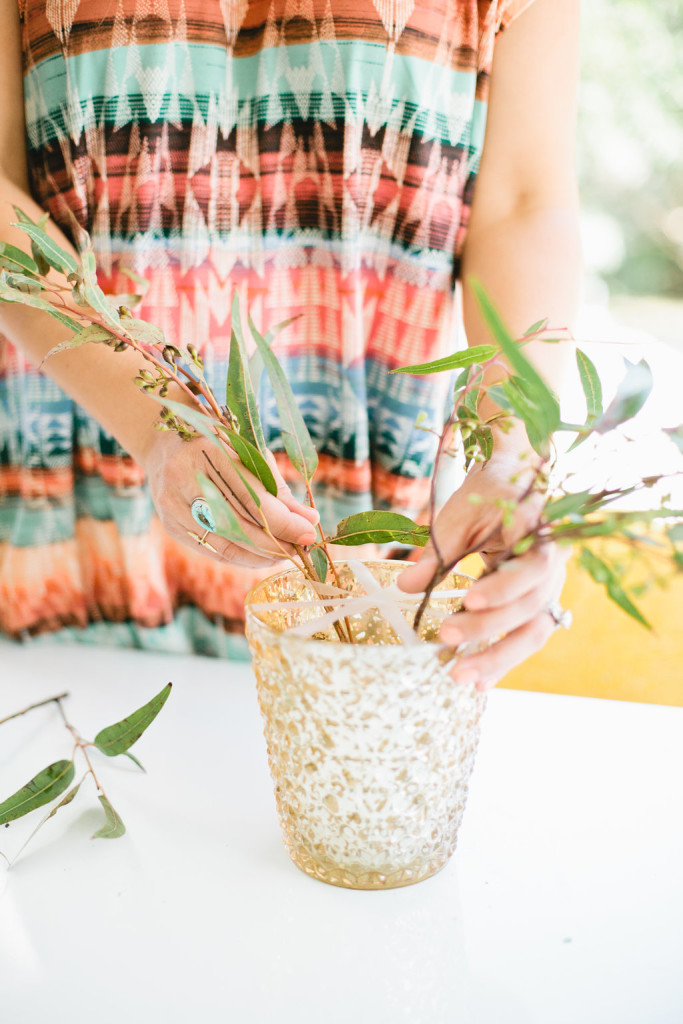
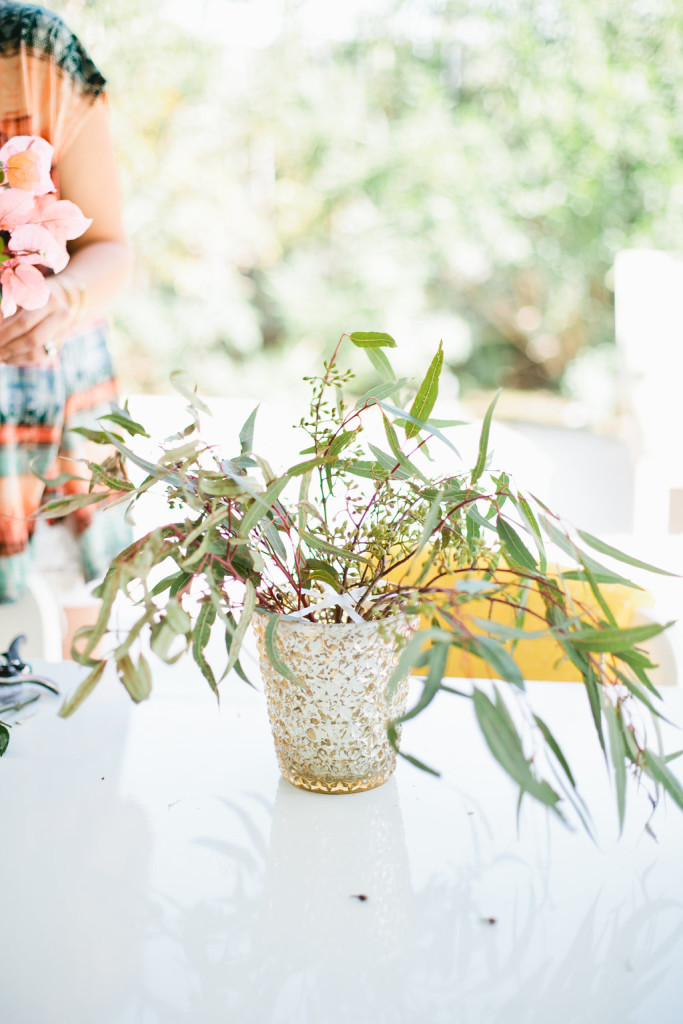
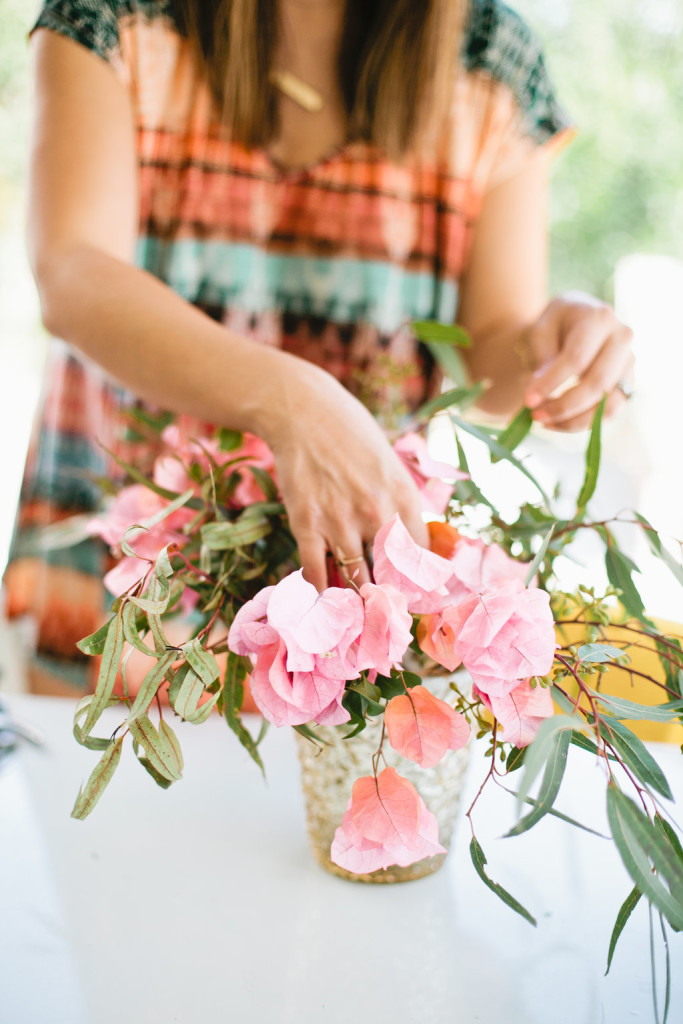
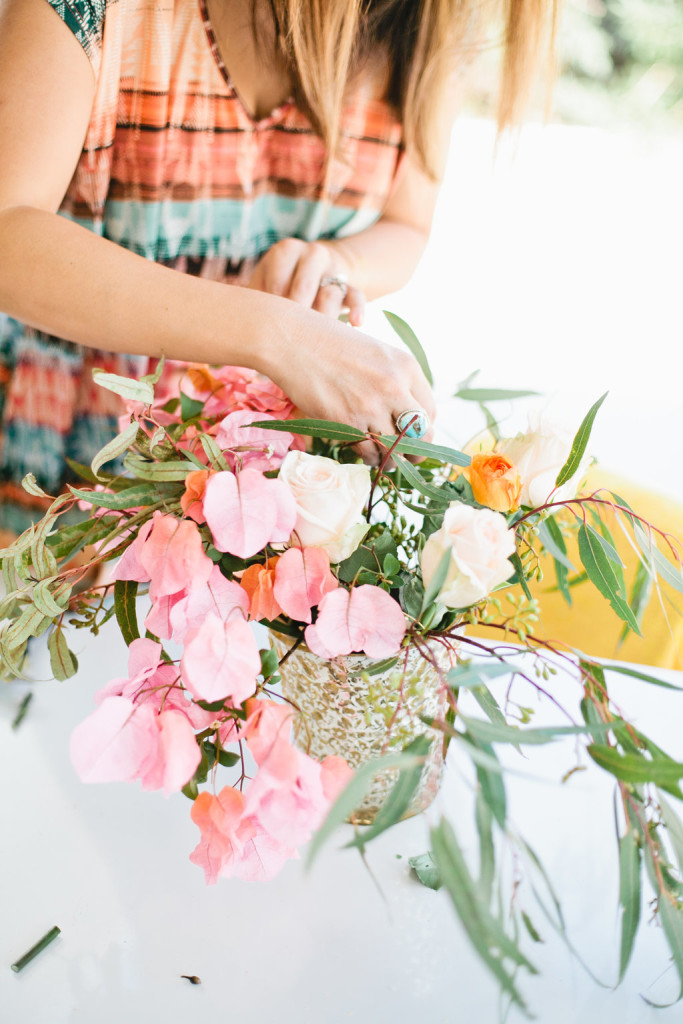
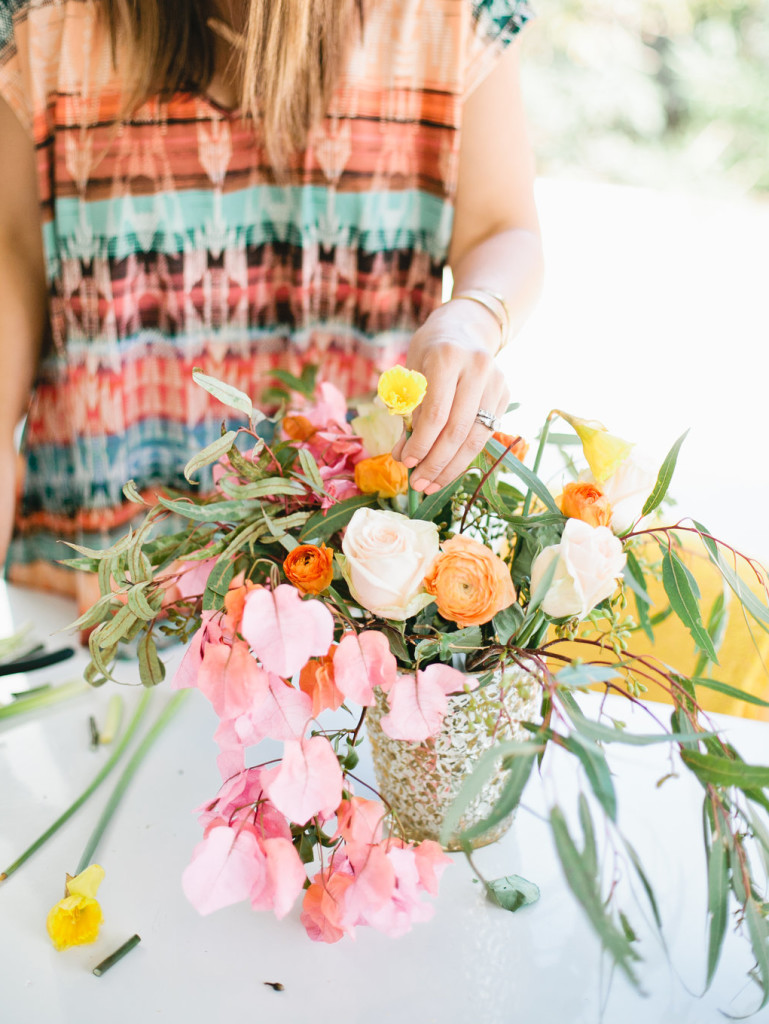
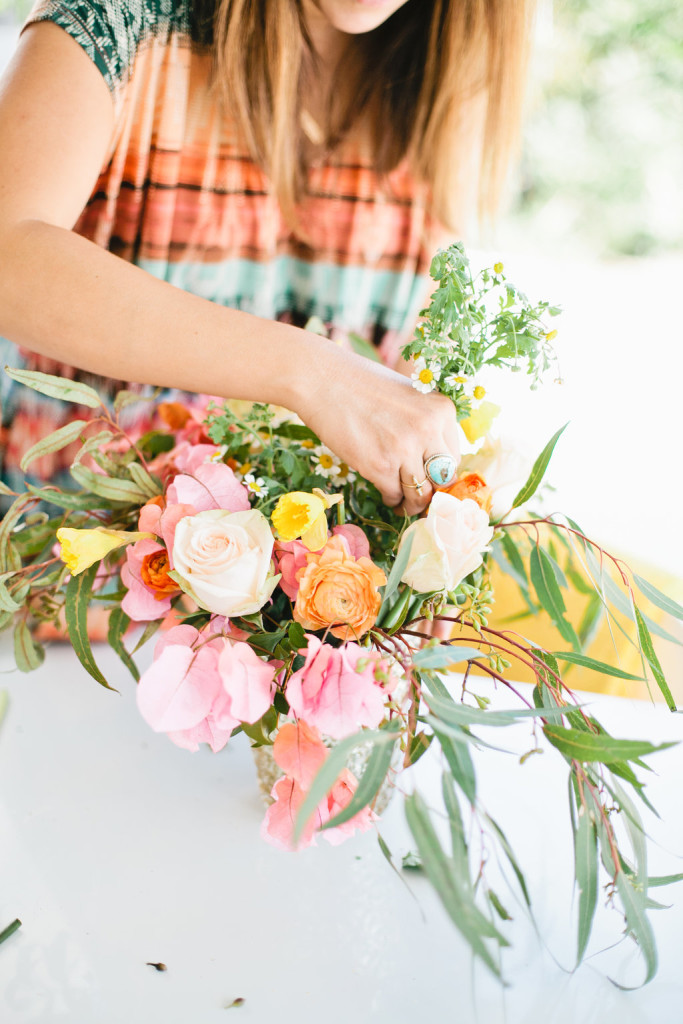
STEP 1: Tape off sections on the top of the vase. This make it a lot easier to place the flower stems in, they will actually hold in place. Start with a couple fillers, the Seeded Eucalyptus and the Bougainvillea. Cut the stems at double the height of the vase. Fill about 4-5 sections with each filler.
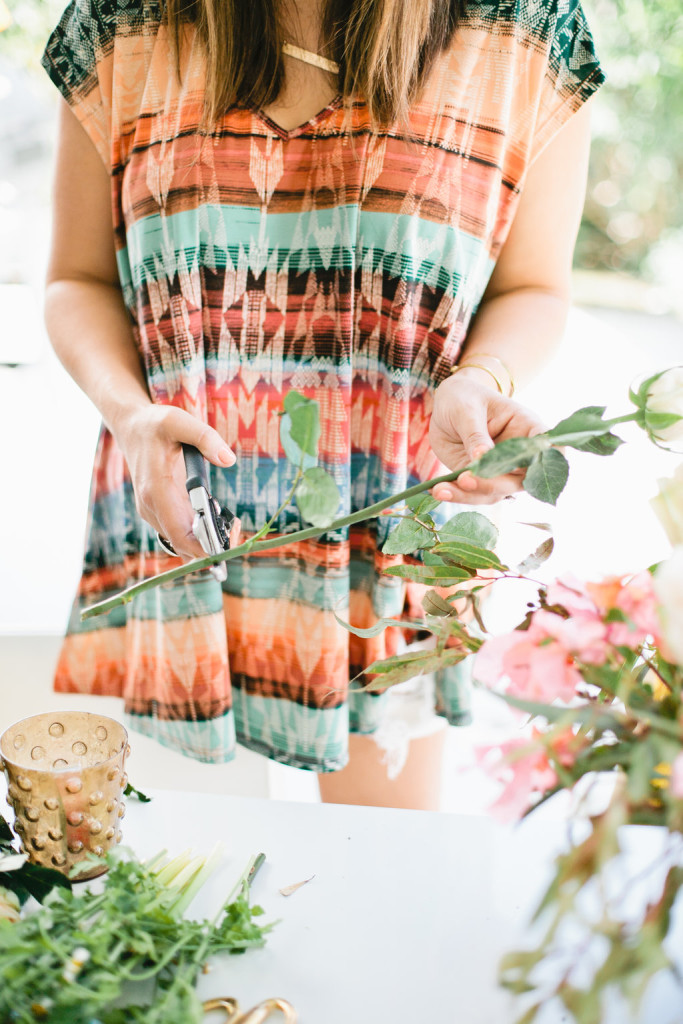
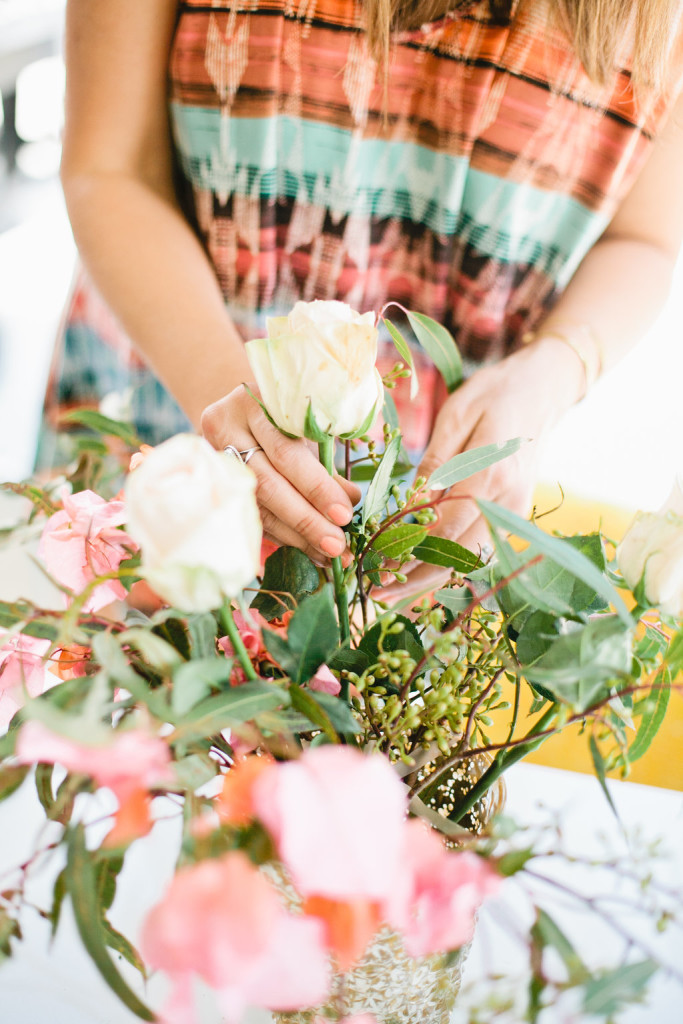
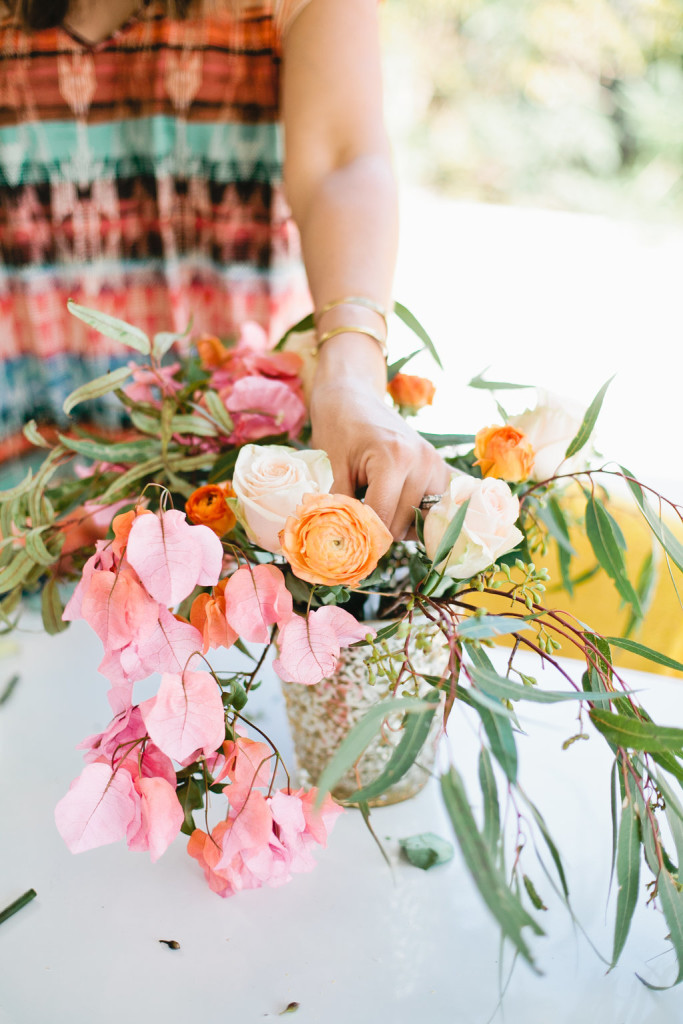
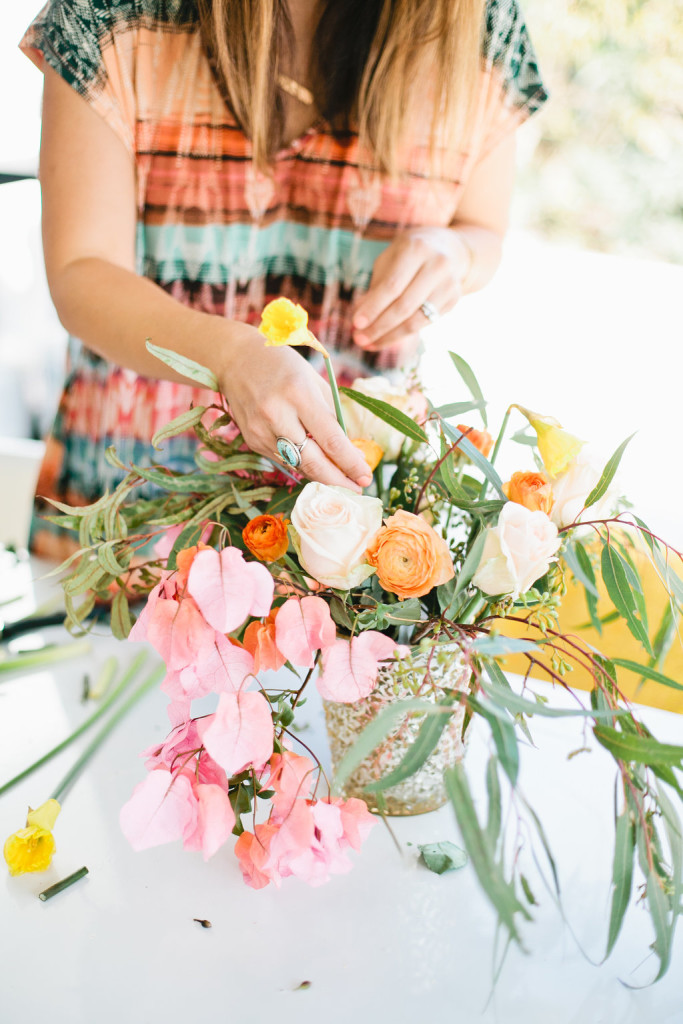
Already looking pretty full, we’re on to STEP 2: Take your largest focal flower, in this case it’s the Garden Rose and cut those one and a half the length of the vase. Place about 5 (you can add more later if there are holes) in the grid, equally placed apart.
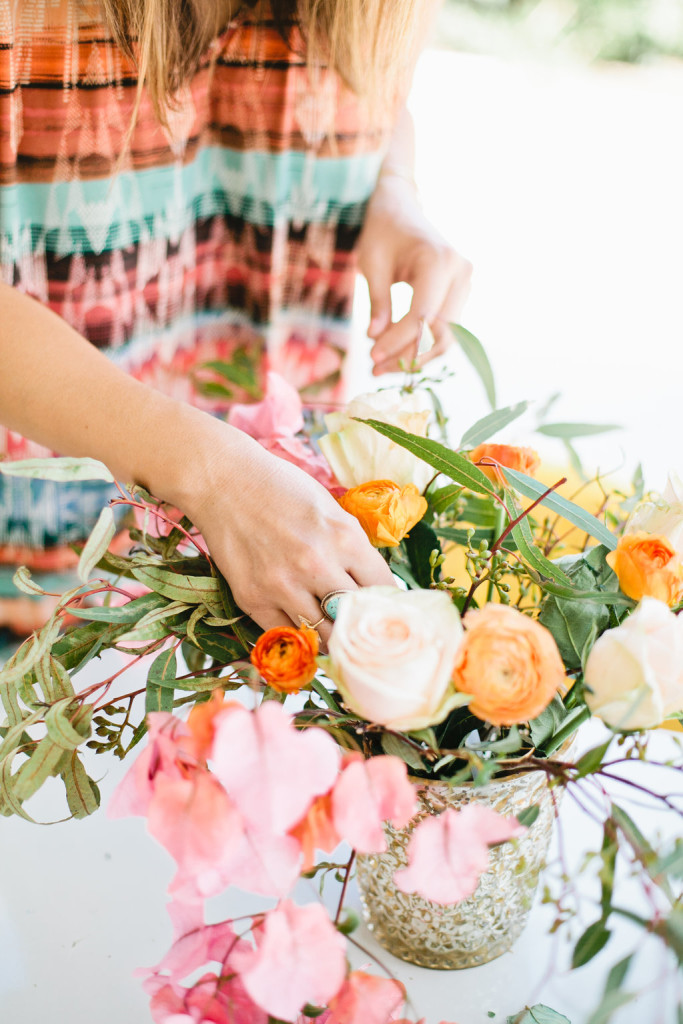
STEP 3: Move on to the second focal flower, the Ranunculus, placing them into the grid next to each garden rose equally spaced apart.
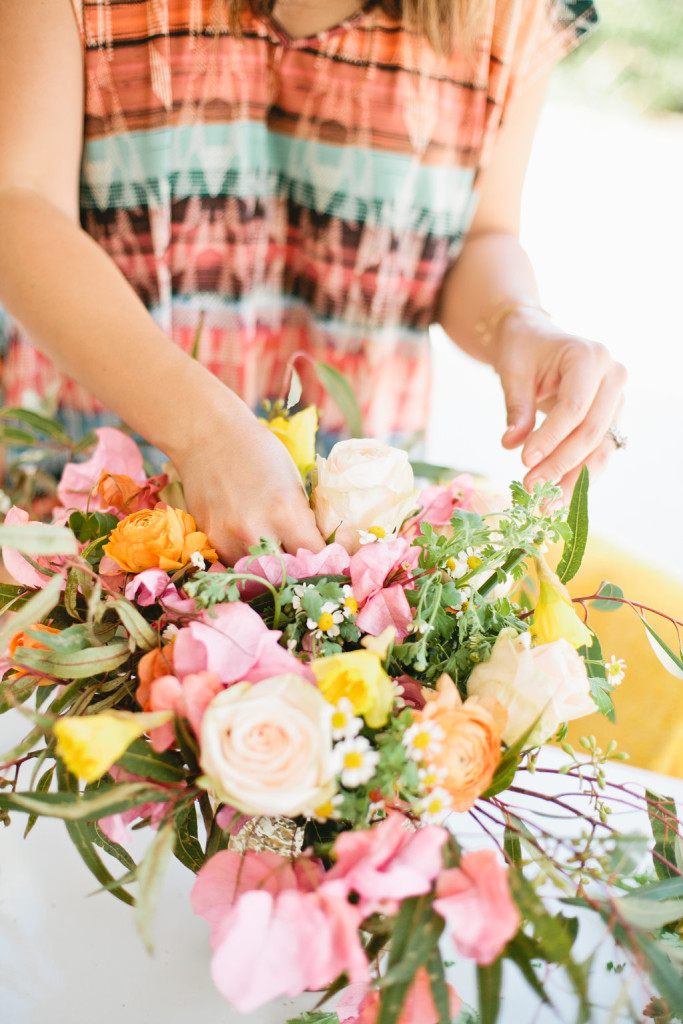
STEP 4: Moving on to the third focal flower, the Tulips. Place those apart in the same manner as the garden roses and the ranunculus. This should give you some good color and size variation with the flowers and you should be able to see every flower from every angle including the top.
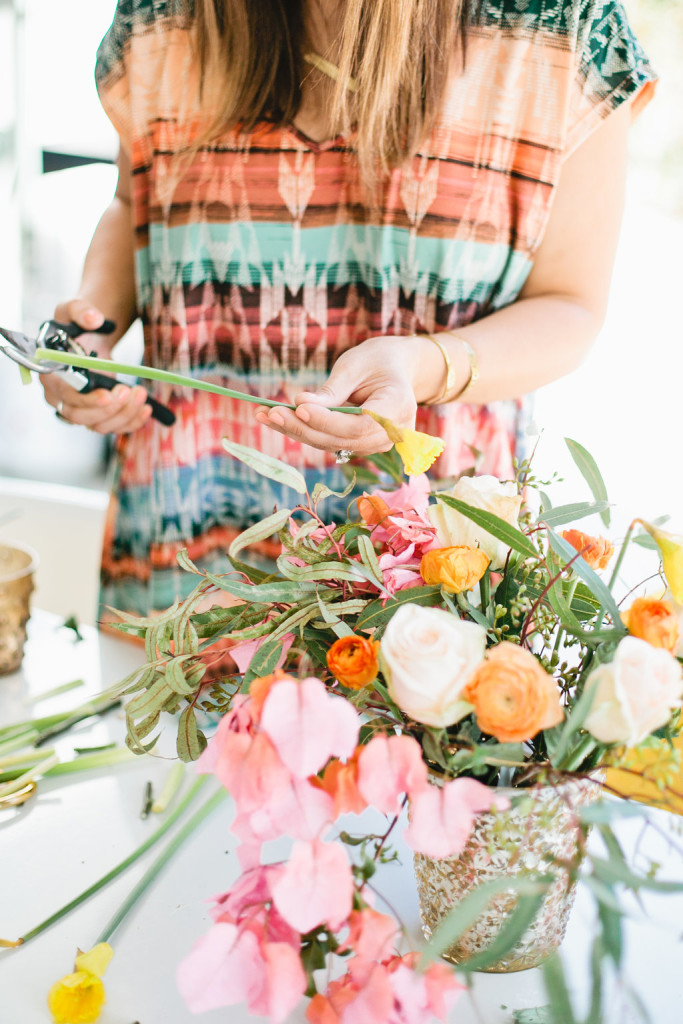
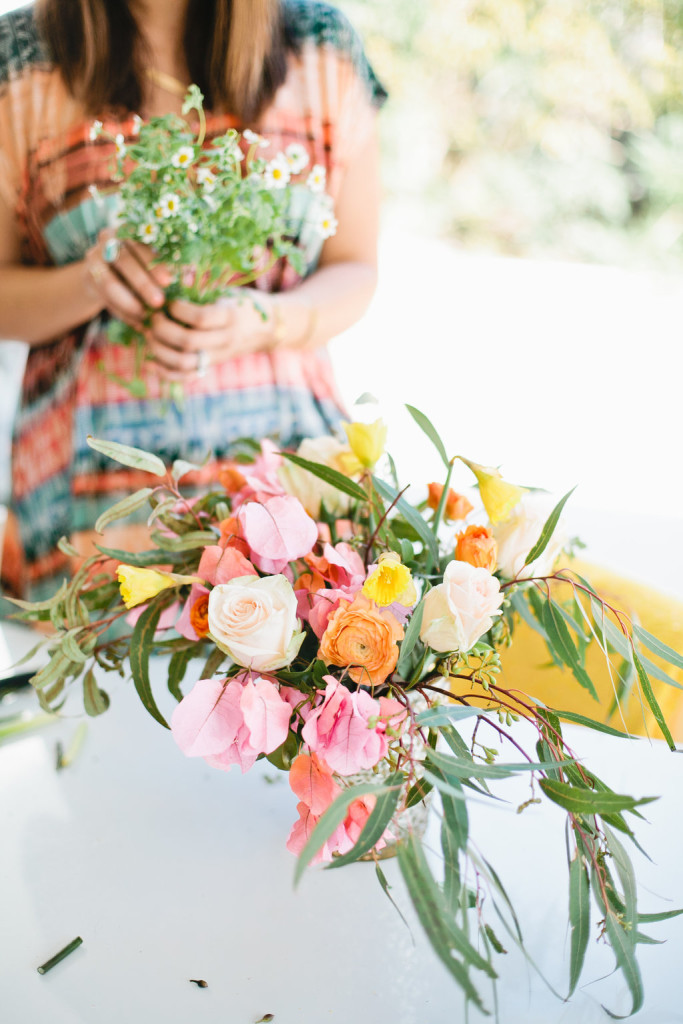
STEP 5: Now go back to your last filler the Chamomile. Cut this one a little shorter than the focal flowers so they sit just below them and your favorite flowers will show the best. Place this filler in all the blank areas to add some color.
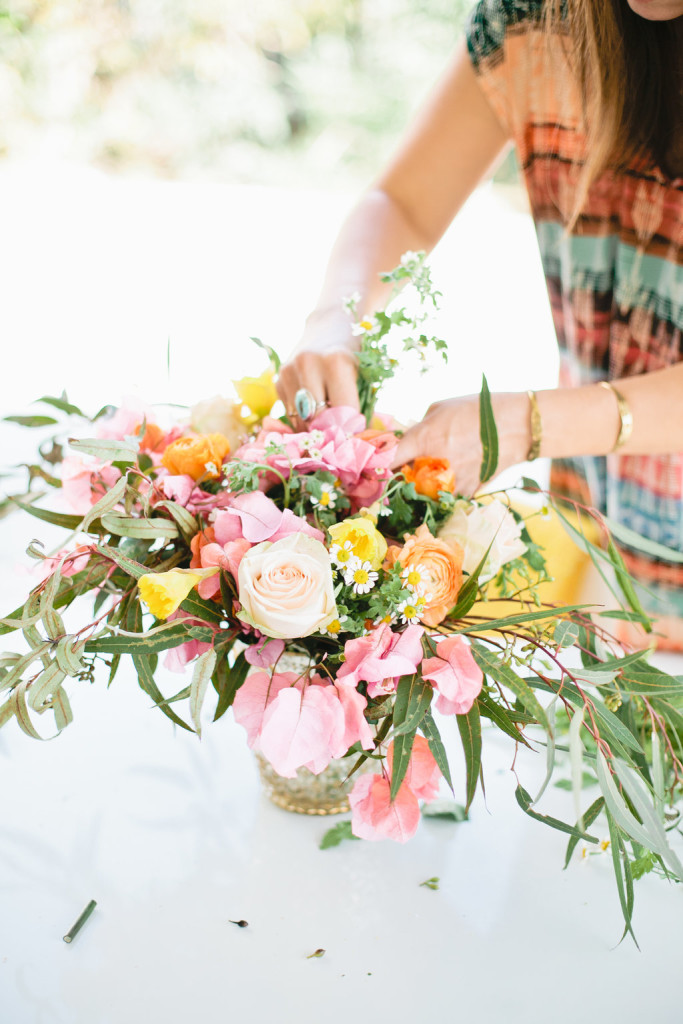
STEP 6: Go back and stick one or two smaller length pieces of green into the arrangement to bring some more texture. Also if you are seeing some holes feel free to add some more focal flowers. This is the time to look at your arrangement and visually access with else is needed to perfect it.
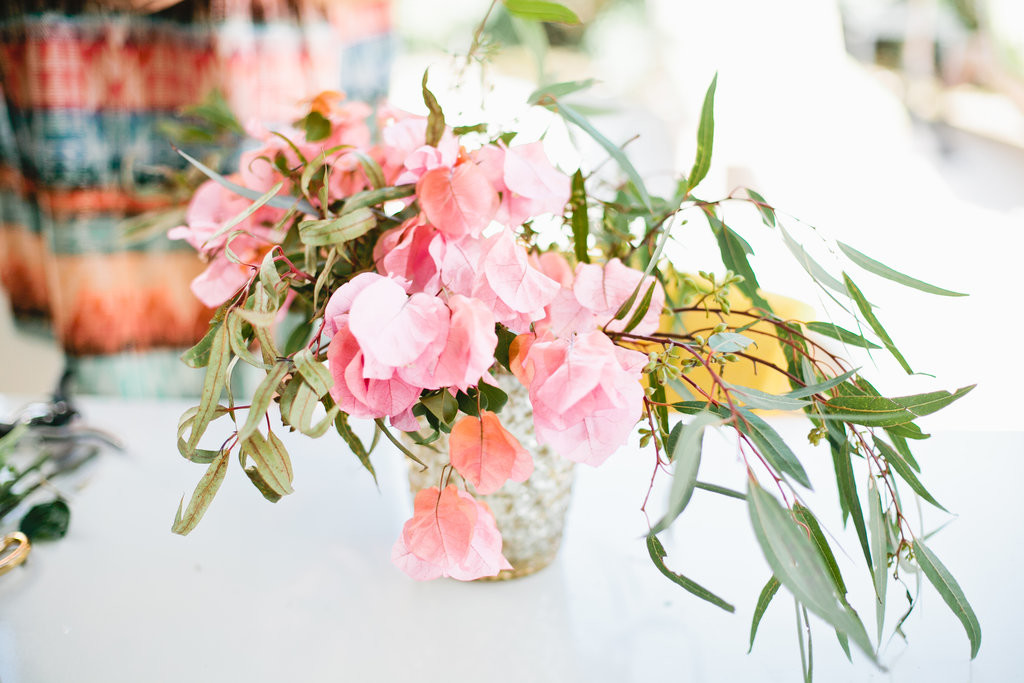
And there you go!! You just made your very own really pretty Spring Floral Arrangement. I have to tell you when I followed this for the first time I was so proud of myself!! You never know what you can do until you accomplish it and it feels really great!! Isn’t this color so insane, so perfect for Easter too.
Good Luck!! And Happy Spring & Easter!!
Xx Leah
All pretty photos by Megan Welker

What size vase did you use? Inch/cm approximation?