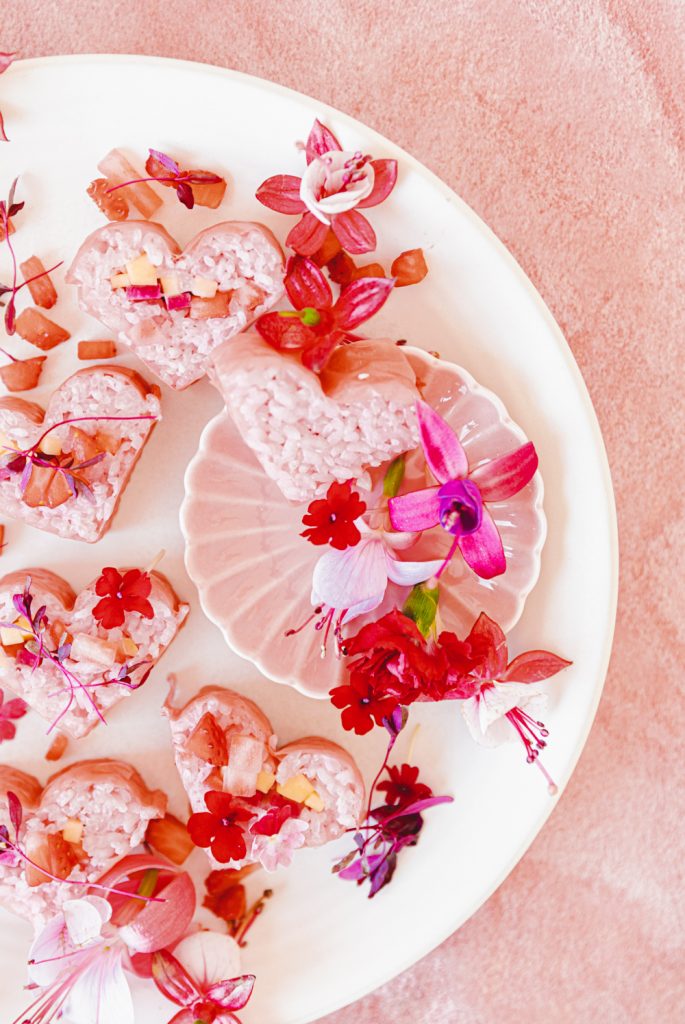
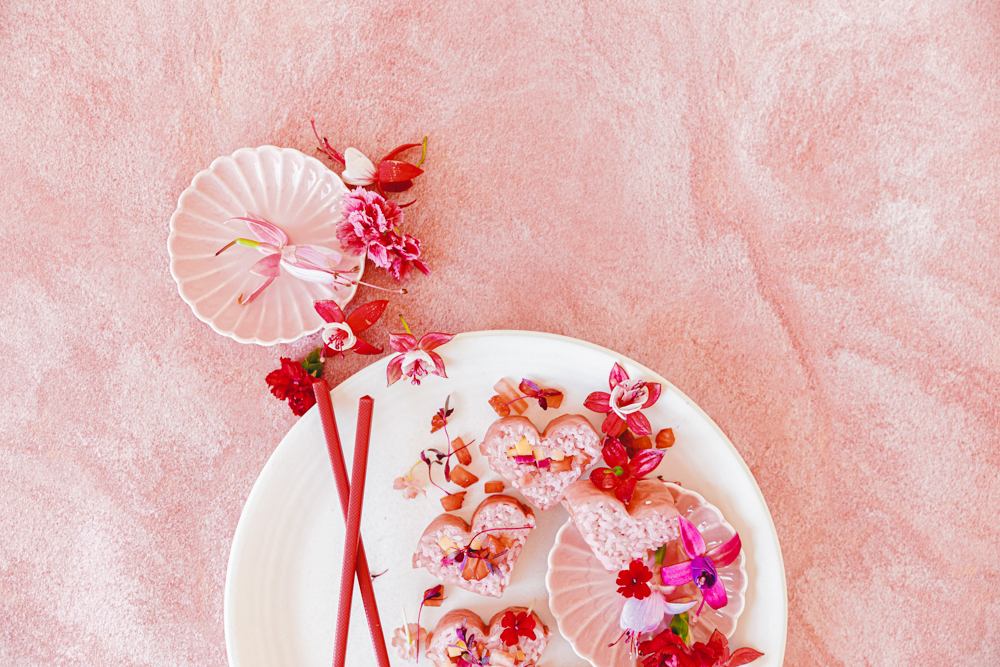
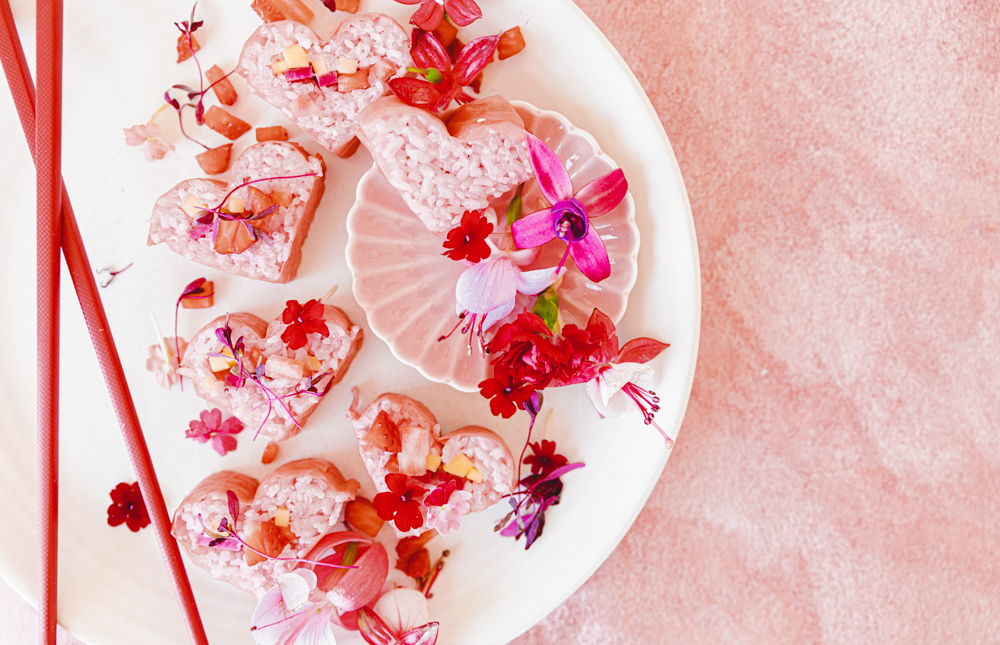
These cute little sushi hearts are just screaming for you to make today! Not only are they perfect to help celebrate Lunar New Year, but of course, Valentine’s Day too! A combination of brightly colored veggies and fruits makes a fun snack for kids or a nice clean appetizer or dish for a potential date night in the future. Plus, making the rice pink makes it so much cuter! You can do many combinations of flavors to fit your needs and cravings. My kids are big veggie sushi roll lovers, so I went that route to make myself a cool mom for a couple of days. I have also done shrimp tempura, which makes a great lunch choice. Scroll down to get the recipe and never go back to boring white sushi rice again. You can also shop my favorite dishes and chopsticks to serve your sushi up.
Photos by Dayna Studios
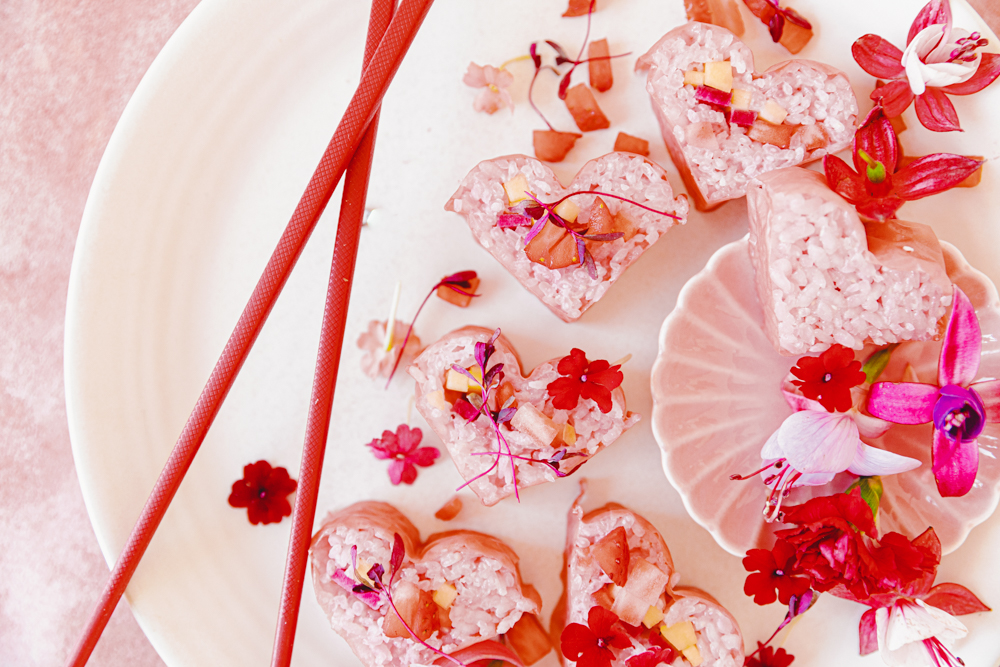
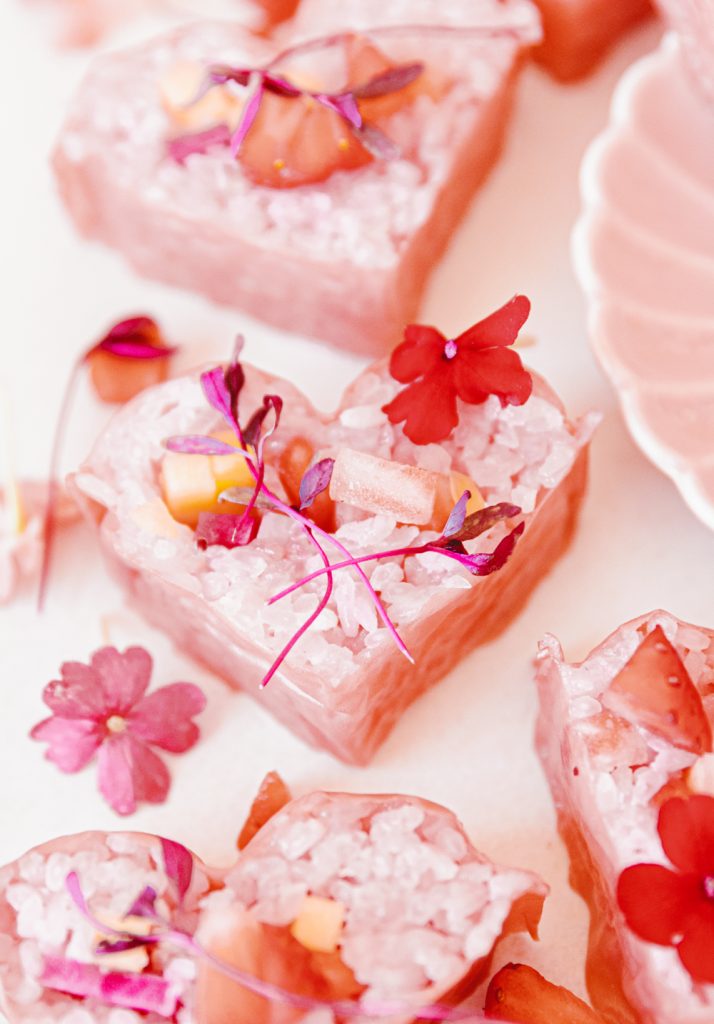
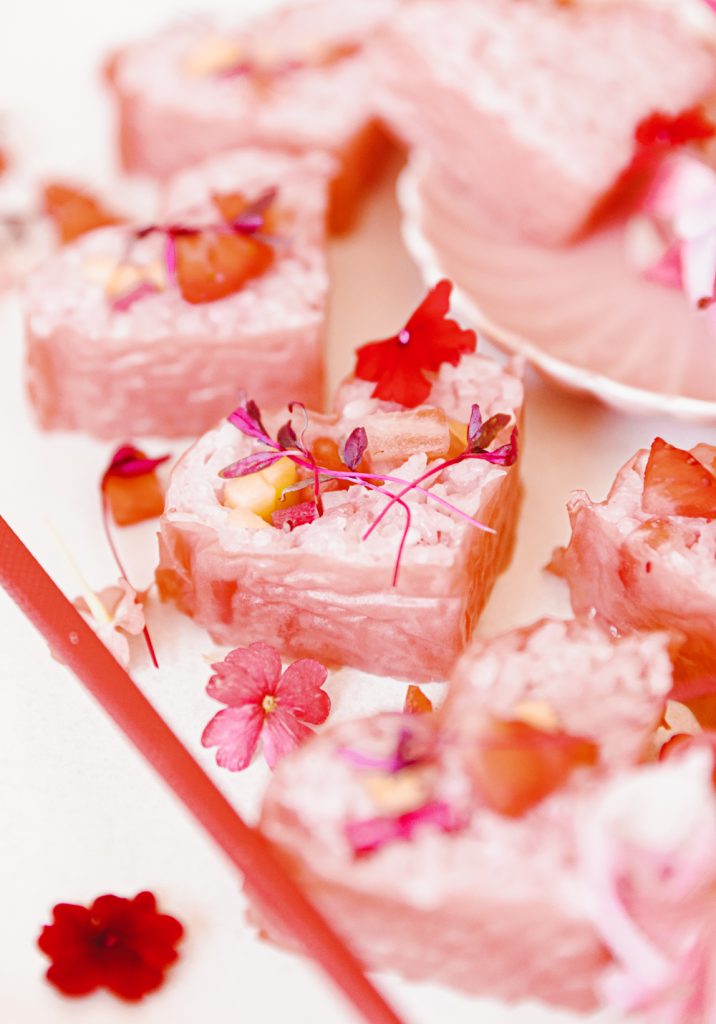
Pink Heart Sushi Rolls
SERVES: 1 roll | PREP: 10 MINUTES | COOK: 30 MINUTES
W H A T Y A N E E D
Sushi Rice
Seasoned Rice Vinegar
Beet Juice
Fillers of choice
(I used matchstick cuts of mango and carrot and small diced strawberries)
Pink Soy Paper
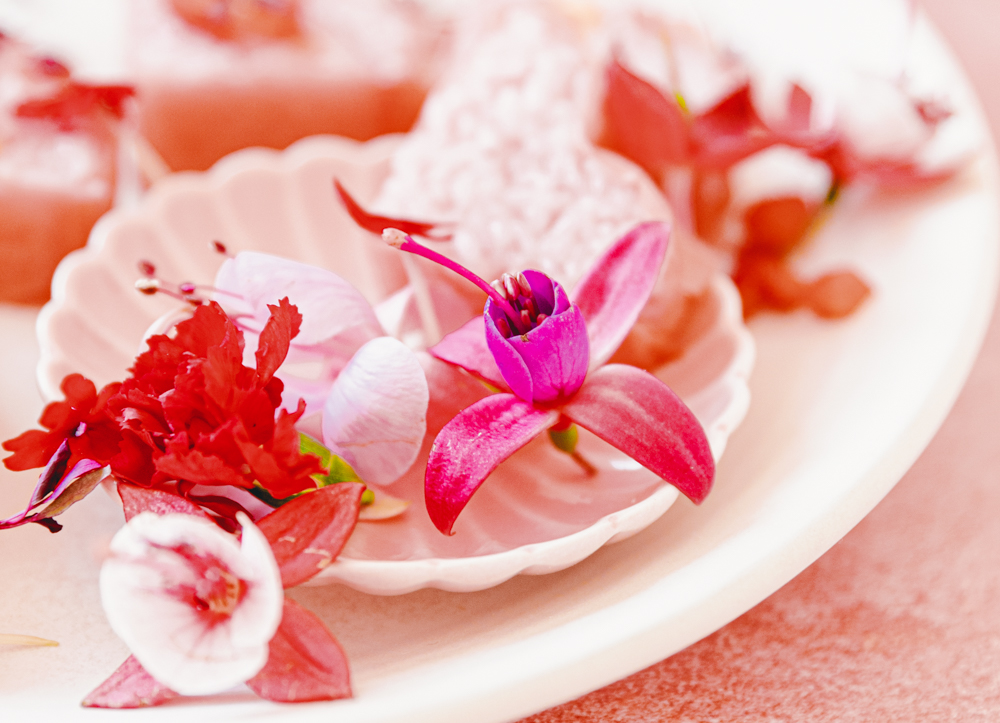
Edible Flowers
(you know for that Beijos touch)
B U S T O U T
Mesh Colander
Dutch Oven or Rice Cooker
Sushi Mold
Sharp Knive
Chop Sticks
Soy Sauce Plates
I N S T R U C T I O N S
I will fully admit I had to give this a couple of tries. So don’t get frustrated if you don’t get it on the 1st go around. The key is not to stuff the roll a ton. That will prevent any chance of the soy paper coming apart. At least that was my issue. Also, watch a couple of videos on Youtube with people using the heart-shaped sushi mold. So much easier to see it be done than read it.
1st, let’s make the sushi rice. Follow the instructions on your packaging. I suggest doing it either in a dutch oven or rice cooker. Other methods, I feel like making the rice burn on the bottom. Once your rice is a room temperature, mix in the beet juice. Start with a little and add to get the desired pink or red you want.
Next, time to assemble.
Take one soy paper and put it in the bottom of the mold to lay inside and over the outer sides of the mold. Fill 1/3 of the mold with the pink sushi rice. Pat it down good to get all the corners filled.
Next, using the top lid of the heart mold, press the rectangle part into the rice to create a spot for the filling to go. Fill that with your filling, and I did two rows on top of each other. Then add more rice to cover up all the filling. Be sure not to fill it up to the top. You want the soy paper to fold over evenly on top of the rice.
A good trick to get the soy paper to stick to each other is to smear sushi rice between the two sides when folding down.
Now, take your top heart mold and press the heart side into the roll. Do this a couple of times to ensure you are achieving the shape. Then you can cut your roll using the silts and making a saw-like motion with your knife.
The best advice I can give you is to do what I did, run on to youtube, and watch a couple of videos on using the heart-shaped sushi mold. It is much easier to see how it’s done than reading it.

B E I J O S K I T C H E N

xx
Abby