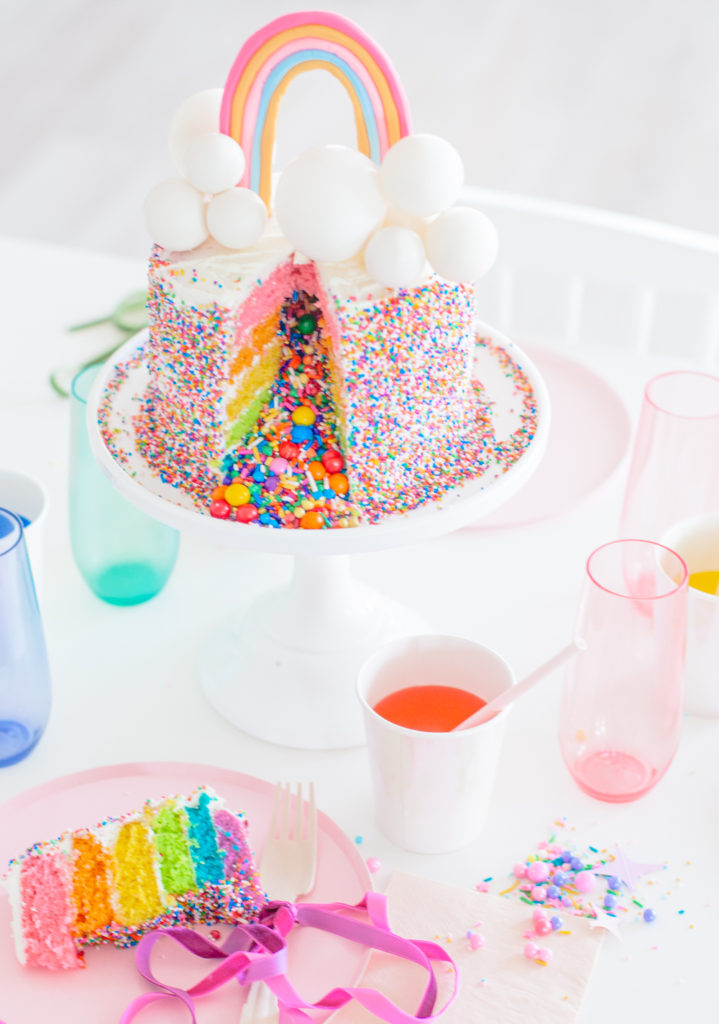
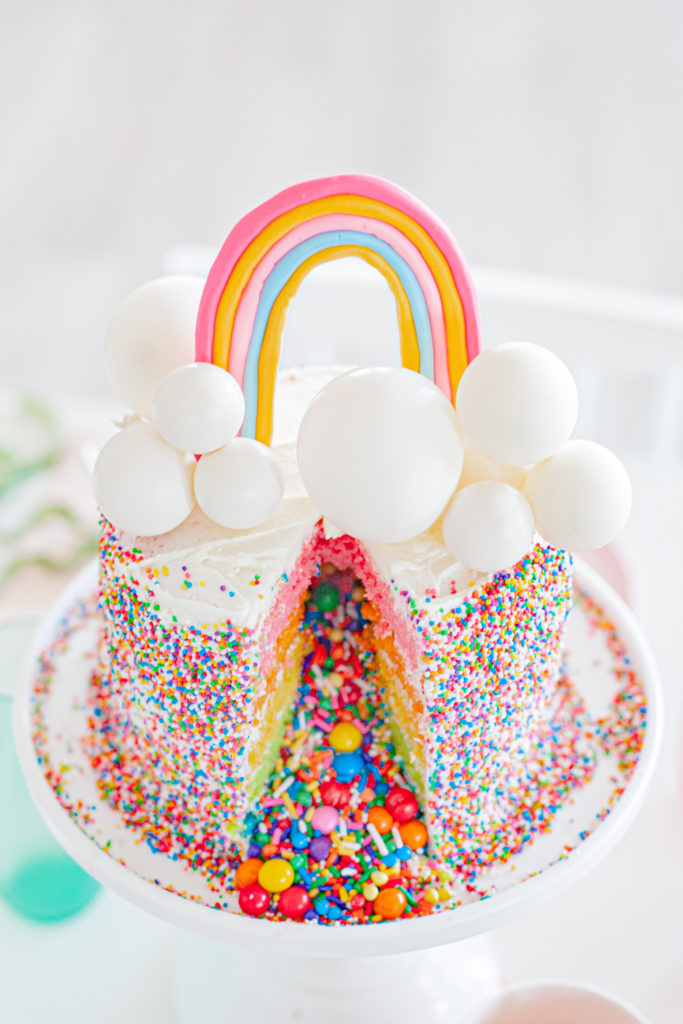
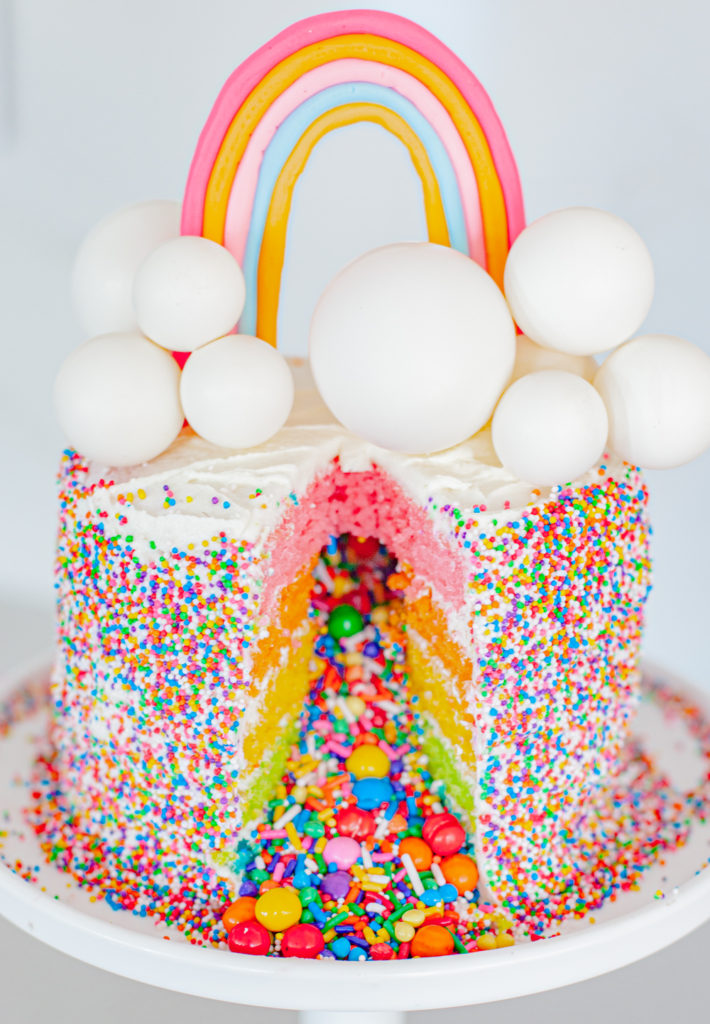
Sprinkle me! Sprinkle me! Pride month inspired me to create this fun cake and topper! Both are a little bit time consuming, but worth it in the end! Williams Sonoma teamed up with Amirah Kassem’s Soho-based Flour Shop bakery to bring you this exclusive kit for whipping up your version of the Instagram-famous Rainbow Explosion Cake at home. You know I had to try it! Plus I added on top a fun DIY rainbow. See how to make it below! Wishing you a little splash of the rainbow today, and lots and lots of sprinkles. Get your forks and brooms ready!
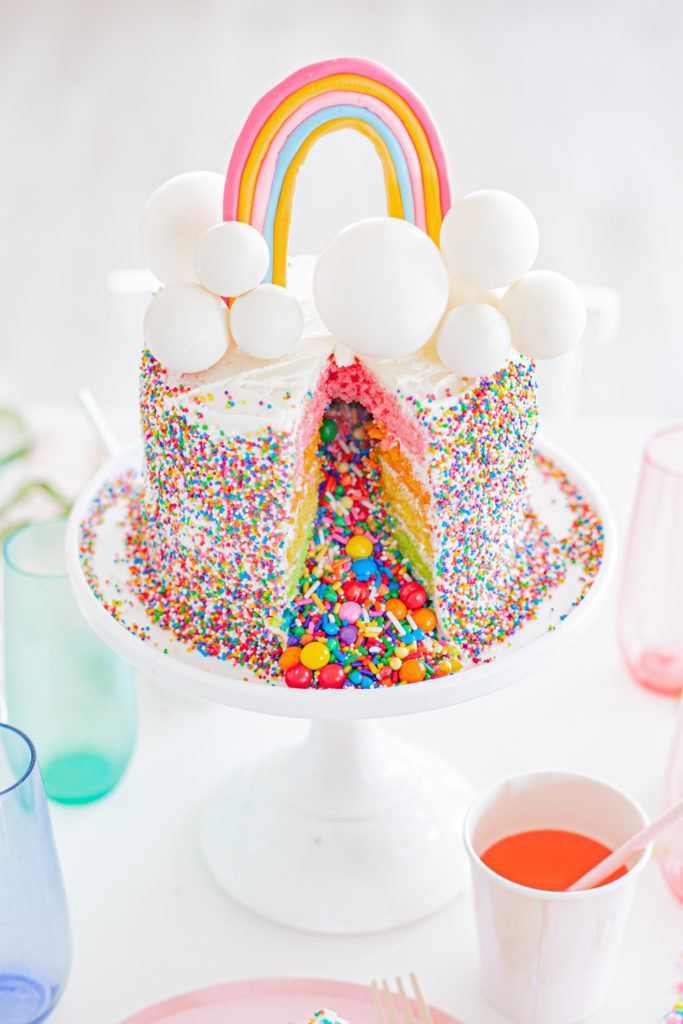
RAINBOW CAKE + DIY TOPPER
W H A T Y A N E E D!
Williams Sonoma Flour Shop Rainbow Cake Kit
Modeling Clay
White Balloons
B U S T O U T:
Mixing Bowls
Cake Tins
Spatula
RAINBOW CAKE
This cake comes with instructions so simply follow those!
RAINBOW TOPPER
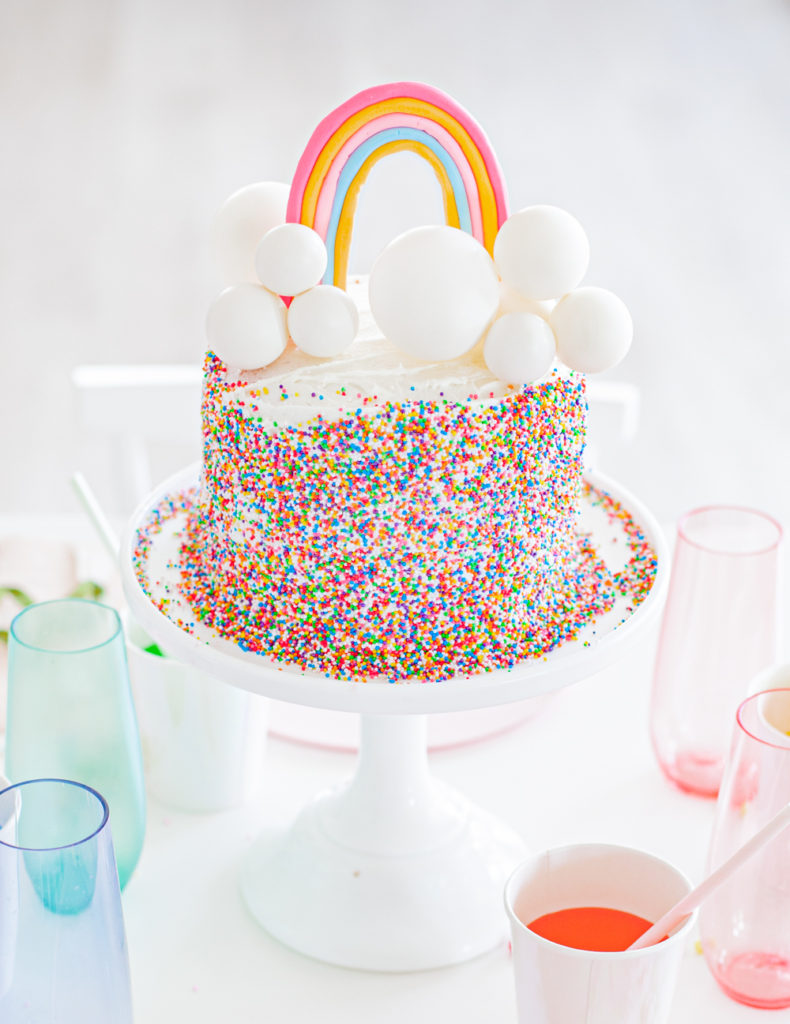
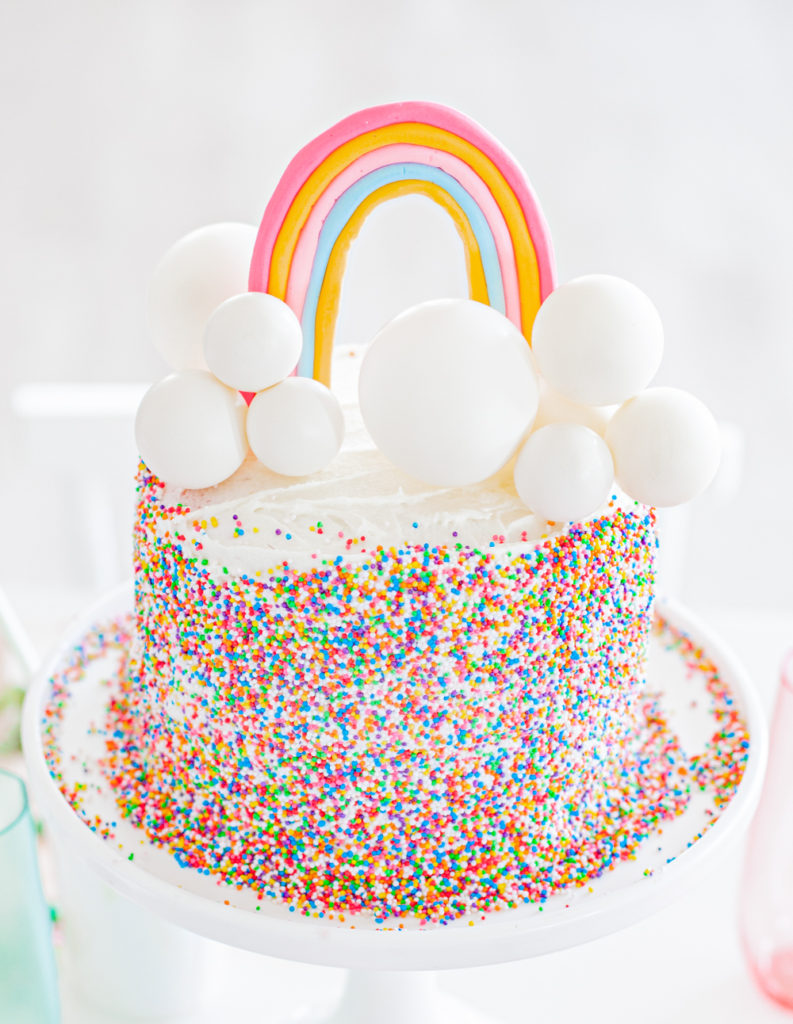
Pick out your colors for the rainbow. Then take a piece of each modeling clay and roll it out like a worm, remember doing this when you were little? Then simply do this for every color you will use. Lastly, place them together into the shape of a rainbow. Easy huh?!?! The steps are few, but it may take you a couple of times to perfect getting them the same size. After you assembled your rainbow, let it sit to dry. It will stick to itself! For the clouds, simply blow up some small white
ASSEMBLING THE TOPPER!
Gently take your rainbow topper and stick it carefully into the top of the cake. Then take your two groups of clouds and SUPER gentling place them in front of the rainbow.
There you have it!
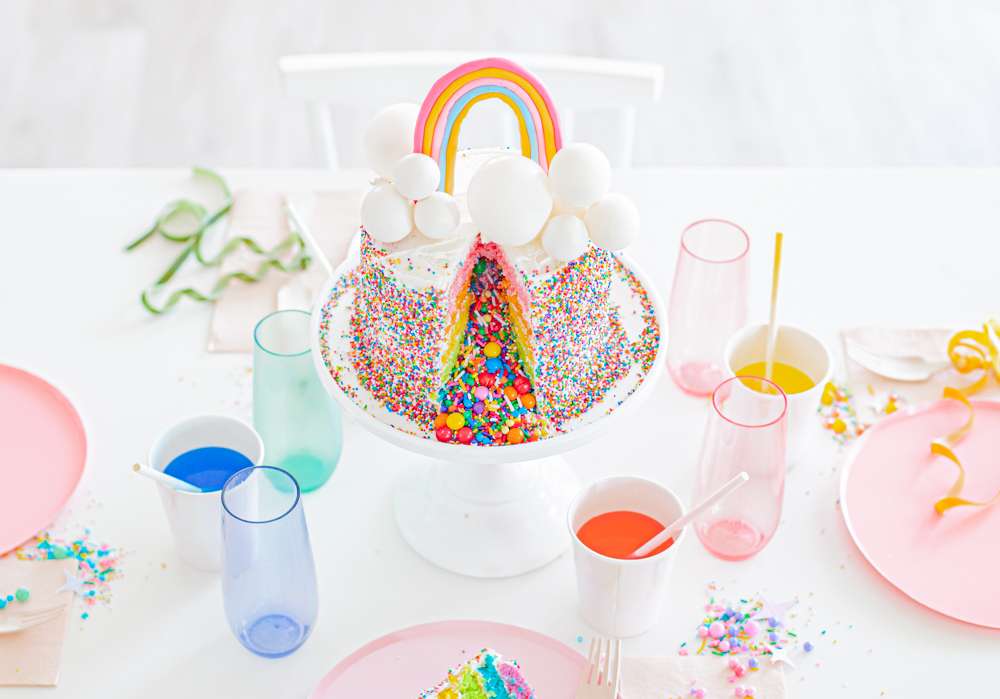
When ready to eat, slice a piece gently and watch the explosion of sprinkles! Both kids and adults will love!
We would love to see you make this by tagging #beijoskitchen
B E I J O S K I T C H E N
xx
Abby


[…] preppykitchen.com http://www.anasbakingchronicles.com http://www.blog.gathergoodsco.com studiodiy.com http://www.beijosevents.com http://www.flavourtownbakery.co.uk http://www.playdoughtoplato.com curlygirlkitchen.com […]
[…] BEIJOS EVENTS . COM […]