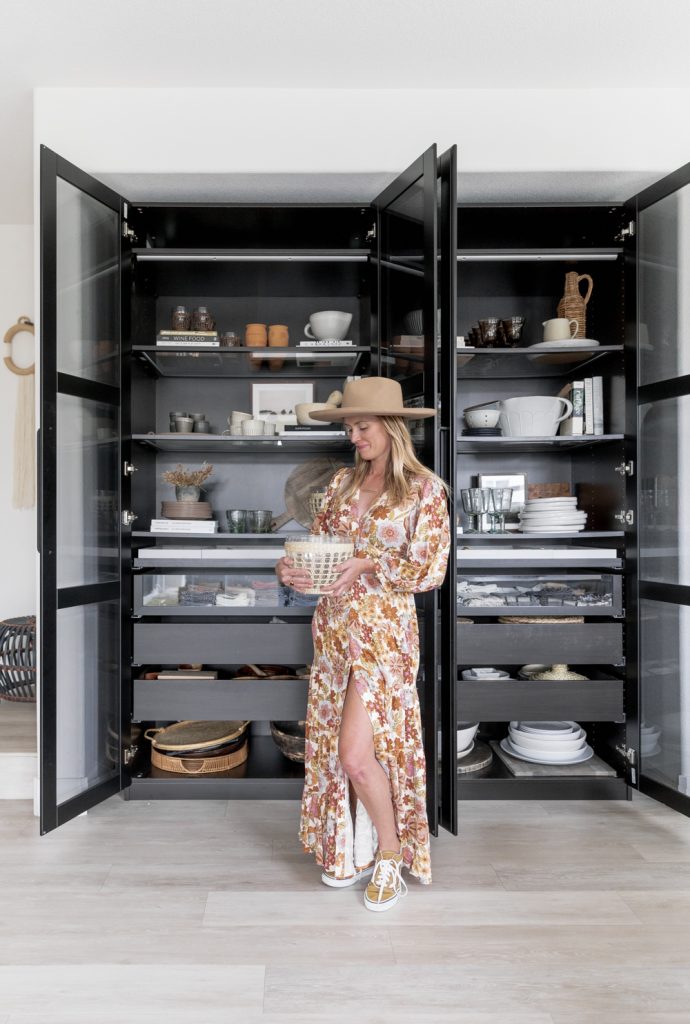
You guys ready for some good shopping today?!? I recently and finally finished styling my kitchen hutch. It took a while to find the perfect items to use, and frankly, it was a little intimdating when I first started. I must have rearranged each shelf at least ten times. There are so many ways to do it, which I feel makes it a little overwhelming. So I thought today, I would share some design tips for styling a hutch, shelf, or a buffet. Plus, of course, you can shop all the goodies below too!
Photos by Dayna Studios

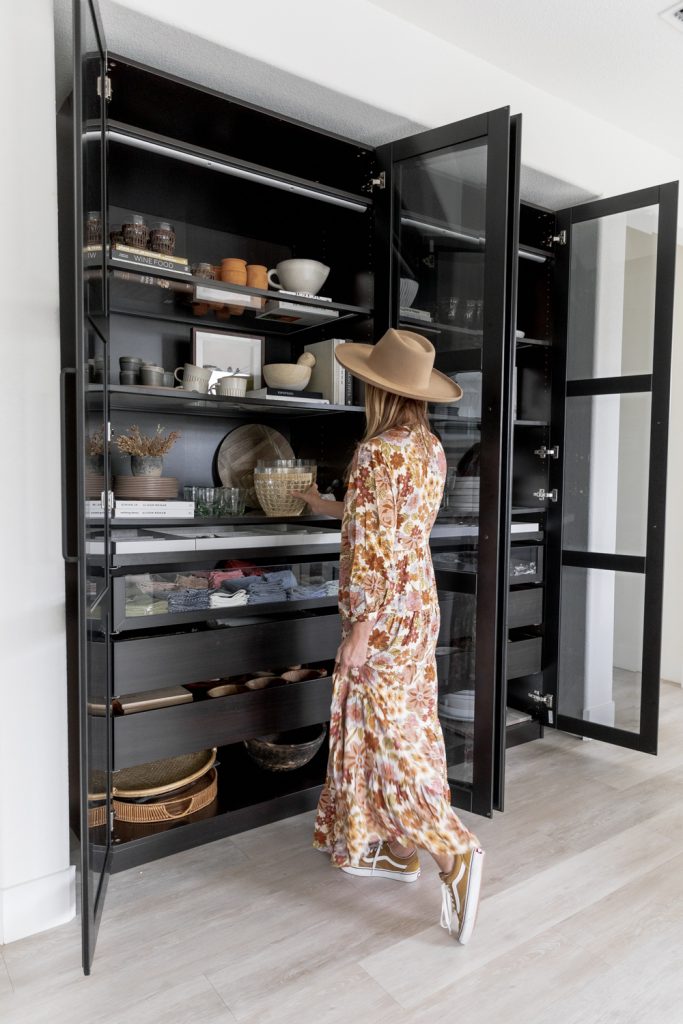
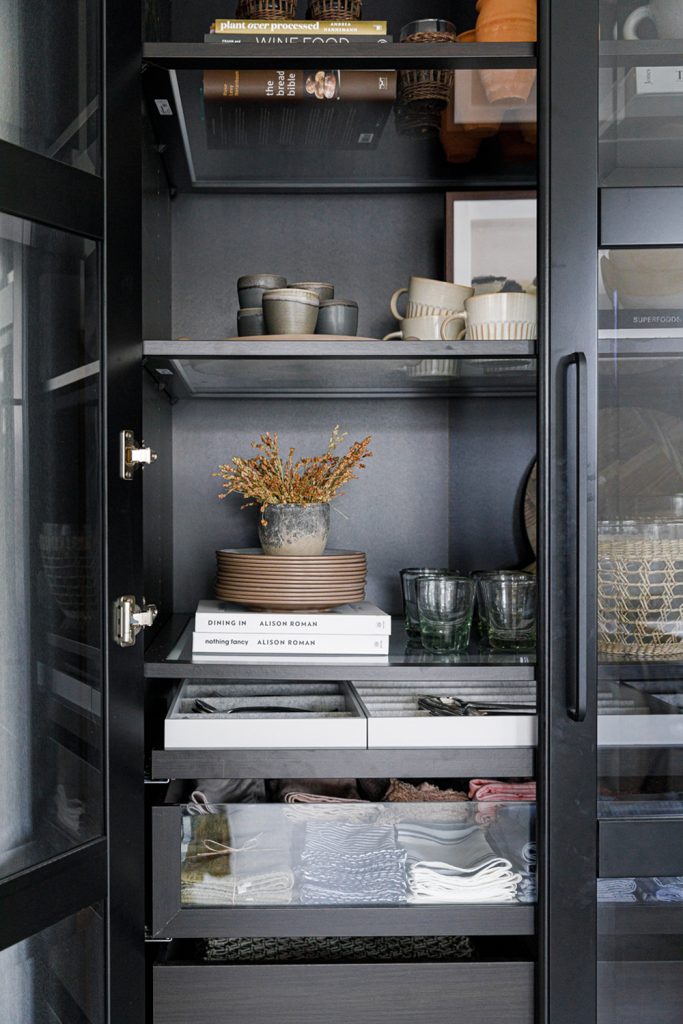
In our house, we had this blank wall screaming to have something custom built inside of it. The hubby and I couldn’t agree on what we wanted to do with the space, so in the meantime, we got Ikea’s closet cabinet and placed it inside. Ikea has some great cabinet options and even creates and customizes the inside with shelving and pull-out trays. Once it was all built, it was time to style it all up!
ORGANIZE
The best styling tip that I think helped me in the very beginning was organizing all your items. You should have seen my kitchen floor for a couple of months. I took all the things out of the hutch and started to organize them on the floor. By organizing, I mean I grouped items like napkins together. So plates, glassware, chargers, serving ware, cookbooks, you get the picture.
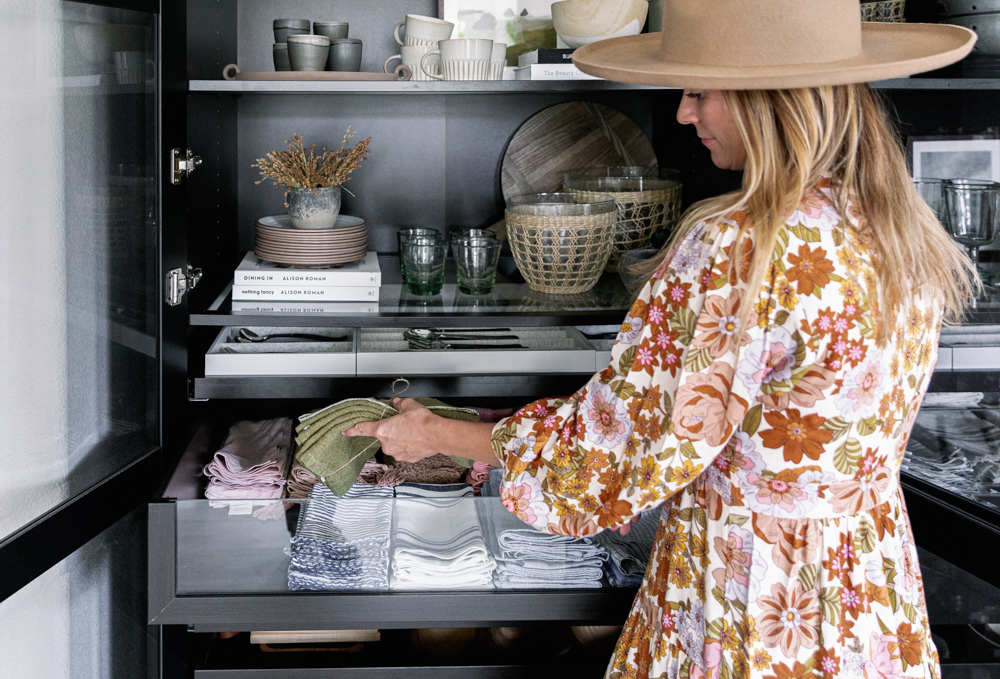
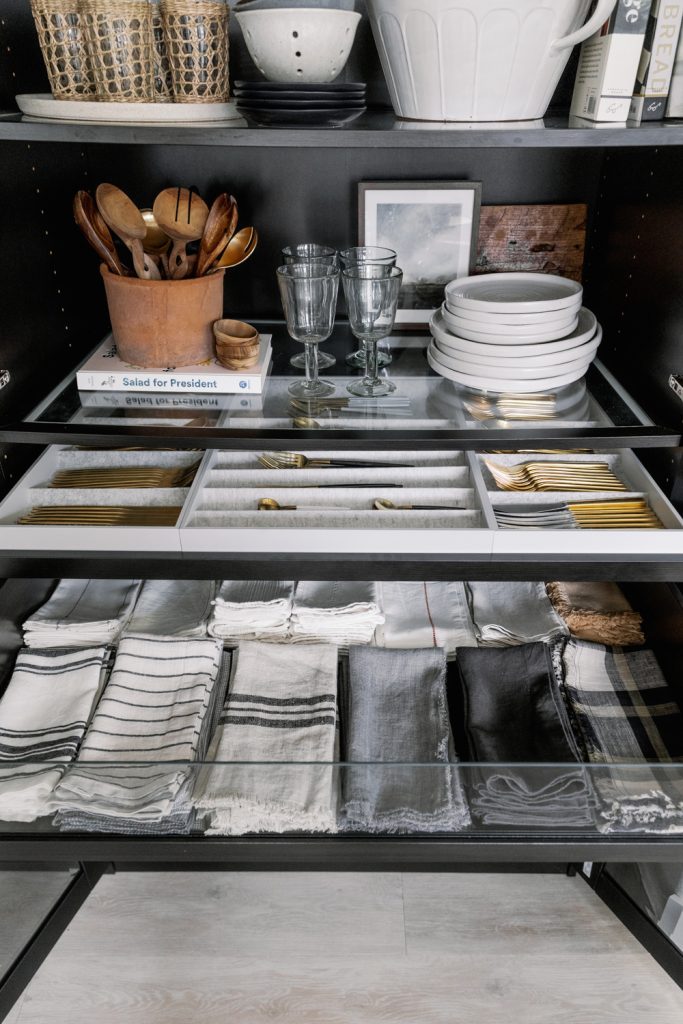
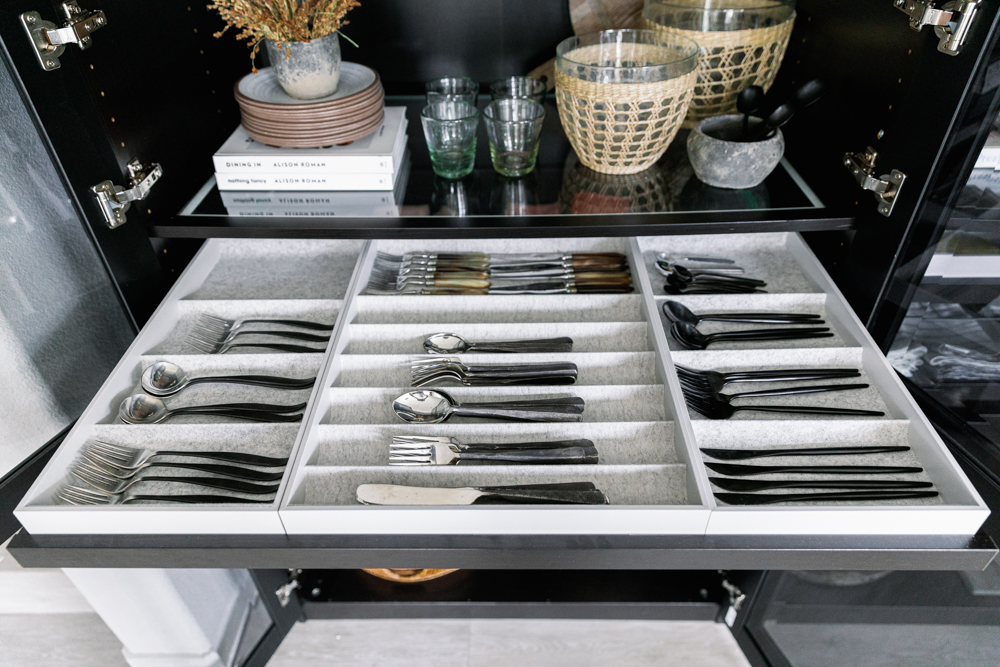
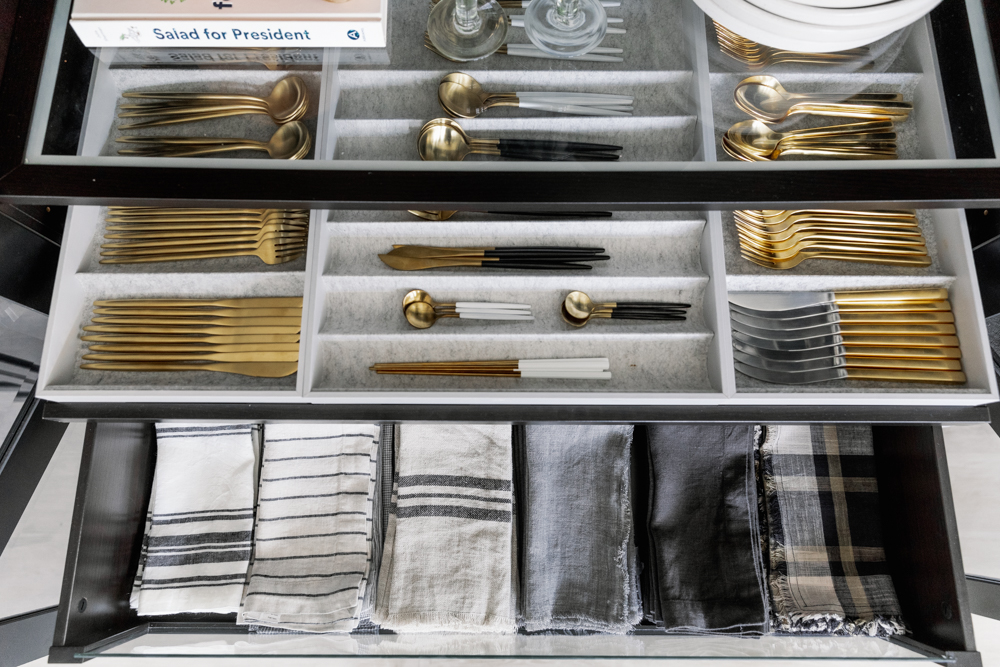
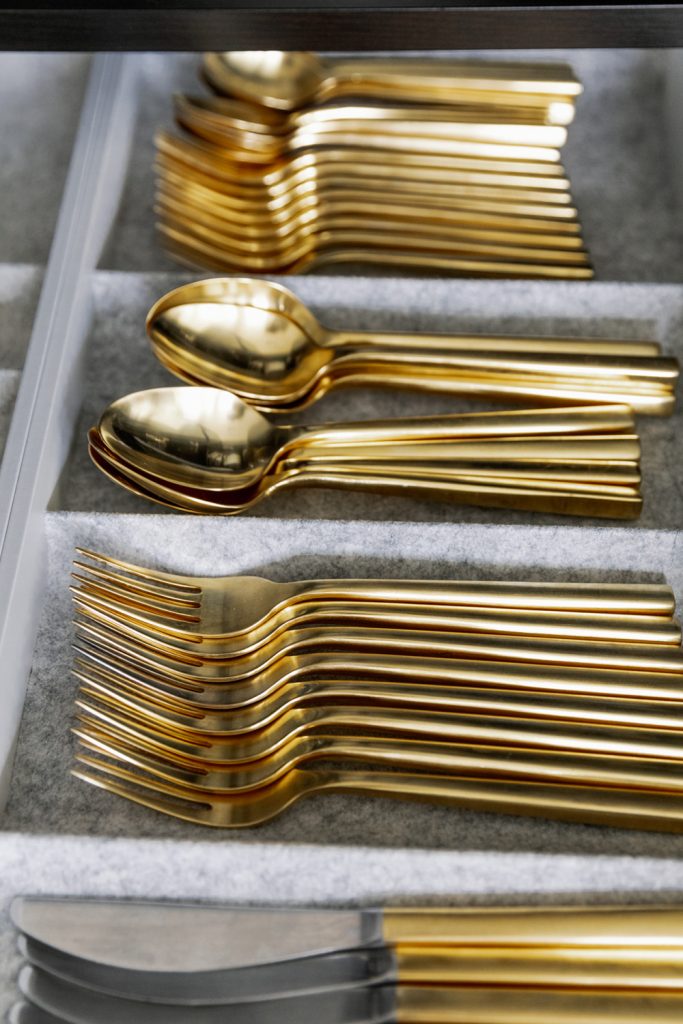
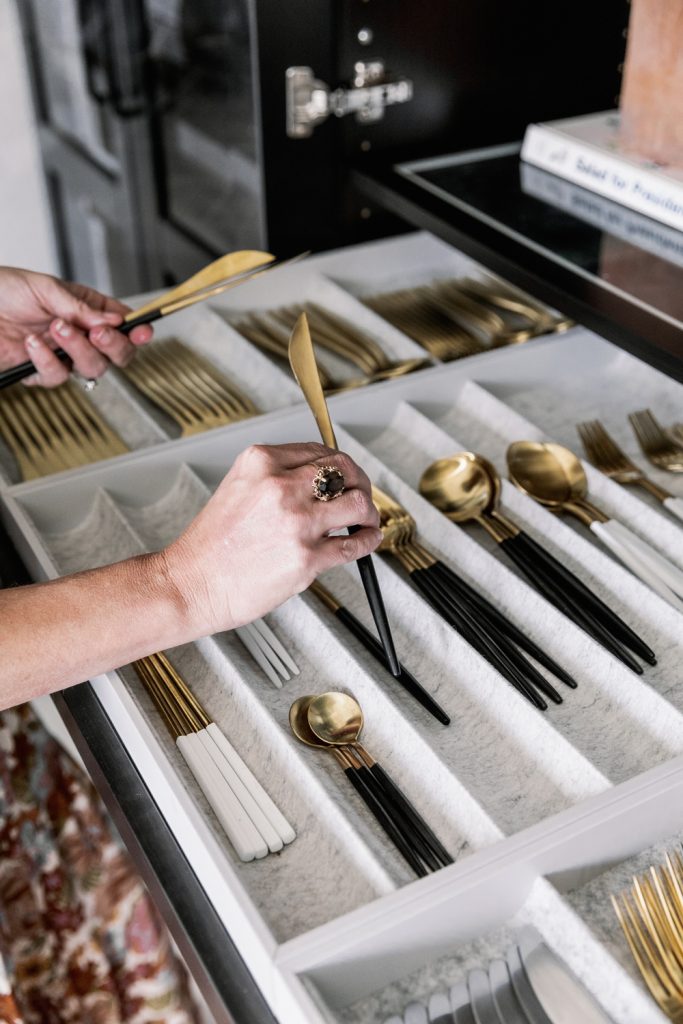
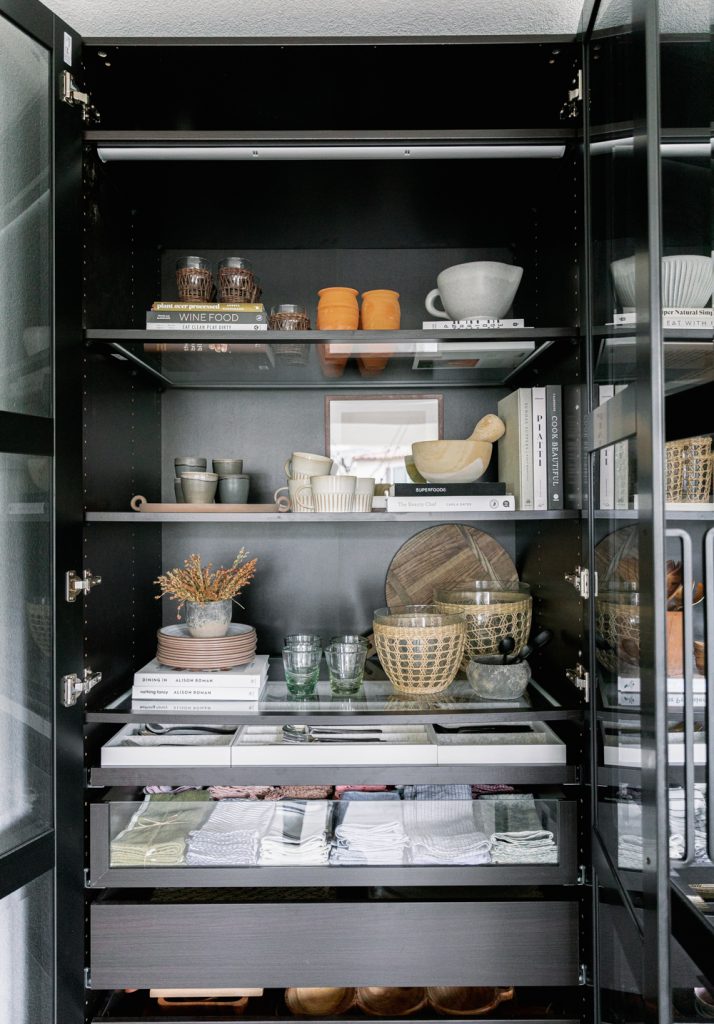
I love the fact that this hutch has pull-out trays and drawers. My main goal was to have the hutch look like a shop. So I placed napkins and flatware in the pull-out trays. And yes, I realize I have a napkin hoarder situation going on. Once you have all your items grouped, it’s time to decide what will go where. In the drawers were items like placemats and chargers grouped together. By placing them together, creates simplicity and looks neat and clean.
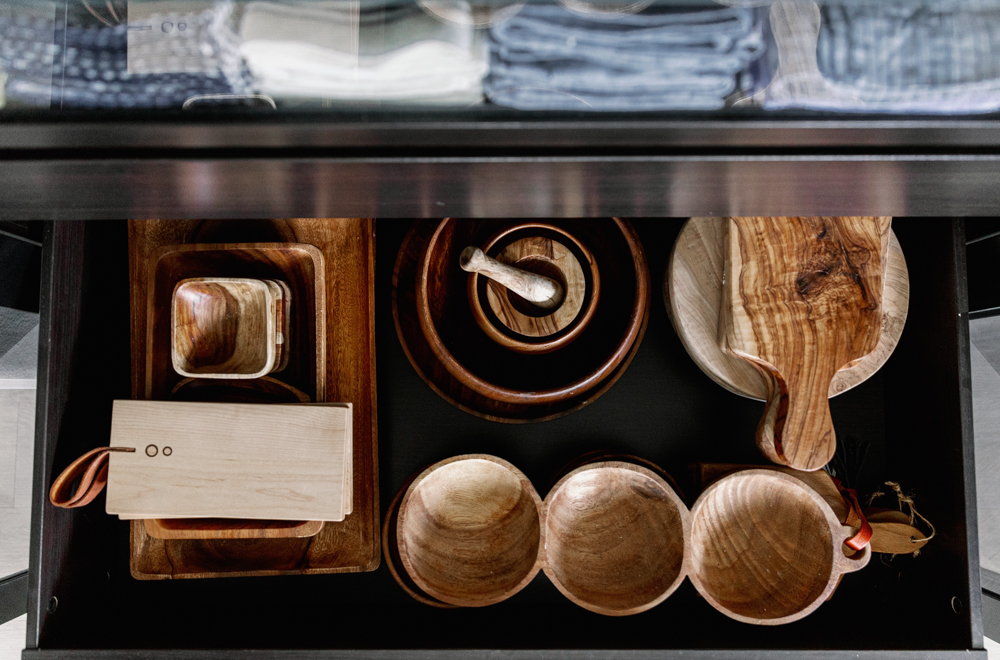
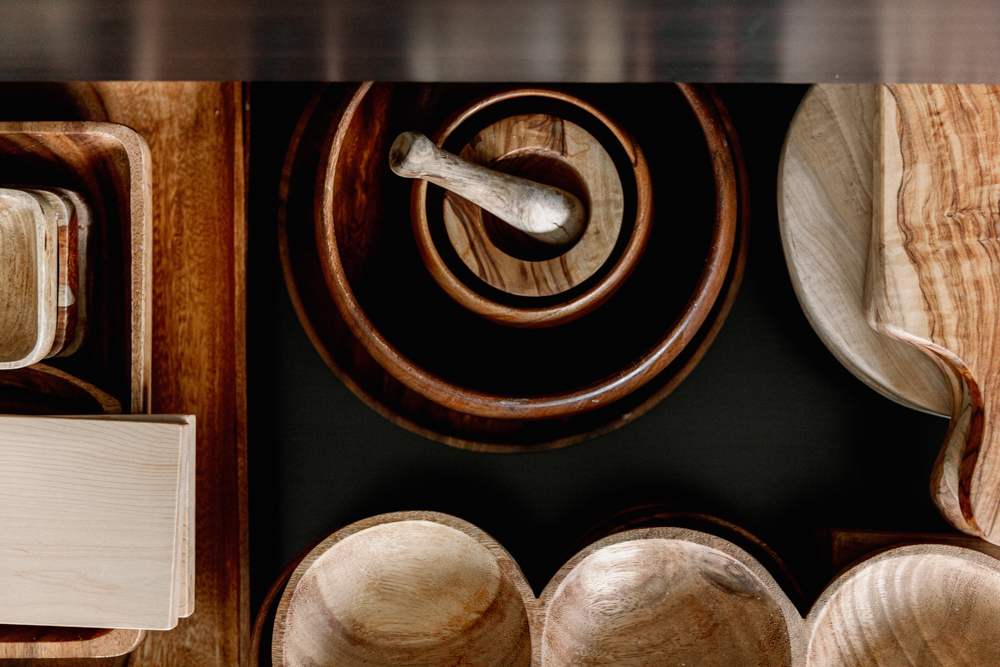
On the bottom of the hutch, I layered and placed all my serving trays and bowls. Many of them are heavy, so I didn’t want to put them inside a drawer or shelf, plus they are bulky-looking. Layer them from biggest to most minor to create a clean look.
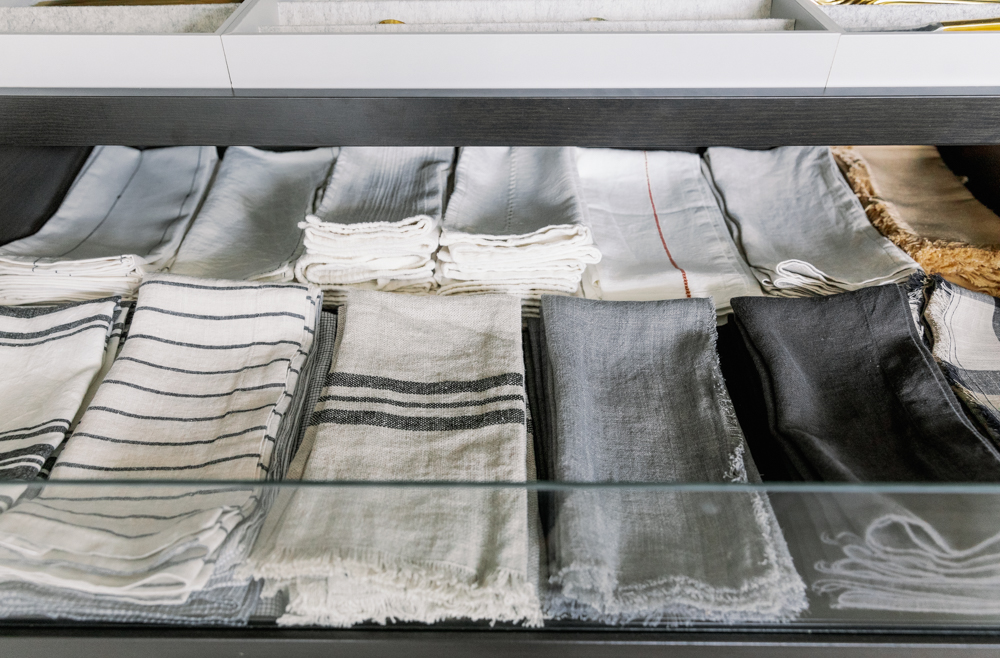

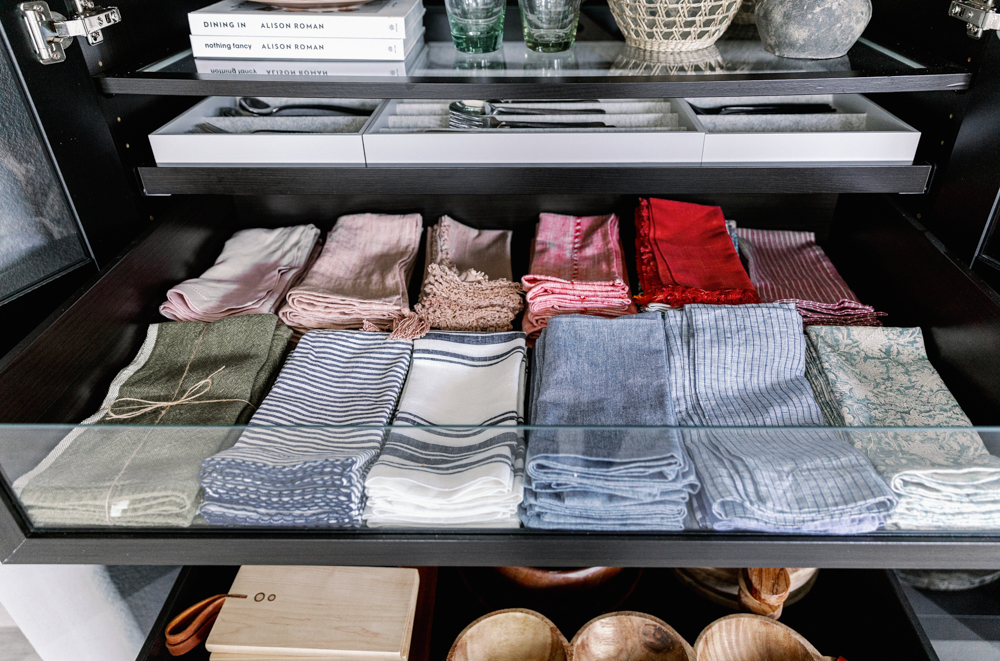
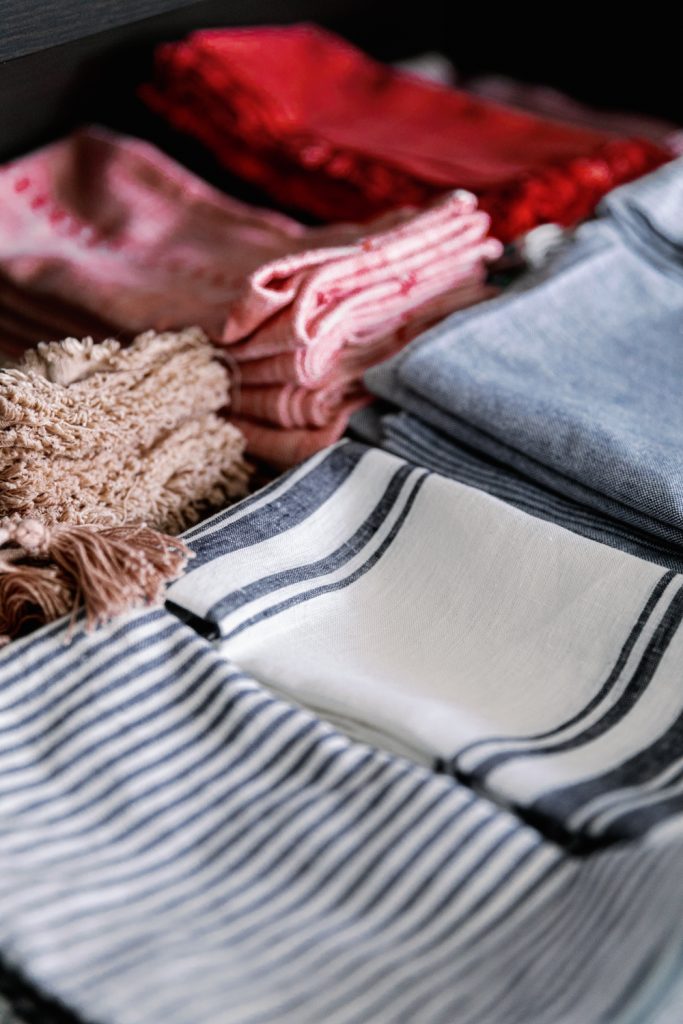

NAPKINS

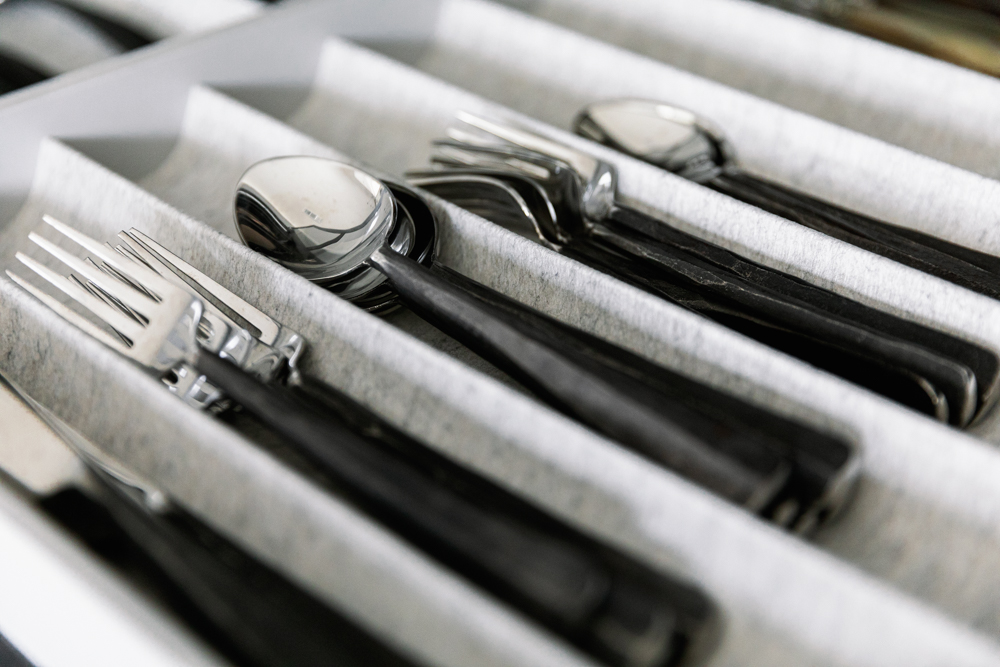
FLATWARE
CHARGERS
LAYERS
Now the fun part, the shelves! Before I talk about layers, let’s chat about colors. I think it’s essential to pick a color palette that will flow together. I used neutral tones like cream, grays, browns, blacks, and so on. It helps with the flow of the shelves. Think about if you had a random bright color in there. It feels like it’s not at home with the other colors, its stands out awkwardly. So pick some coordinating tones when picking out your items.
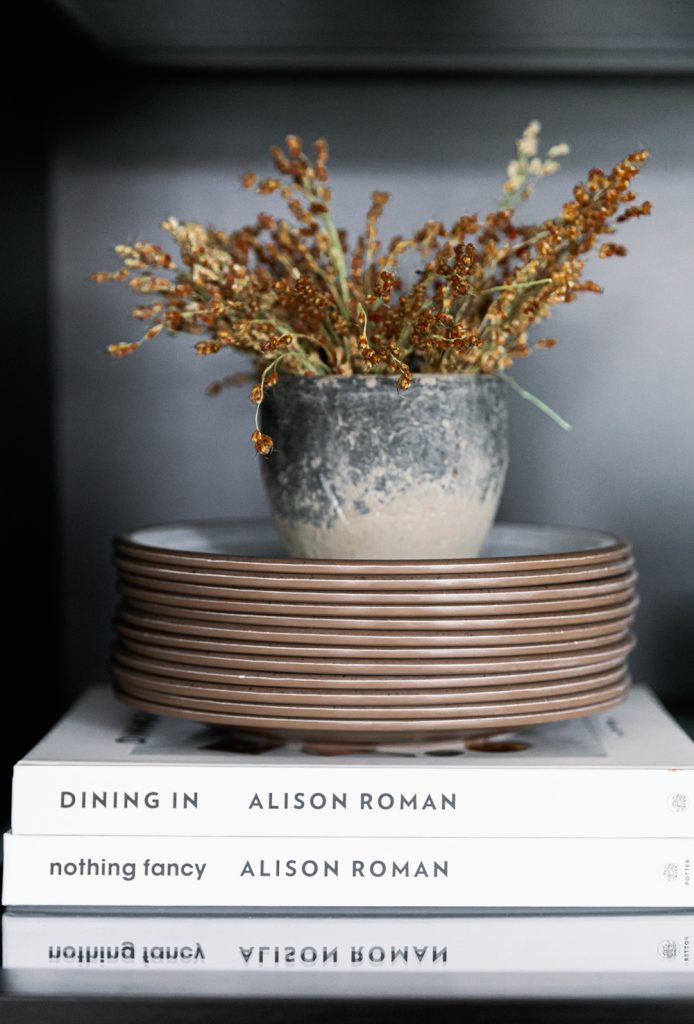
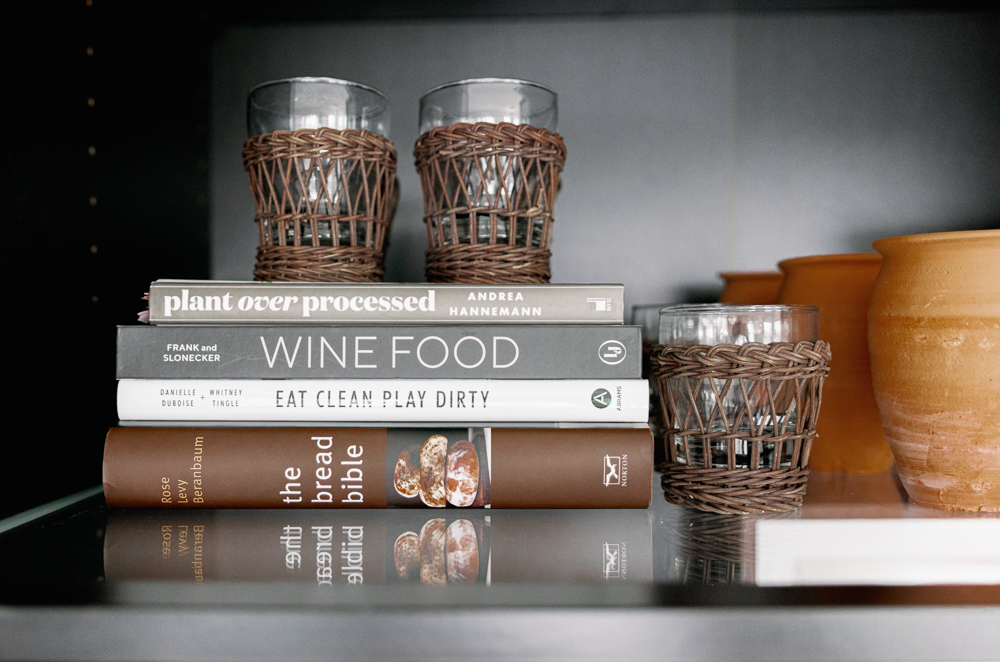
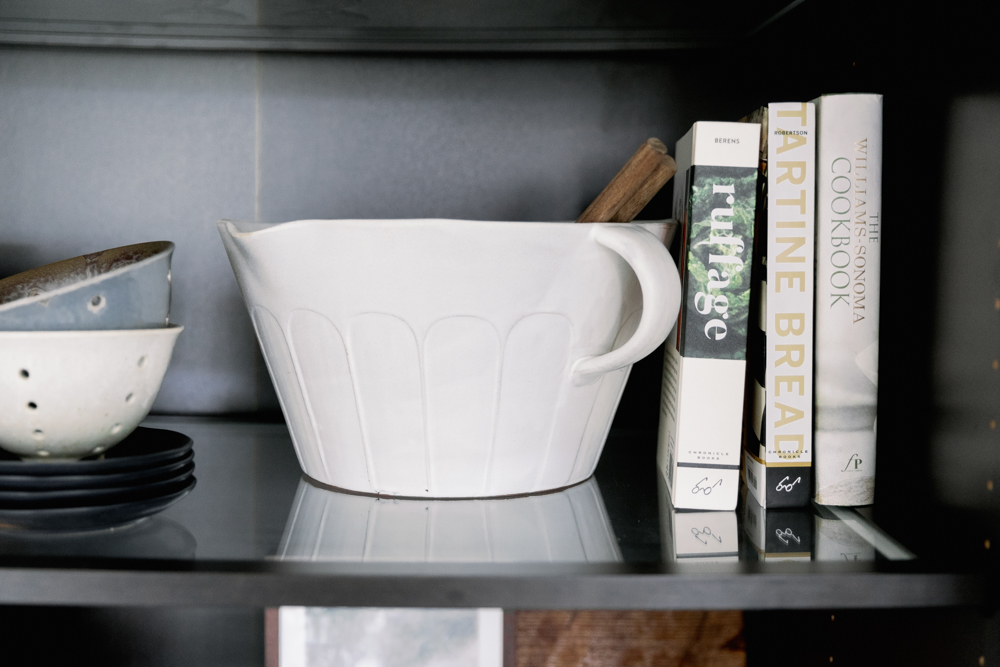
Like I said earlier, I must have rearranged the shelves at least ten times. I still will walk by sometimes and move a thing around. So for me, I’m not a professional stylist, but I feel you need to create layers on the shelves, so it creates an even flow look. Pick a couple of items to use on each shelf that you will repeat on each shelf. I used things like cookbooks, bowls, artwork, glassware, and trays. To create layers, you can place a tray and then layer on top with some pretty glassware. Or add cookbooks and place a bowl on top of them. Adding some framed art prints in the back is another way of layering. Adding layers in front of each other like a tray in the back of stacked plates. There are ways way to layer it up and create dimensions for the shelves.
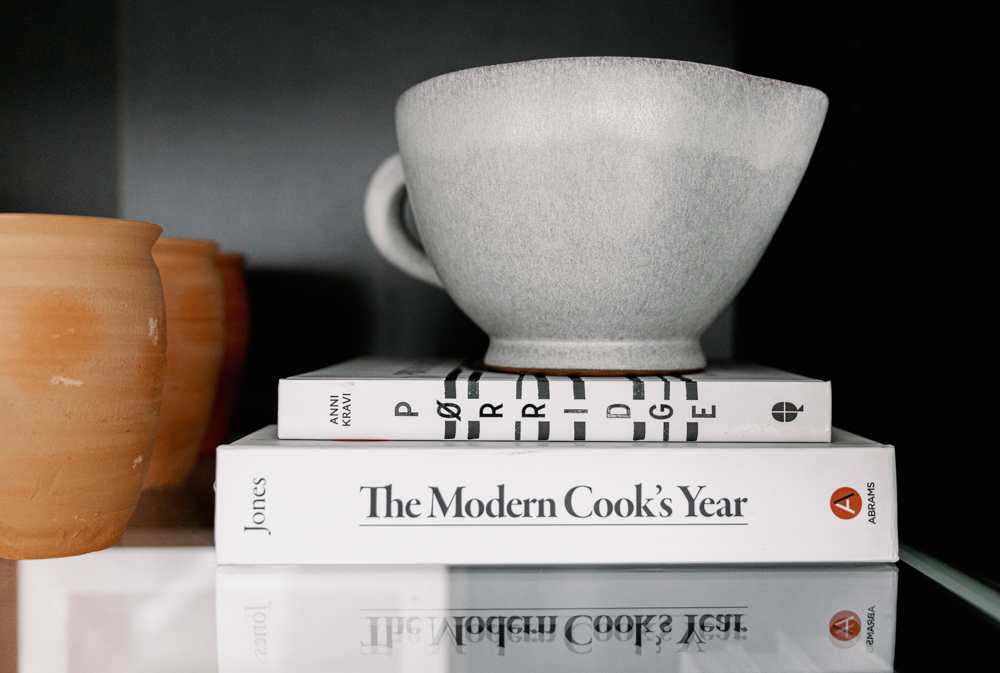
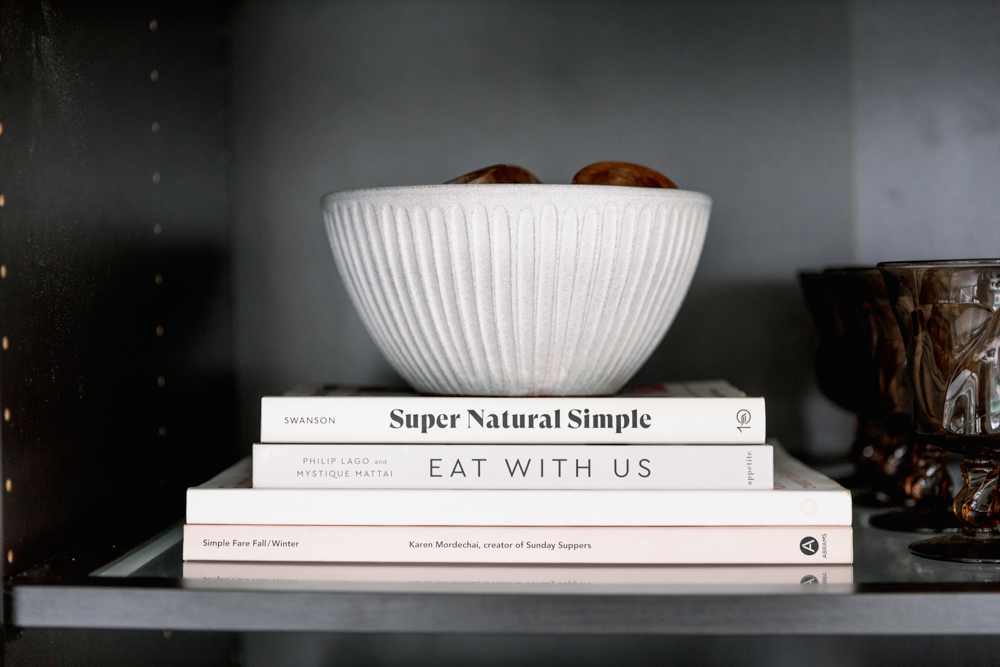
COOKBOOKS
ART PRINTS
HEIGHT
Everything can’t be on the same level. Frankly, it will just look blah. Create height by layering up different elements that are not the same size next to each other. Also, when you add some height to one end of a shelf and then again at the other, it balances it out.

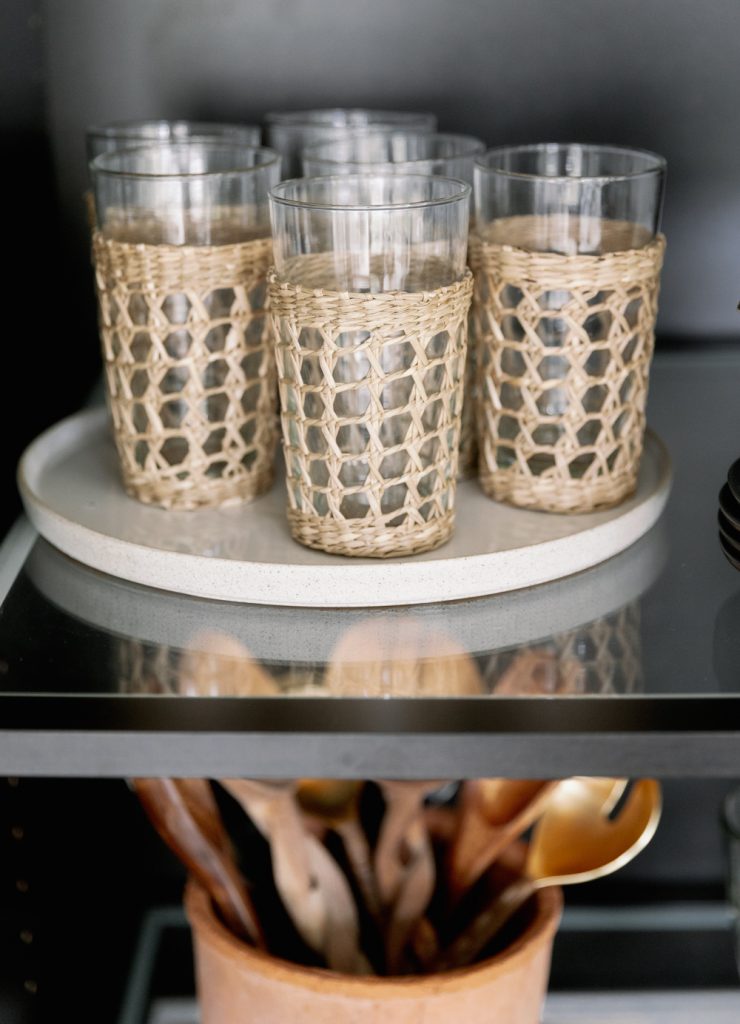
GLASSWARE
BOWLS
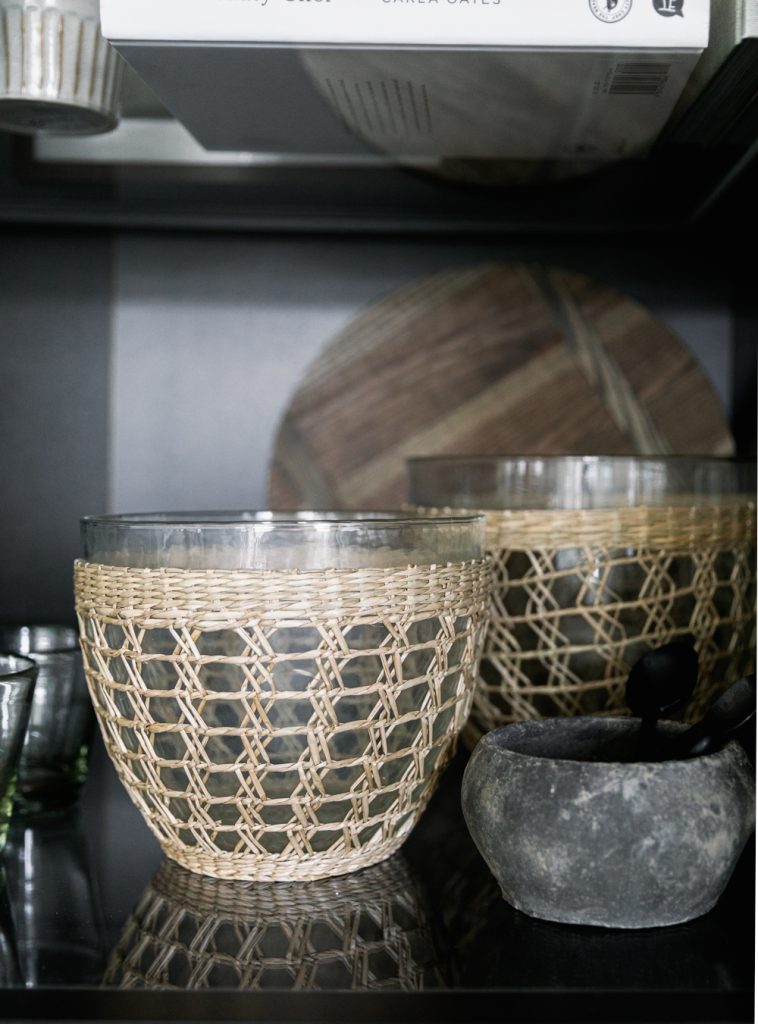
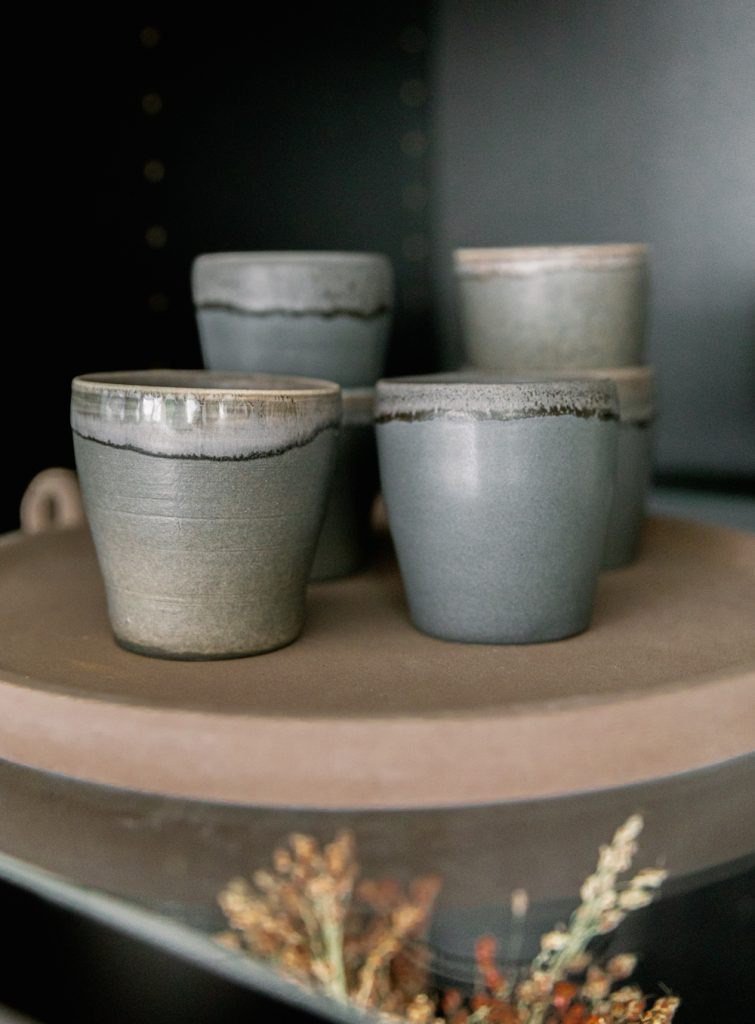
TEXTURE
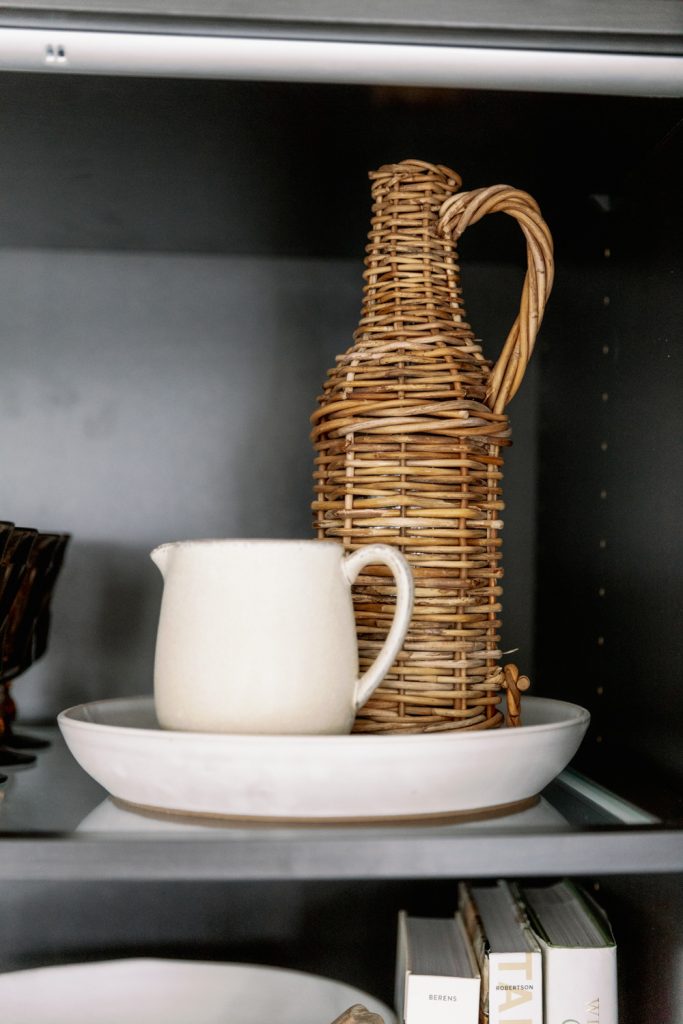
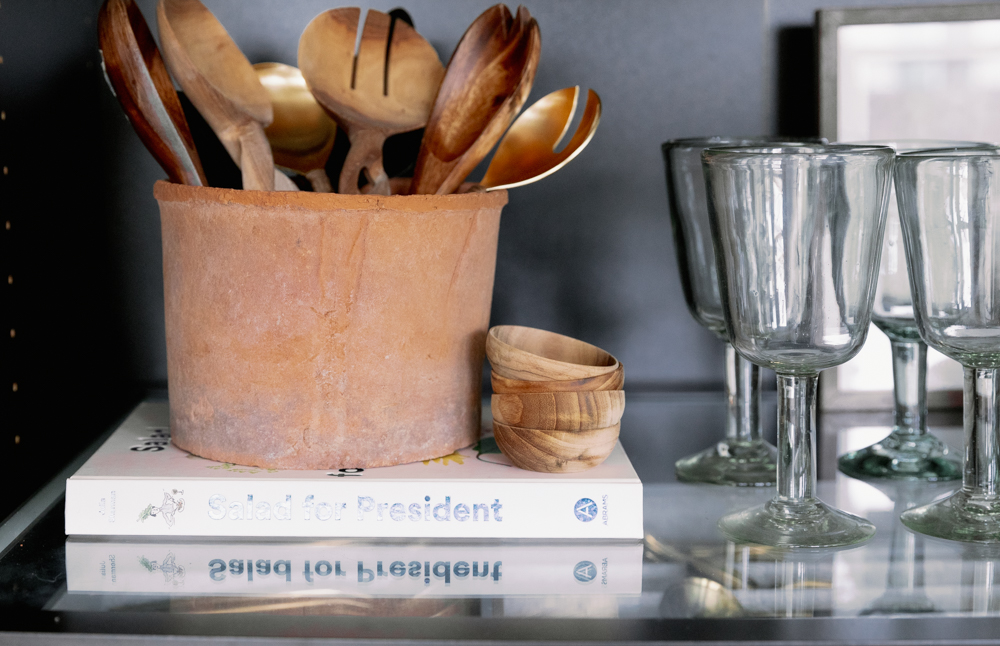
Along with adding layers within the shelves, creating texture, I think it is a great tip! Using items like rattan, ceramic, wood, metal, terra-cotta, and glass, you can create consistency within the shelves. Another way I added some texture was by adding some dried flowers. You could do this by adding greenery in too. It’s kind of like a little pop of life in the hutch. Just head out to your backyard, snip some branches off your tree, and place them in a decorative vase.


WOOD ELEMENTS
SERVEWARE
BALANCE
This is another excellent tip that I think helped me a lot! Balance your elements. What I mean by this is that if you do a rattan element on one shelf, you should incorporate another type or piece of that rattan element on another shelf, such as the cookbooks. I placed them on the opposite end of each other. A couple of books were on the bottom left shelf and then again on the next right-hand shelf. It is like creating a “z” pattern on the shelves.

PLATES
DECORATIVE ACCENTS
I hope this helps anyone who is just starting or looking to organize it up this winter!
xx
Abby