M-I-C-K-E-Y M-O-U-S-E!
MICKEY MOUSE!
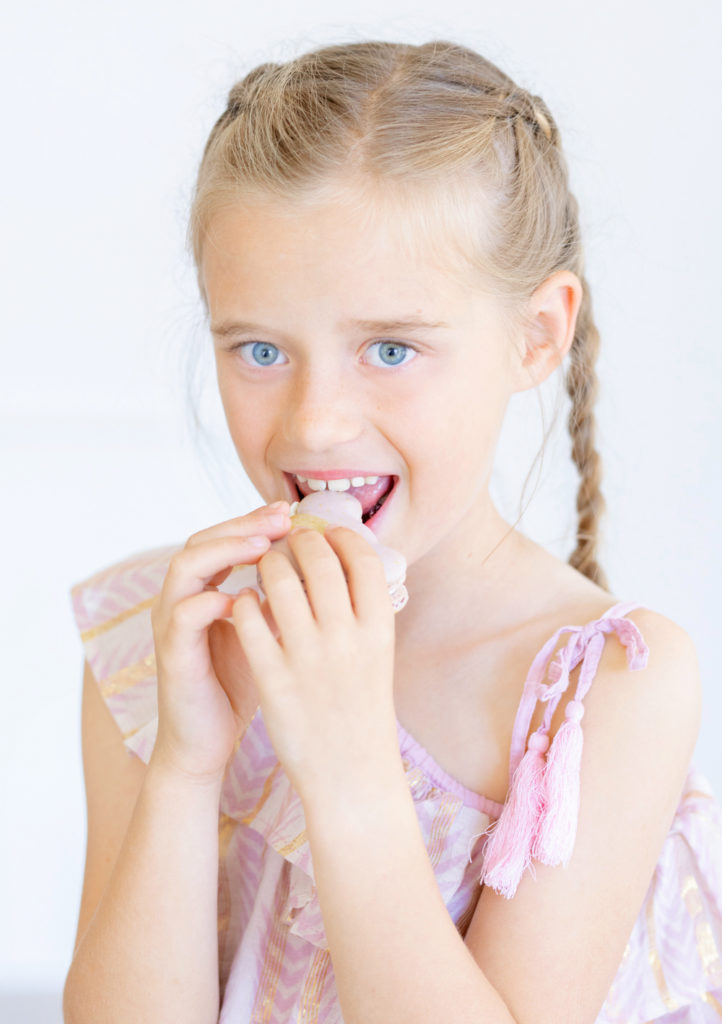
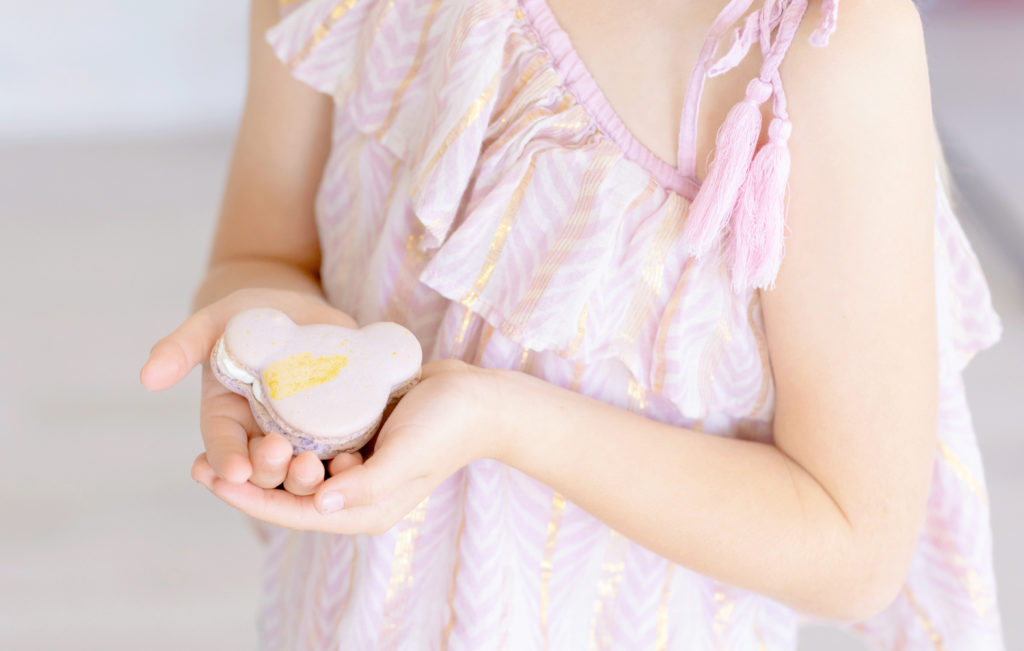
Macarons!
MICKEY MOUSE!
Macarons!
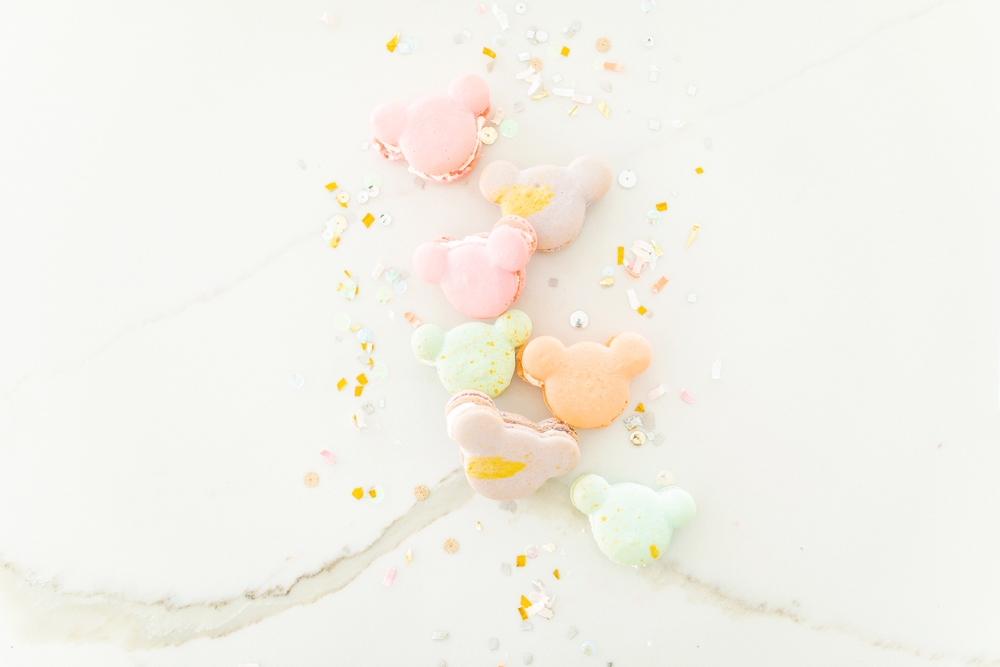
We are ending our Disney week on a sweet note with some mickey mouse macarons! Yes! Macarons! Finding a treat to make, Disney style, it has to be a goodie, it can’t just be a mickey mouse shaped pretzel. It has to be good! It’s Disney after all. I’m nowhere near a baker, so these sweet fluffy treats were a challenge for me to make. If you have ever tried to make macarons, then you know exactly what I’m talking about here. But I love a challenge, and after 3-4 rounds of sad looking Mickeys, I finally did it!
 Macarons are a sweet meringue-based confection made with egg white, icing sugar, granulated sugar, almond powder or ground almond, and food coloring. Outside France, a typical macaron is presented with a ganache, buttercream or jam filling sandwiched between two such cookies.
I highly recommend watching a couple of YouTube videos on how to make these light of a feather French treat, cause these babies are quite the challenge. My recipe is pretty classic and straight to the point with no fuss. I wanted to focus on getting these mickeys perfect before playing around with flavors and fillings. Stay tuned for some more macarons with a beijos twist!
It’s Friday, so if you have no plans, you can spend it making these cute little guys and wowing your guests! Move over Martha!
 I N G R E D I E N T S
recipe makes 9-10 macarons
40g almond flour
49g powdered sugar
One drop food coloring (I made several batches in different colors)
33g aged egg whites (aka room temp egg whites)
25g baking/caster sugar
filling of your choice


 D I R E C T I O N S
The first thing you’ll need to do is prepare your baking surface, and measure out your ingredients. I highly recommend to measure everything out before you start. I used a silicone Mickey mouse mat, found here. You will need a template to ensure the cookies are uniform in shape. You can use parchment paper or a silicone mat and then place a paper template underneath. But I recommend getting the mouse-shaped mat, its a much easier process. If you do the paper template, don’t forget to slip the paper templates out from under the parchment before baking.
Now it’s time to measure out the dry ingredients. You’ll need 49 grams of powdered sugar. Yes, a scale is handy here. I use this one. Trust me; you will want the scale for this! After measuring the powdered sugar, then measure your almond flour.
There are two methods you can do on this step. Food processor or sift thru a mesh sleeve. Either work! Place both the powdered sugar and the almond meal into a food processor and blend for a couple of minutes. Or you can use a mesh sleeve sifter to make sure you have no lumps.
Set the almond meal/sugar mixture aside, and it’s time to whip those egg whites. Now, there is a debate in the macaron world if you should have room temp egg whites or just grabbing them straight out of the fridge. I let my come to room temp, but you can play around and see if the cold egg whites work. Here is a little shortcut for you! You can dump in the egg whites and sugar in the bowl.
Let’s whip! I like to start low making sure everything is getting blended before turning the speed up higher. This step will take awhile so be patient! They should begin to lighten and get creamy. Check ever so often to see if they are to the stiff peak stage. Once the egg whites have a stiff peak, add your gel-based food coloring.
Let’s chat about food coloring really fast! I found my gel-based food coloring on Amazon. You want to use gel-based because the liquid food colors you get from the store will make your egg whites liquidy, and the macarons will brown in the oven. And you do NOT want a flawlessly colored macaroon with brown edges. No way, Jose!
Also, note, when you add your food color to the macarons mix, go a couple of shades darker than you want. When the cookies bake, they tend to lose a little bit of color.
Back to baking, let’s incorporate the almond meal/sugar mixture into the egg white mixture. This step is another crucial part of making macarons. We want the eggs and the almonds to come together, so instead of stirring, you need to fold the almond mixture into egg whites gently. This is where you really need to pay attention! You can fold this too much, letting out too much air, and it will be too runny. You want to keep folding the batter until it starts to smooth out just a bit, and to where it can slowly slip off the spatula….kind of like hot lava. If you don’t mix it enough, the shells will crack, but if you over mix it, then it becomes too runny for the cookies to set up. I counted about 15-20 folds.
Fit a pastry bag with a larger round tip. I like to place the pastry bag in a cup to help keep it open while I fill. Fill the pastry bag up, and you are ready to pipe! Twist the end of the bag so the batter won’t fall out of the top while you are piping.
To pipe the macarons shells, hold the bag straight up, and gently squeeze until the batter fills almost the whole template circle. Then, slowly release up and out. This is where watching a YouTube video comes in handy. This might take a bit of practice, but you will get the hang of it.
One of the last steps! This is important one too! Whacking the trays on the counter. It helps to release any air bubbles that might be trapped in your cookies and helps even out the cookies. LASTLY! Yay! Let your macarons rest. Let them sit for 20 to 30 minutes on your countertop until they dry out a bit and form a skin on them. You want to do this because the skin keeps the cookies from spreading during baking.
Bake at 300 degrees for about 13 minutes. I usually sit on the floor and watch the oven; it’s kinda fun to see them puff up. This is where you can see if they will crack or may not even puff up. If either of those occurs, you gotta start again. When you remove them from the oven, let them cool before peeling them off your silicone mat or parchment paper. Be patient and wait! I know its hard, but if you take them off while they are hot, you may ruin them!
Now, its time to fill these mickeys up! When fully cooled, assemble the macarons with your choice of filling. The assembled macarons can be stored in an airtight container in the refrigerator for up to one week. Congrats on making macarons! It’s definitely a sweet treat to all that hard work! But your guests will be so wowed by your baking ability!
Be careful where you store these, little hands find their way fast to these fun macarons! Mine lasted, maybe 10 min on the platter.
xx
Abby
SaveSave
SaveSave
SaveSave