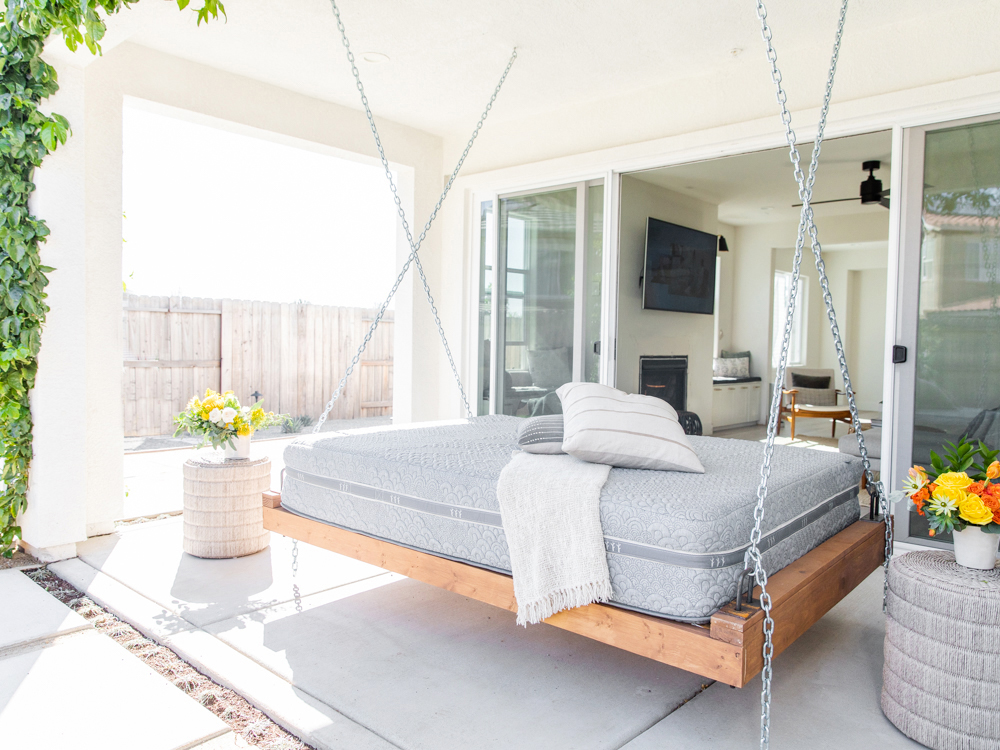
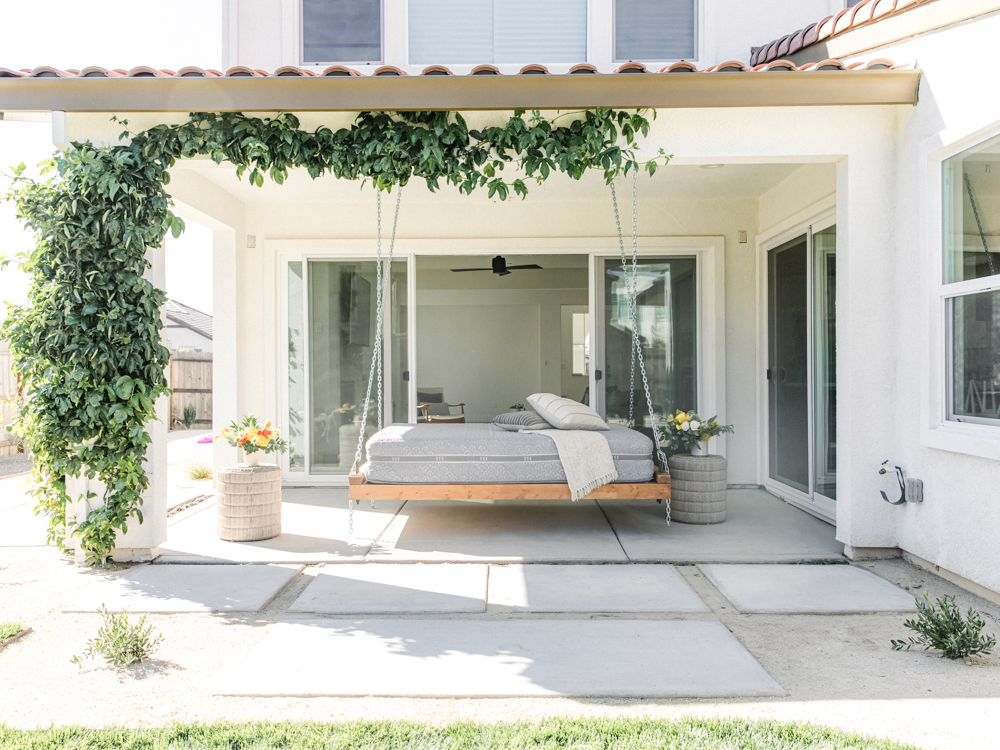
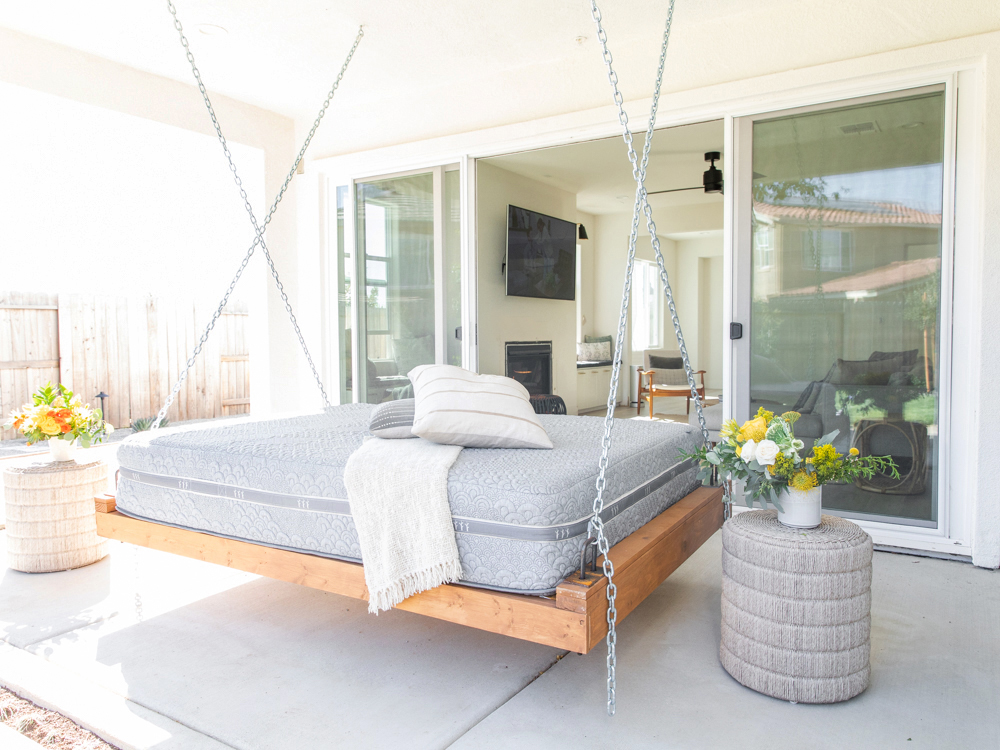
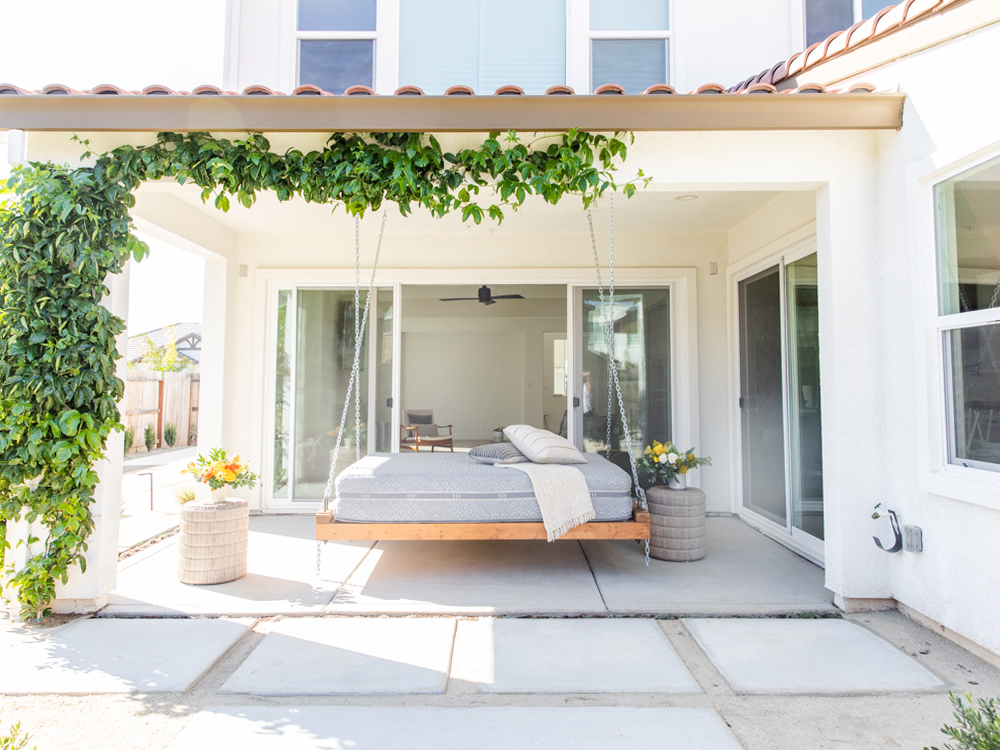
When we moved into our home a couple of years ago, I knew exactly what I wanted to do with our “California” room. It is an outdoor covered patio area. Most people will put some lounge furniture or even build their outdoor bbq area there. I wanted a daybed! Doesn’t nothing seem better than taking a nap outside?!?! It took some convincing, but I finally got my husband to build one for me! And here she is! I asked him to get give a little play by play so if you are thinking of building one, you have some inspiration! The steps are long so ready to read away! But 1st let’s chat about the mattress!
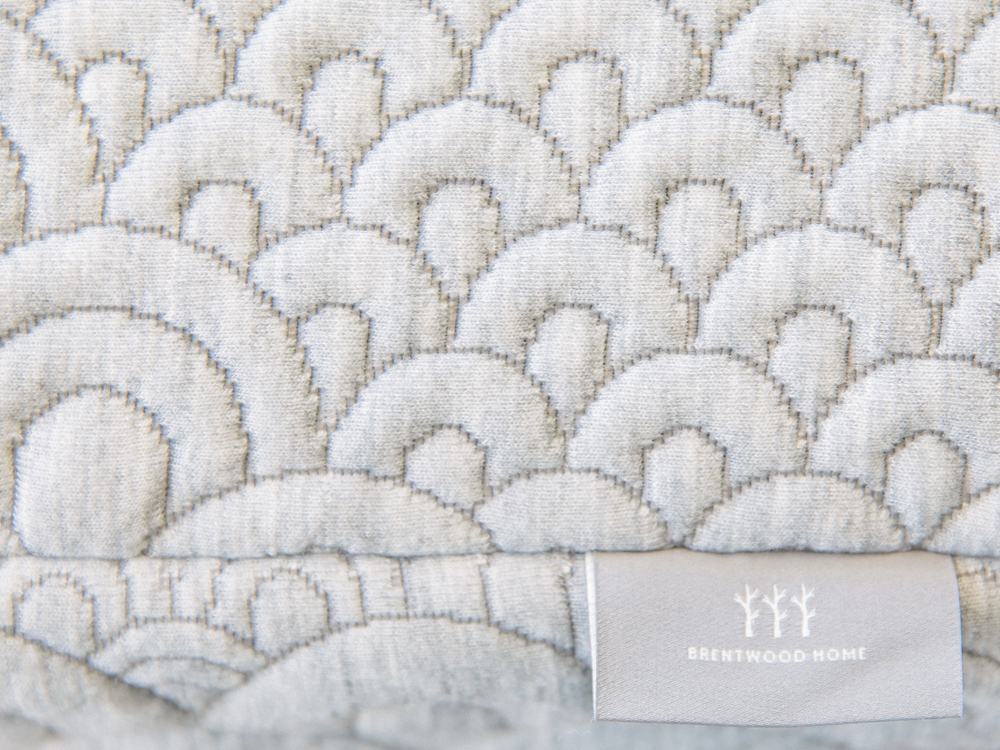
Now, when it came to the mattress, I did my research. I wanted a mattress that was going to stand up to the heat and cold weather here. Plus, I wanted it to be an natural mattress. The winner was the Crystal Cove mattress from the luxury organic and natural collection from Brentwood Home. The Crystal Cove is pretty cool, it is an innovative dual-sided hybrid mattress, with a 5-zone coil support system, specifically designed to promote therapeutic recovery and deep, restorative sleep. Because no wool is used, it’s completely vegan.
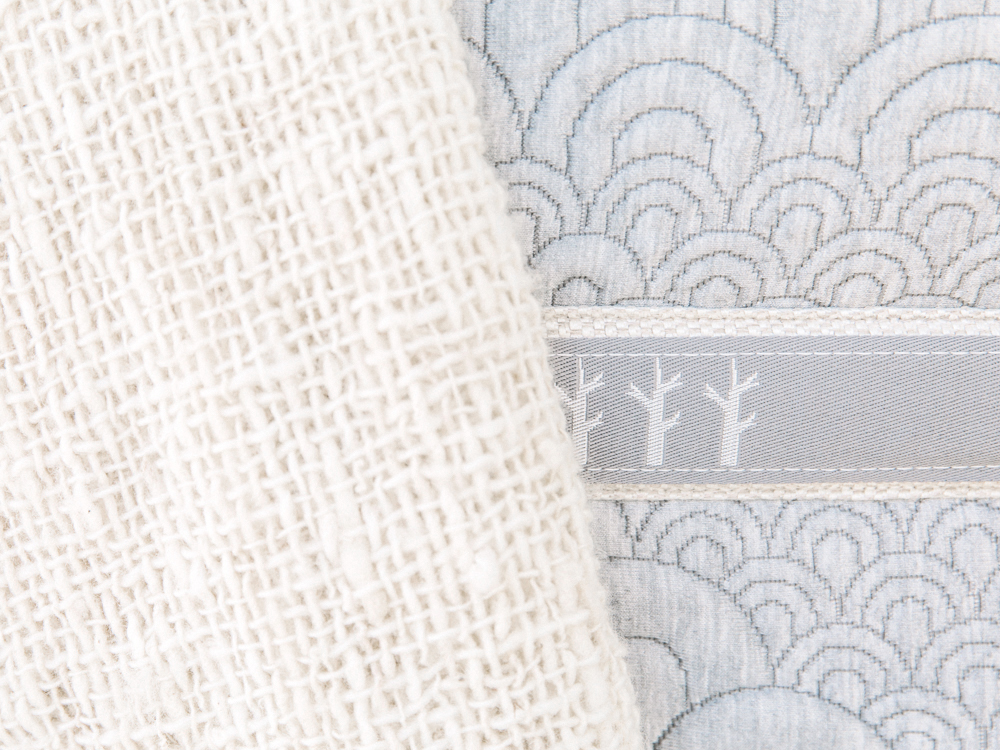
The Crystal Cove mattress features a unique dual-sided design for a customizable, ultra-luxurious sleeping experience. To change your preference, simply flip the mattress. For an active recovery, choose the naturally cool activated charcoal-infused plush memory foam side. For more supportive experience, opt for the gentle-firm natural latex side. I chose the charcoal side to have up since the warm weather is upon us. Plus, I prefer the memory side vs. the gentle-firm size. At Kitchen Home, you can find more various mattresses, pillows, and blankets for your daybed.
Photos by Dayna Studios


Here are the steps that my husband noted while he was building it! If you have any questions as well, feel free to email us and I can answer them for you!
Daybed Steps
1. Frame a box (rectangle) of 2X4’s. Gluing and screwing the connections.
2. Double the 2X4’s on the ends for added strength for the bolts and chains.
3. Since the mattress needs to sit on a flat surface I needed to subtract the width of the slats (3/4 inch) from the supports on all four sides and the middle support. I measured 3/4 inch from the top of the 2X4’s and screwed and glued 2X3’s.
4. Create all the slats which will act as support for the mattress. I used 1X4’s and cut each to the width and then screwed them to the side and middle supports.
5. With the bed “platform” completed it was now time to create the “arms” of the daybed (which will also act as the foundation for the chains and bolts. All I did was cut two 2X4’s width and screwed them on top of the platform ends. These “arms” also help keep the mattress from sliding.
To create just a bit more height to the “arms” we also added 1X4’s and nailed those to the top of the 2X4’s. This gave is a height of 2 1/2 inches on the arms. It sounds silly but aesthetically 1 1/2 inches wasn’t enough and 3 inches was too much.
6. To create a more finished look, I then wrapped the entire platform in 1X6’s. I mitered the corners and then used a brad nailer to tack the boards in place.
7. Now it was time for the bolts (which would be where we would attach the chains so the bed could hang). I measured where we wanted the holes and then drilled 2 – 1/2 inch holes per corner for the bolts. The bolts we used you won’t find at your local hardware store. These things were huge! We eventually found the size U bolts were were looking for on a website that specializes in trailer parts. These are the links we got, here.
8. Next, I put the bolts through the holes and secured them with washers and nuts.
9. Locate the ceiling joists and screw in heavy-duty eye bolts. This is where the chains will suspend from the ceiling.
10. Now its time to attach the chains and hang the daybed. Using quick links on each end, attach the chain to the U bolts (on daybed) and the eye hooks (ceiling) diagonally making sure to match the desired height (from the ground) of your daybed.
11. Install the mattress on the frame and enjoy!
Cheers to outdoor naps!
xx
Abby