
With Thanksgiving long past us, you should be well on your way to decorating for Christmas. I usually have the house thoroughly decked out by now, but with us in the middle of our big move, a couple of decor pieces are what I have to work with these days. But my mind is always thinking of what my little ones will remember during the holidays, and I’m not going to have them miss out on any of our fun traditions just cause of a move.
The advent calendar is one of those very memorable traditions we do in our household. Each year, I have created with some fantastic vendors different ways to have an advent calendar. You can see our past advent calendars here and here. This year, I worked with the talented mama, Leanna from David and Leanna. She is no stranger to DIYs for the beijos blog. I wanted to do something that was a little bit out of the box. Along with that concept, adding colors that are non-traditional holiday colors. I love what we came up with, and the best part is you can do it at home too!
Leanna is going to take you step by step on how to make this fun advent calendar!
Christmas is easily my favorite holiday! I like to put my decorations up as soon as Halloween is over, but for more sane people, all 31 days in December is more than enough. This Christmas, Connor (my son) is old enough to understand the countdown to Christmas, so we’re doing an advent calendar! Unfortunately for us, all the premade ones aren’t dairy free, so we, figured we’d make our own this year! I partnered with Abby at Beijos Events to create these super cute DIY paper advent calendars stuffed with whatever treats work best for you and your family!
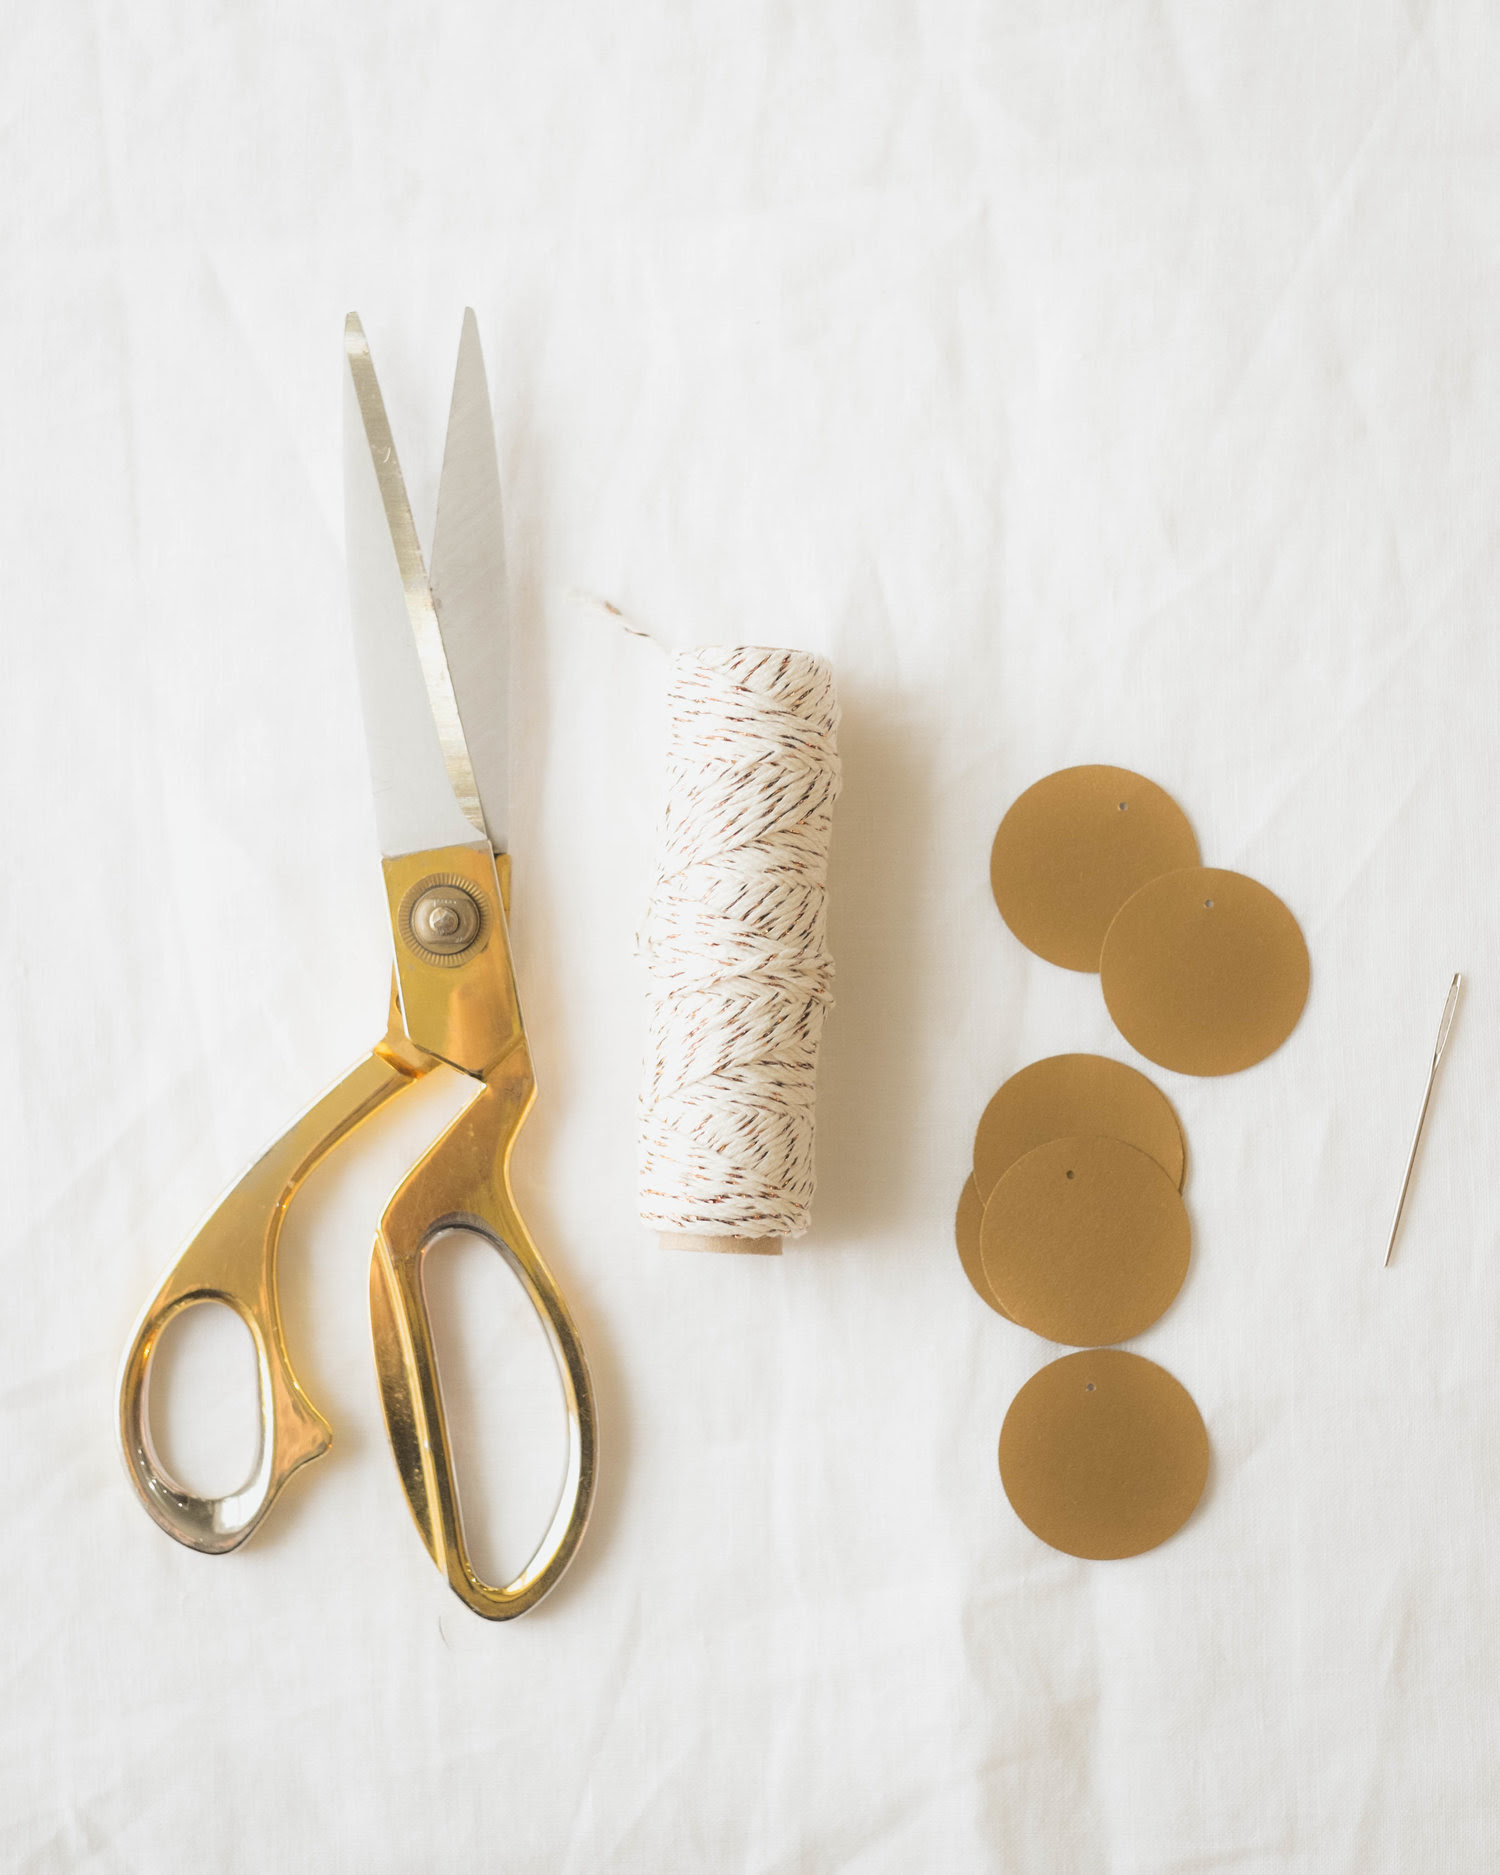
S U P P L I E S
A good pair of scissors
Cardstock paper (we used paper source)
A hot glue gun
A pen or pencil
Printer
These geometric shape templates
Bakers Twine
An embroidery needle
Circle punch (optional)
Mini hole punch
Gel pen of your choice (our white one)
Mini wood hoop ring
D I R E C T I O N S
1. Gather your supplies.
2. Punch the circles for date labels.
3. Next, print out geometric templates onto cardstock.

4. Fold your cut out template along the dotted line.

5. Using a mini hole punch or your needle, punch two small holes into the top of your geometric shape.
6. Thread a length of bakers twine through your newly punched holes.

7. And then, thread circle punched date marker through twine as well.
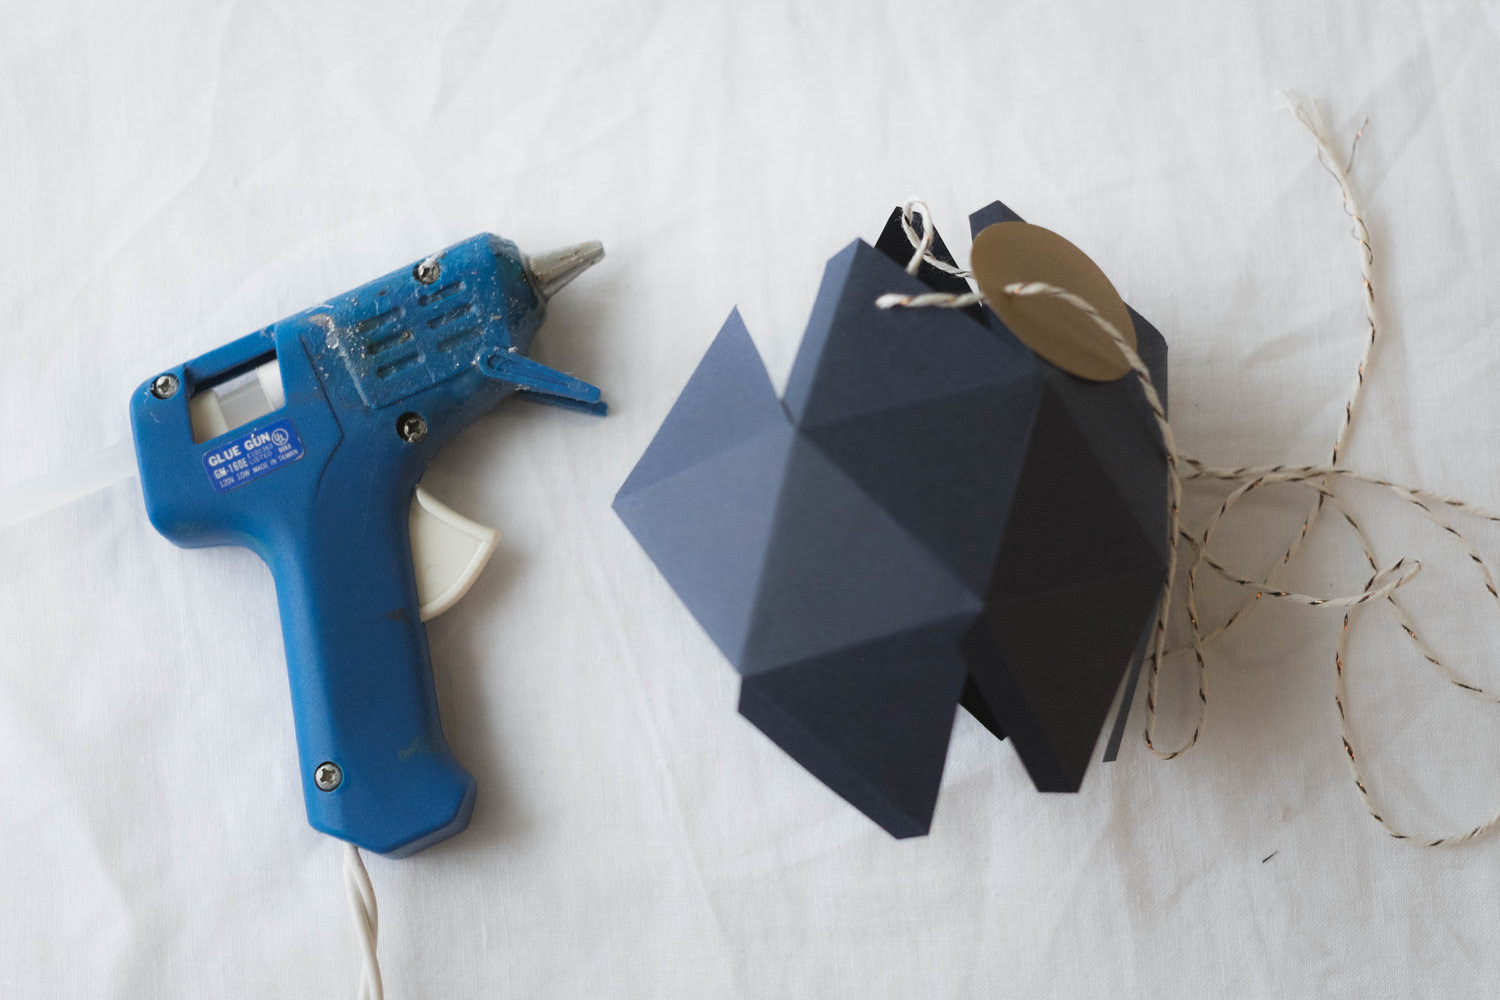
8. Warm up your hot glue gun and check your shapes to make sure you understand how each side matches up.

9. Glue tabs to appropriate flaps with tabs tucked INSIDE your shape, so the tabs don’t show once glued.
10. Then, pop candy of choice or any little items into geometric shape before gluing the last tabs down.

11. Number your date markers.

12. Finally, tie string at the top of your geometric shape at one end and to your ring at the other end – it will get a little crowded, alternate your lengths as you go.
Enjoy! Merry Christmas!