We thought our 90’s week wouldn’t be complete without a little beauty post! Since scrunchies have made a comeback (who ever thought that was possible?!) why not bring back the hair styles that epitomized a decade! I turned to my friend Erica from 1011 Makeup and Your Beauty Invite to share a few fun 90’s hair styles and tips! We used our favorite The Daydream Republic Accessories to complete the looks! Keep scrolling to see all the fun!
Photos by Kristin Taylor Photography
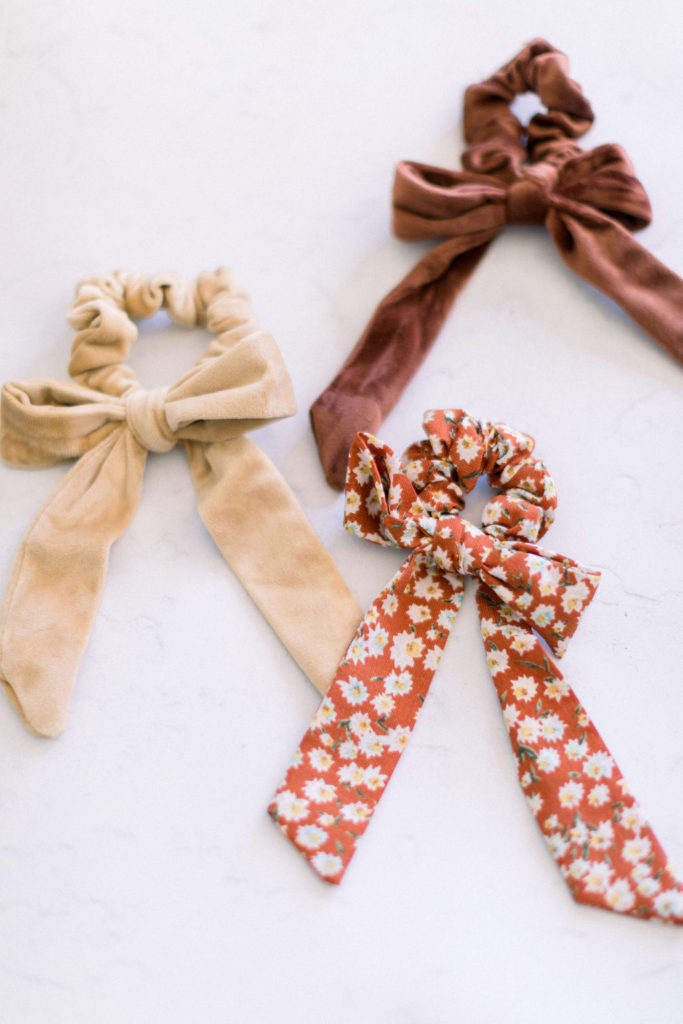
The stage was set with the prettiest little accessories in all the land! The Daydream Republic always manages to find cute hair accessories that are on trend but also very cute and seasonal. Loving these fall colors for our tutorials!
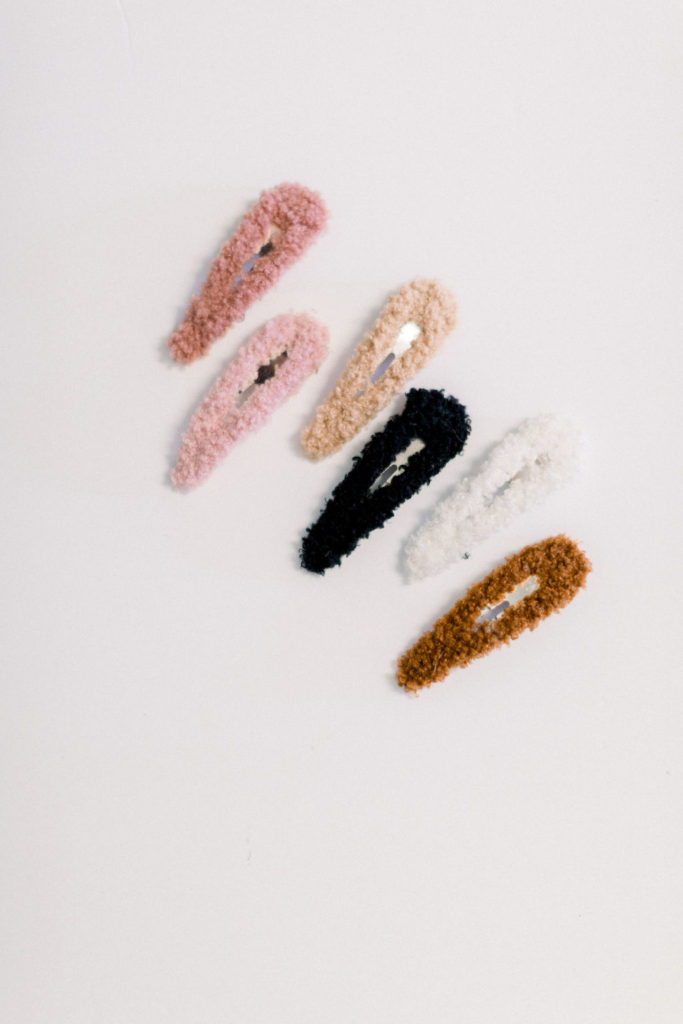
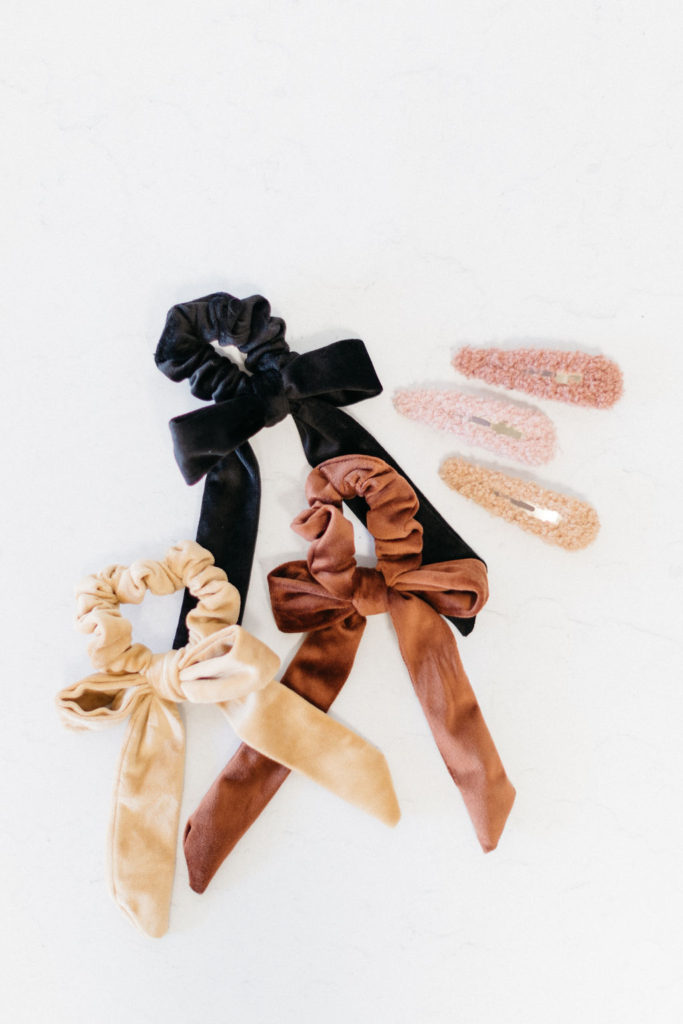
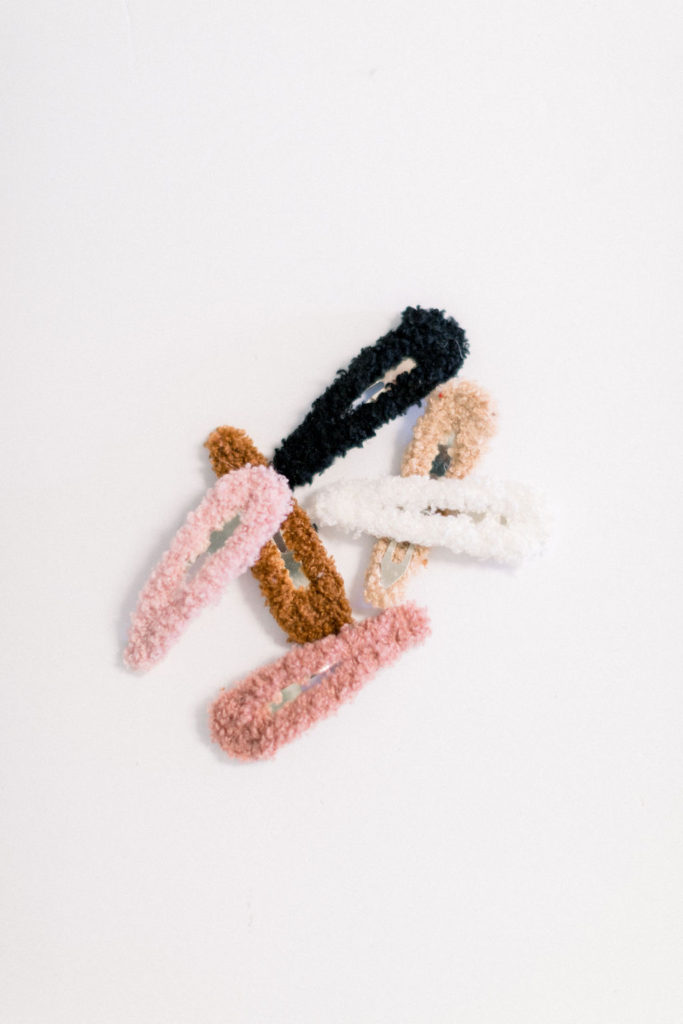
Now for a little bit from the expert Erica…
SHERPA isn’t just for a cute coat HAIR CLIPS
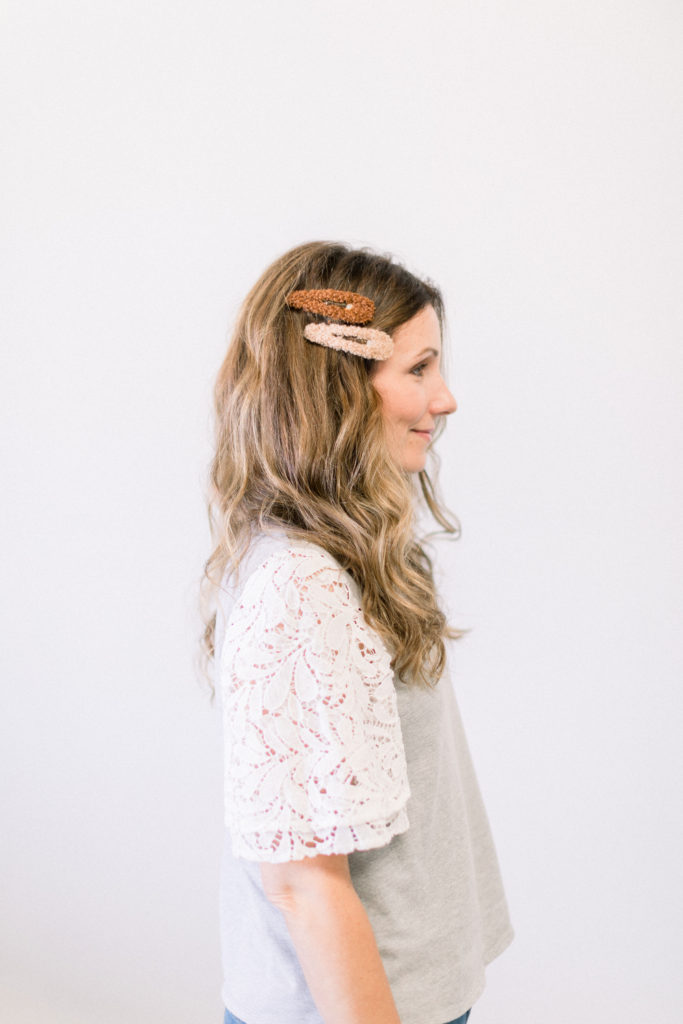
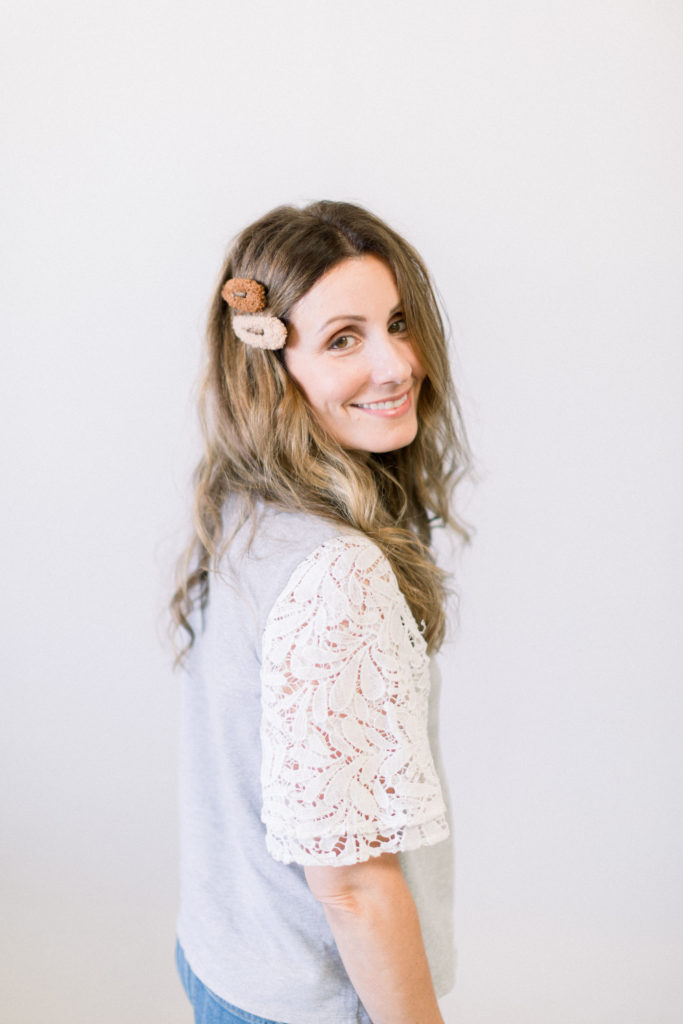
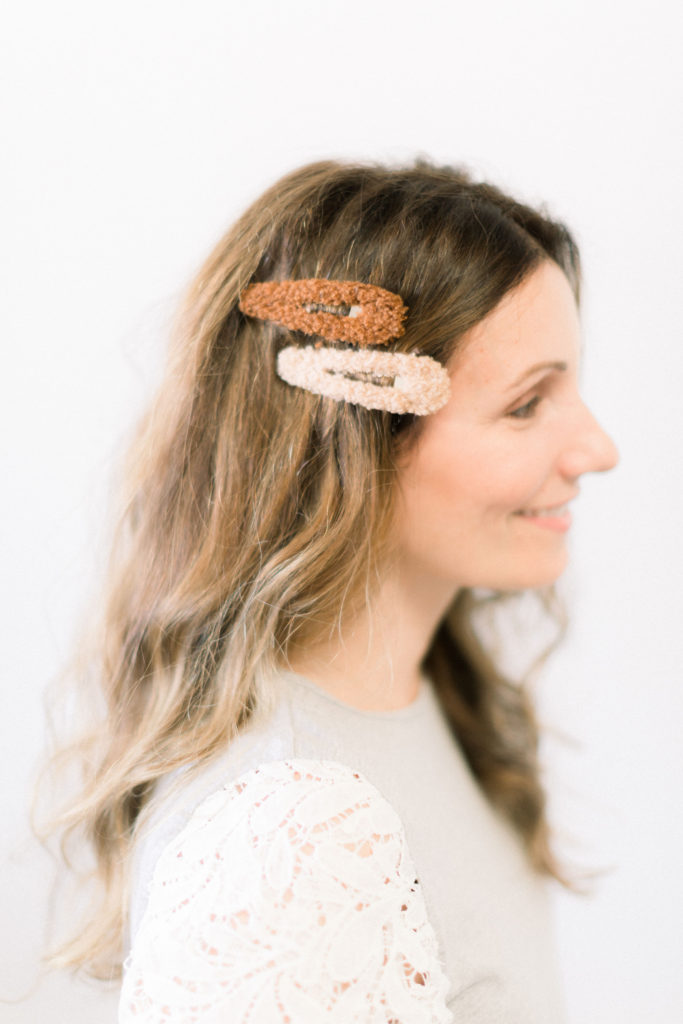
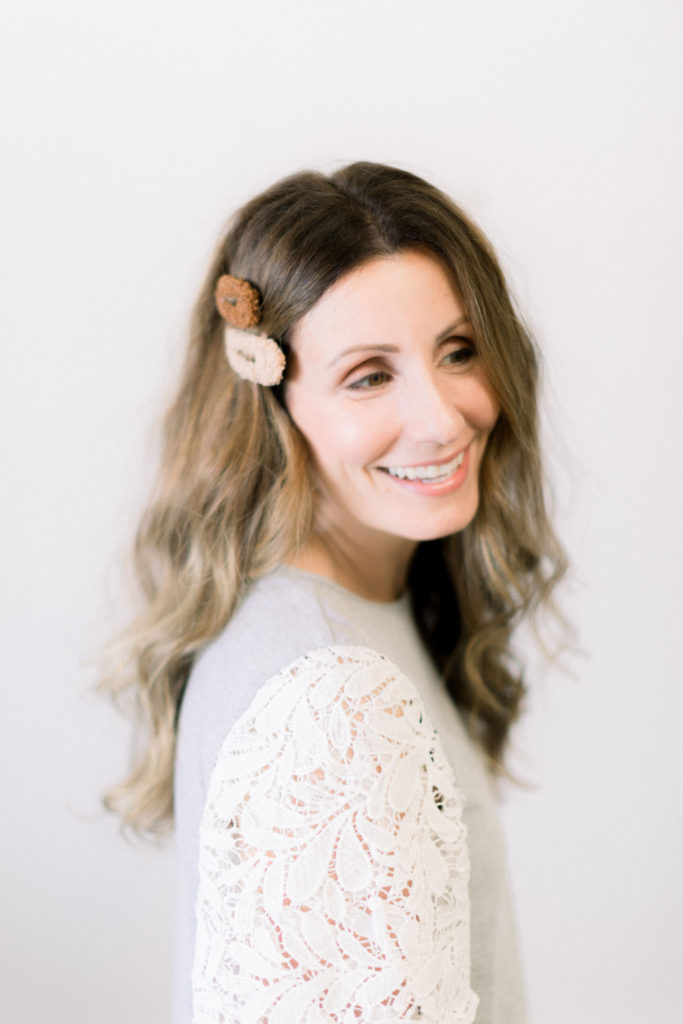
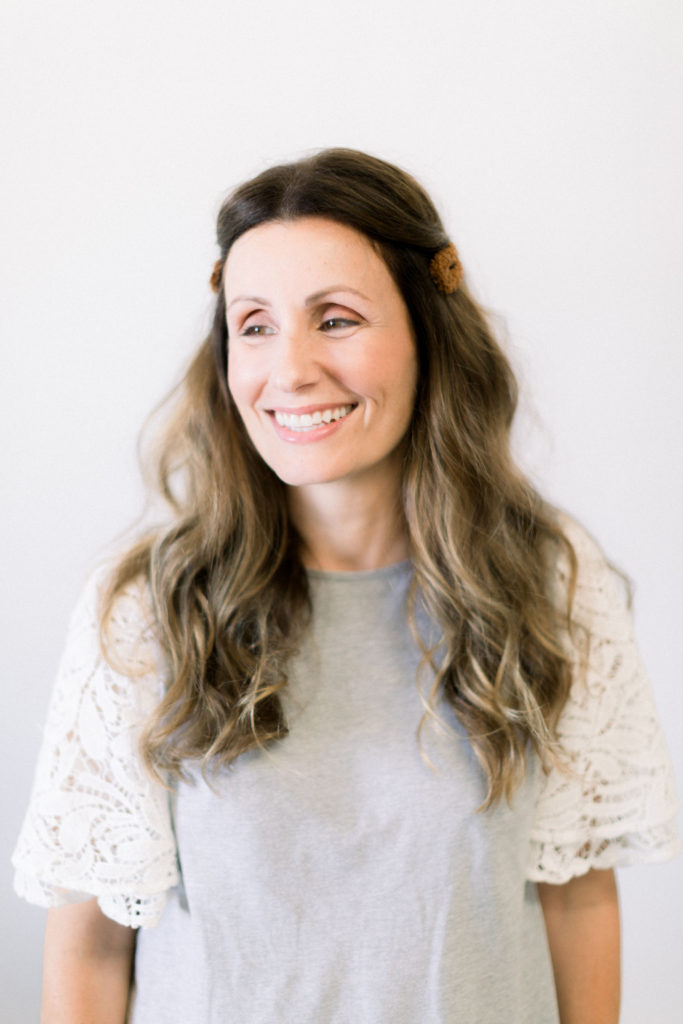
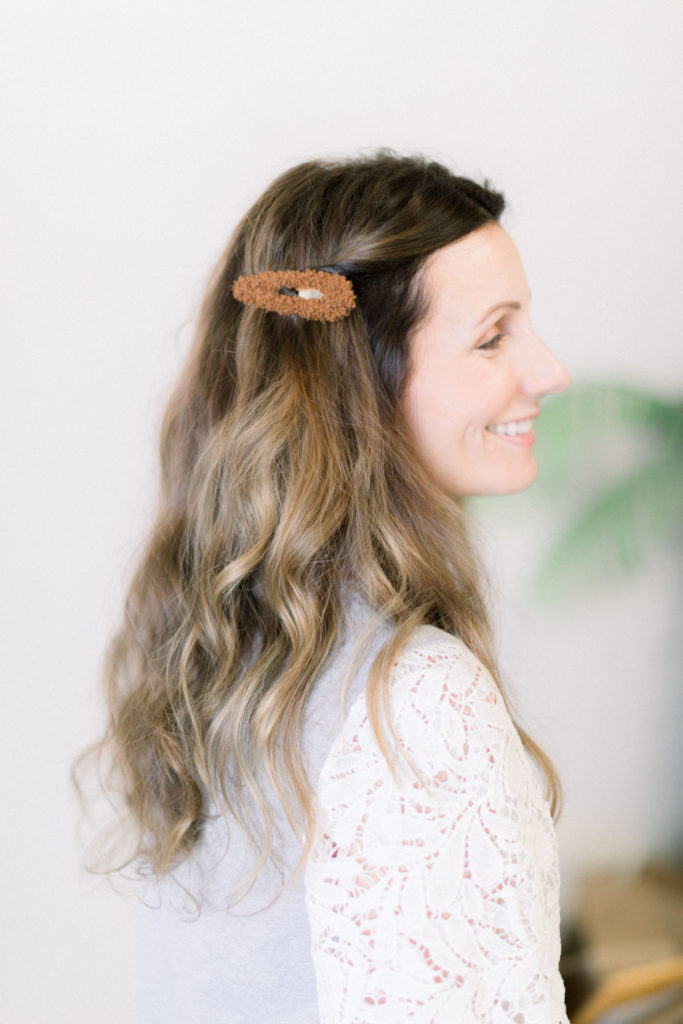
Stack em up and have some fun! We are loving the big clip & barrette trend so we figured why not double up the fun with two ! Making sure the hair was full of texture, we used our hot tool to create some beachy waves and sprayed in some sea salt spray to build up and define the waves. We took The Daydream Republic’s SHERPA (yes sherpa?!) oversized hair clips and placed one right at the top of the ear, just at the hairline.
Once secured and fitting in snug, you can slide in a second clip above in order to stack them, placed slightly off the hairline not perfectly aligned with the first clip. Spray your hair with some finishing spray! These clips are also great and can also be styled singled up on each side, or even placed behind, or off-center, of a messy bun ! Have fun with it!
HALF UP ode to the 90’s PONY
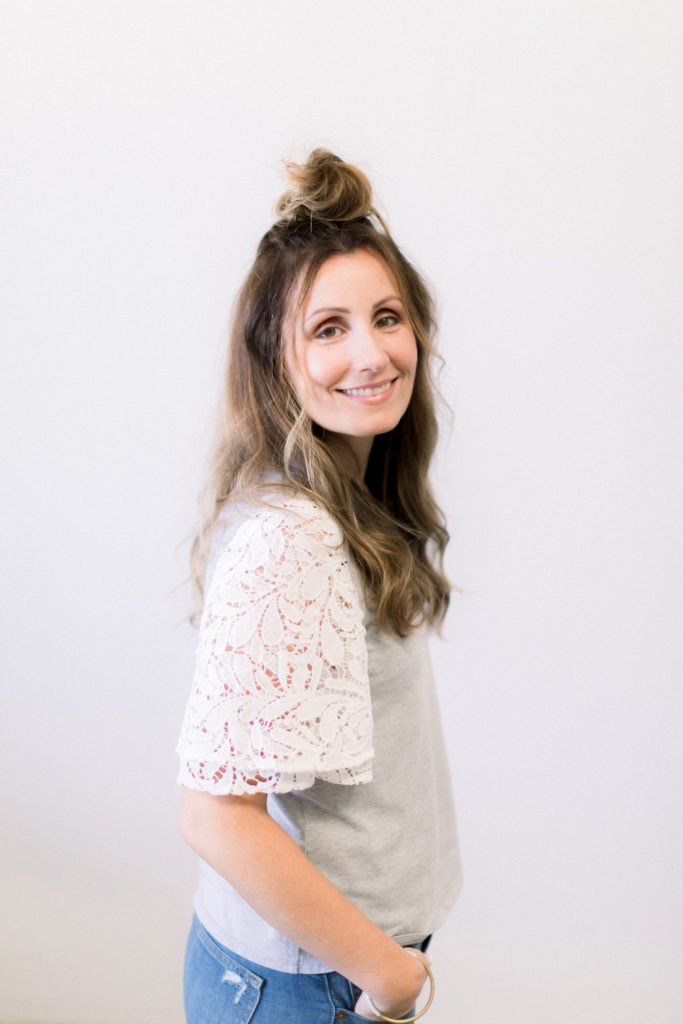
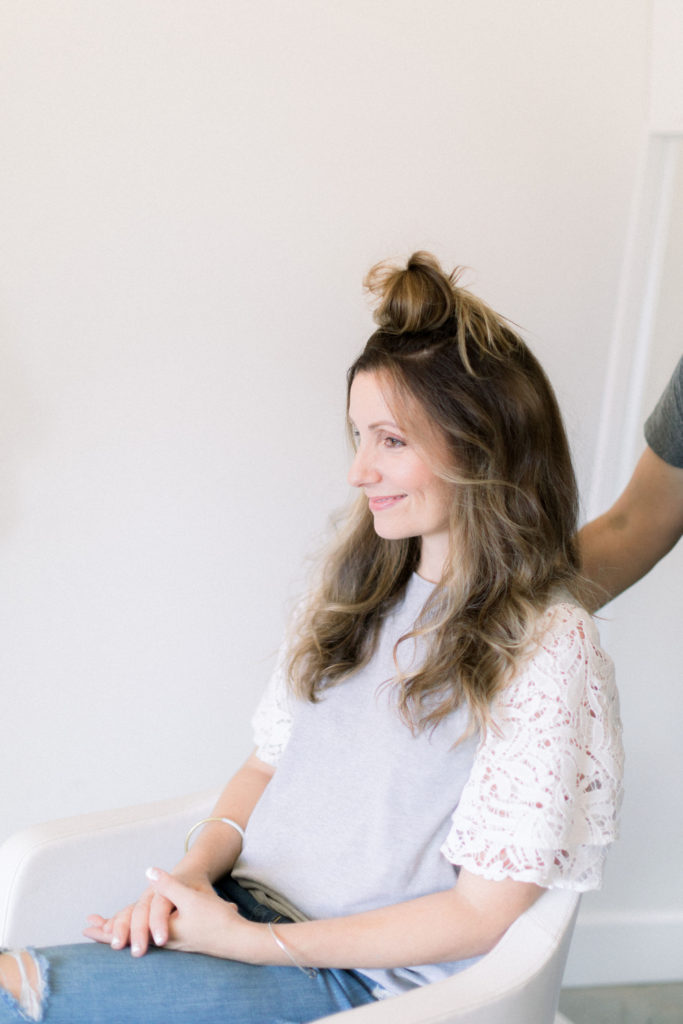
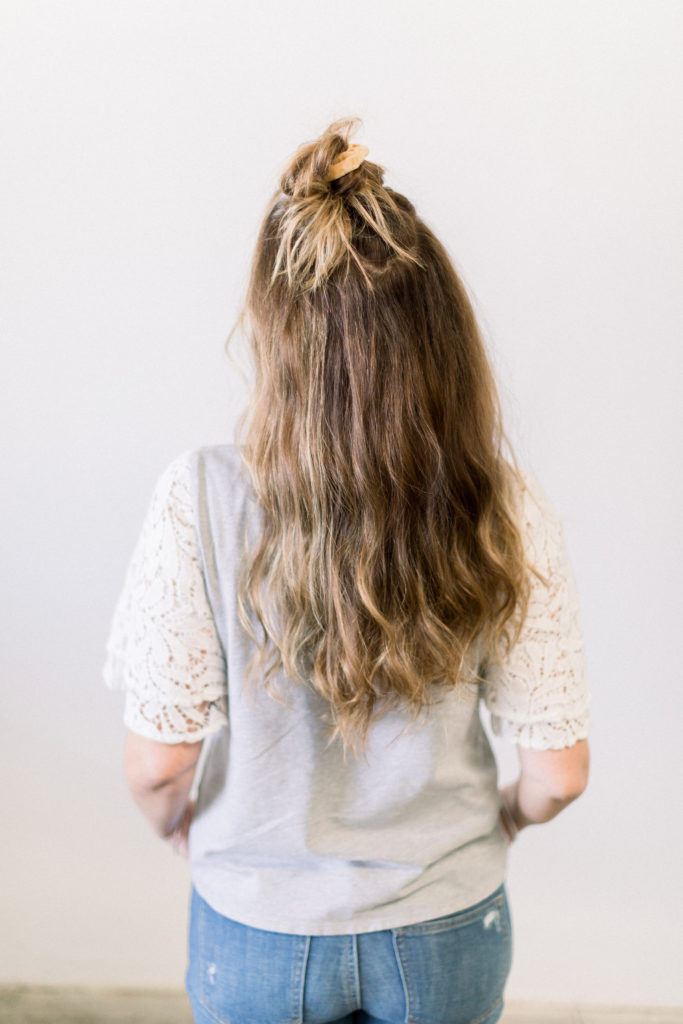
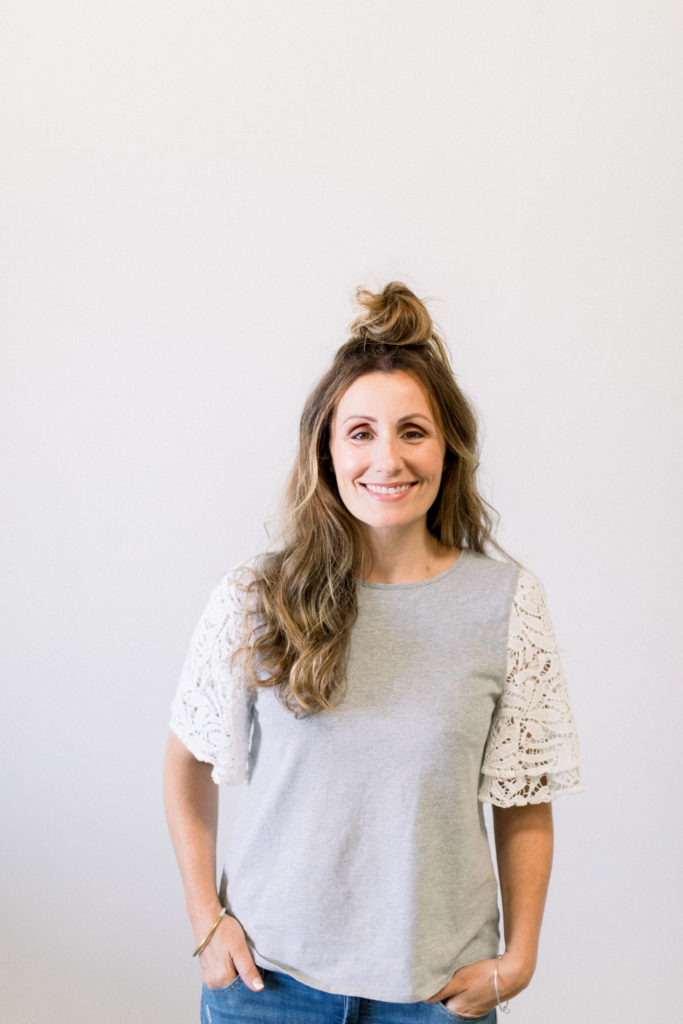
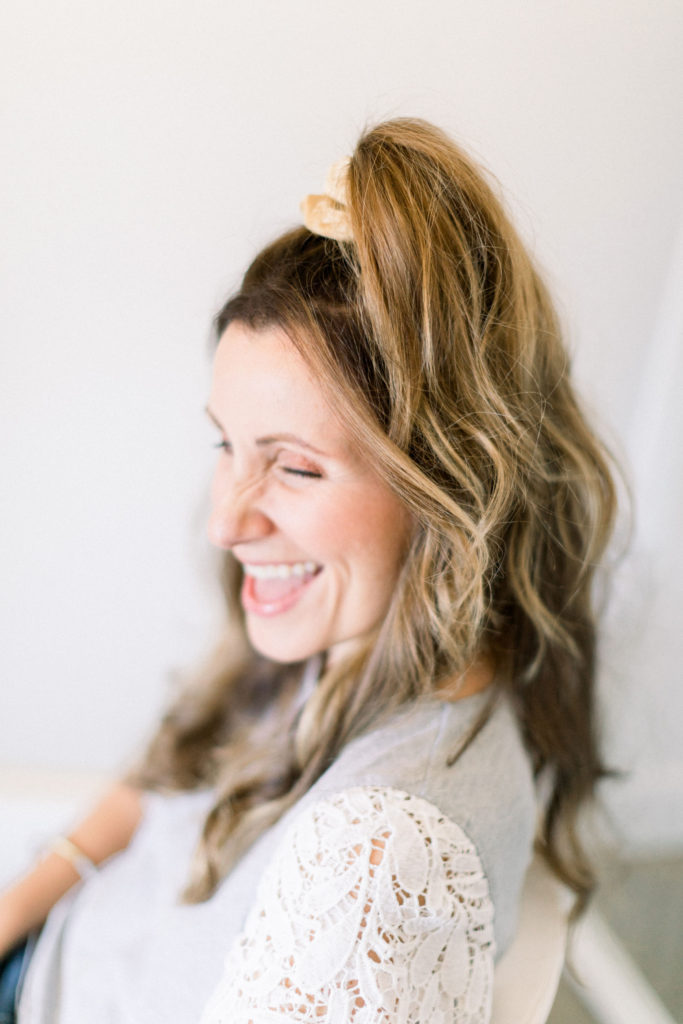
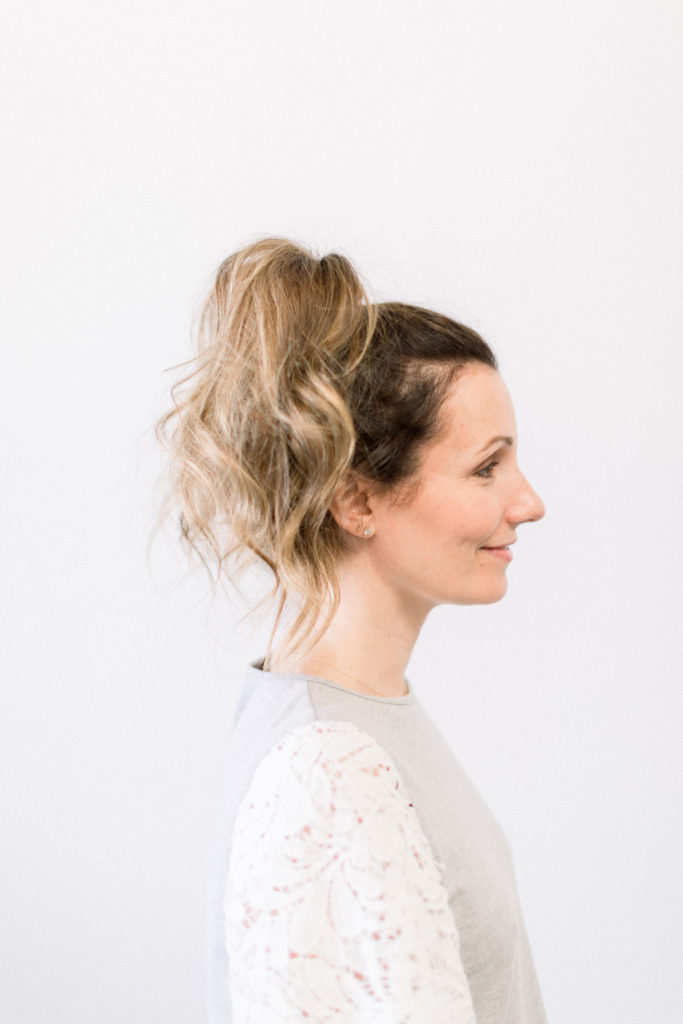
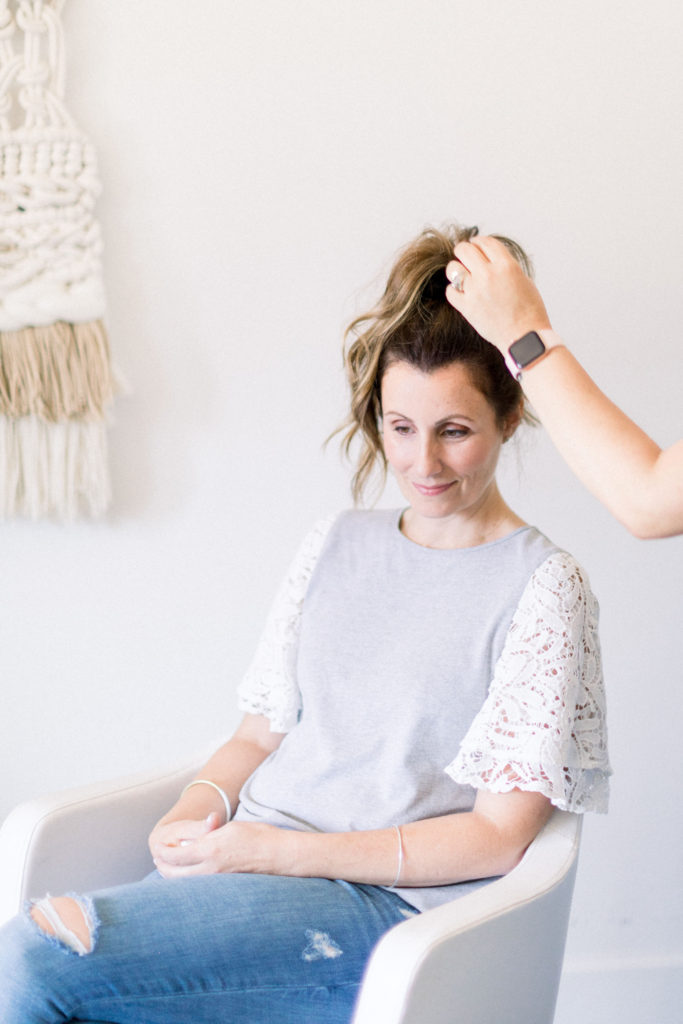
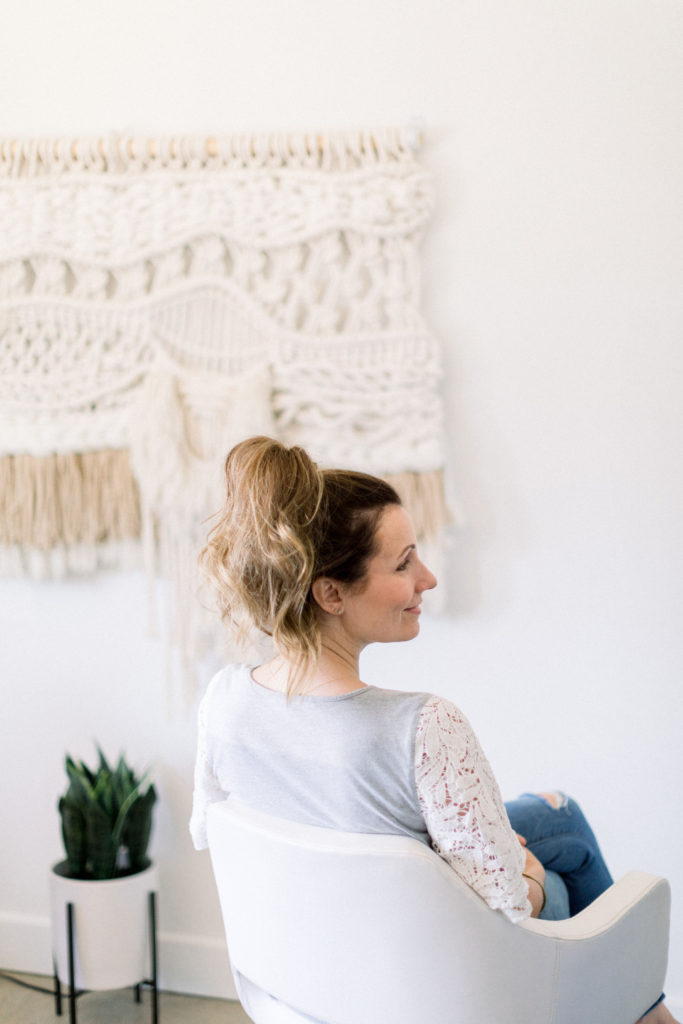
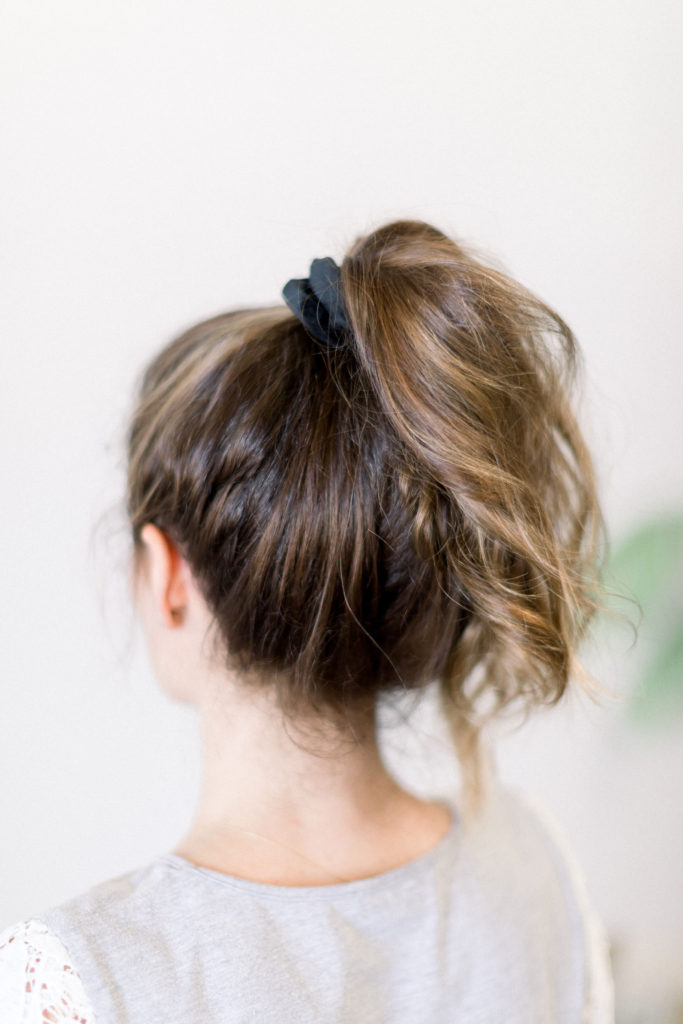
With the hightop pony and scrunchies the key to keeping it sassy and fun is not making it perfect! Gather the hair from the center area of the top of the head to the top of the crown area, bringing the hair positioned directly on the top of the head. Leave a few face framing pieces out along the hair line.
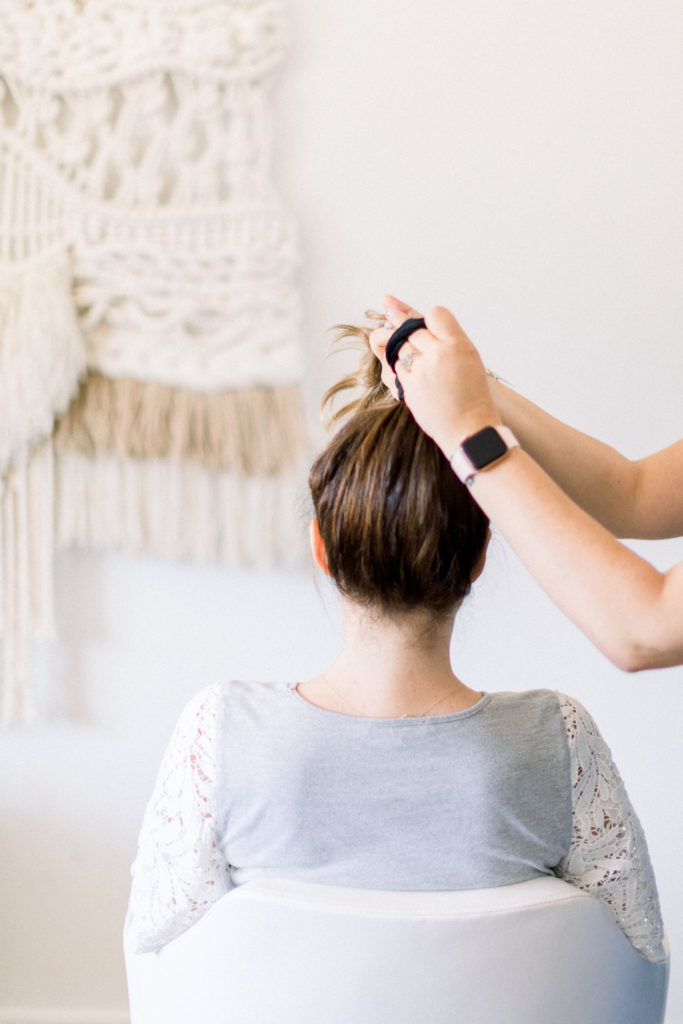
Hold the gathered hair in one hand while you secure the hair with the scrunchie with the other hand. In order to get the most sass out of this look, you need height and volume.
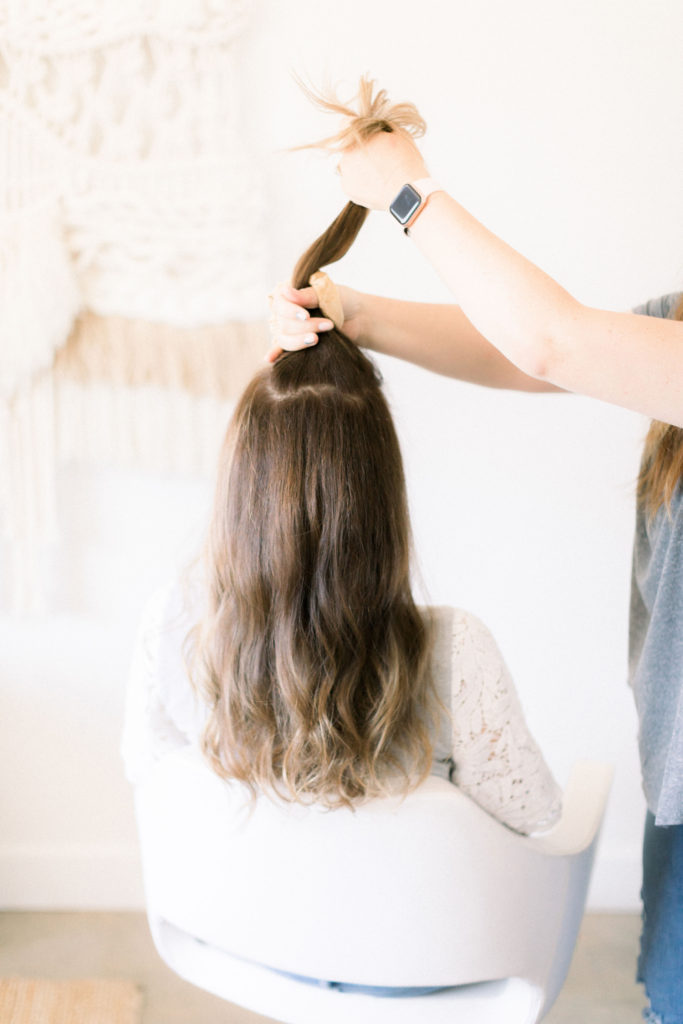
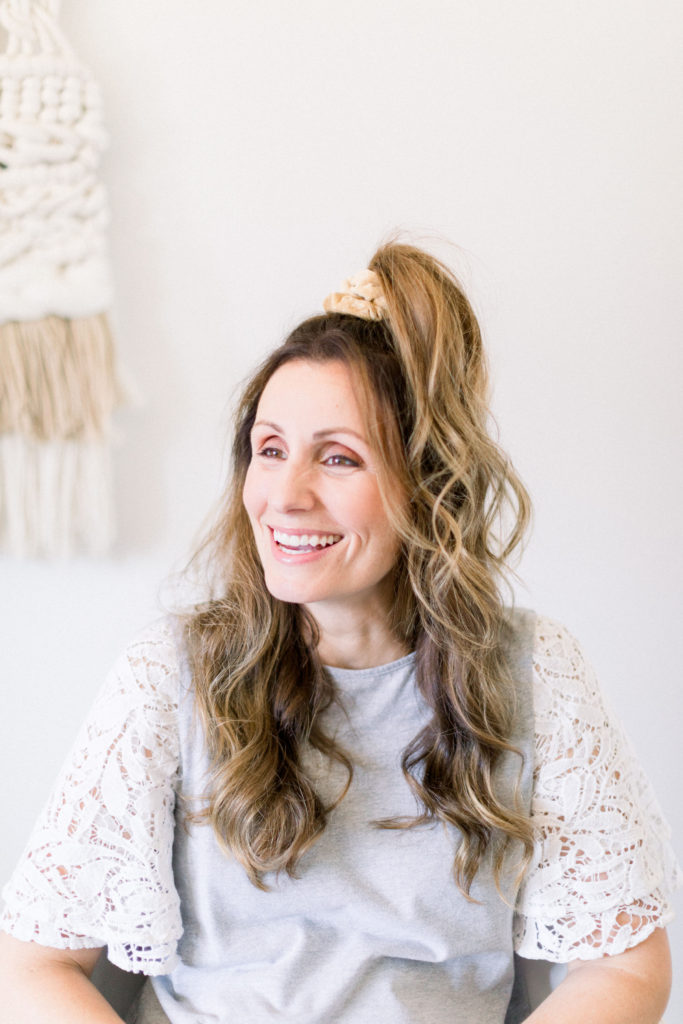
Here are a couple tricks to help out:
Fine hair
Try securing the hair with a regular hair tie/ rubber band and then add in the scrunchie to finish the look. You can even double up on the scrunchie for an oversized look, or to give the style more height.
Thicker hair
Try securing the hair with a hair tie/ rubber band and then place the scrunchie in the hair by just pulling the hair through once and leaving the scrunchie full and loose.
For a fuller pony
Once secured on the top of the head, split the pony into two sections. Back comb the top of the bottom section and the bottom of the top section. Use your hands to separate the hair a bit and to pull apart a little of the backcomb.
You can always add in volume throughout the wear of the style by tightening the pony periodically separating the pony into two sections and pulling the sections away from each other.
Half up Bun

Another option for this look would be to not pull the hair all the way through the rubber-band on the last loop, leaving it messy and the ends out. Add in a scrunchie and secure some of the ends under the scrunchie with a Bobby pin until you achieve your perfect amount of mess.
Pony Tail
Using similar steps and tips as the half up, but you will gather all of the hair! If you want the off to the side 90’s flare you can use a Bobby pin through the center if the ponytail to help secure it directed to the side.
MODERN SPACE BUNS circa you loved the 90’s!
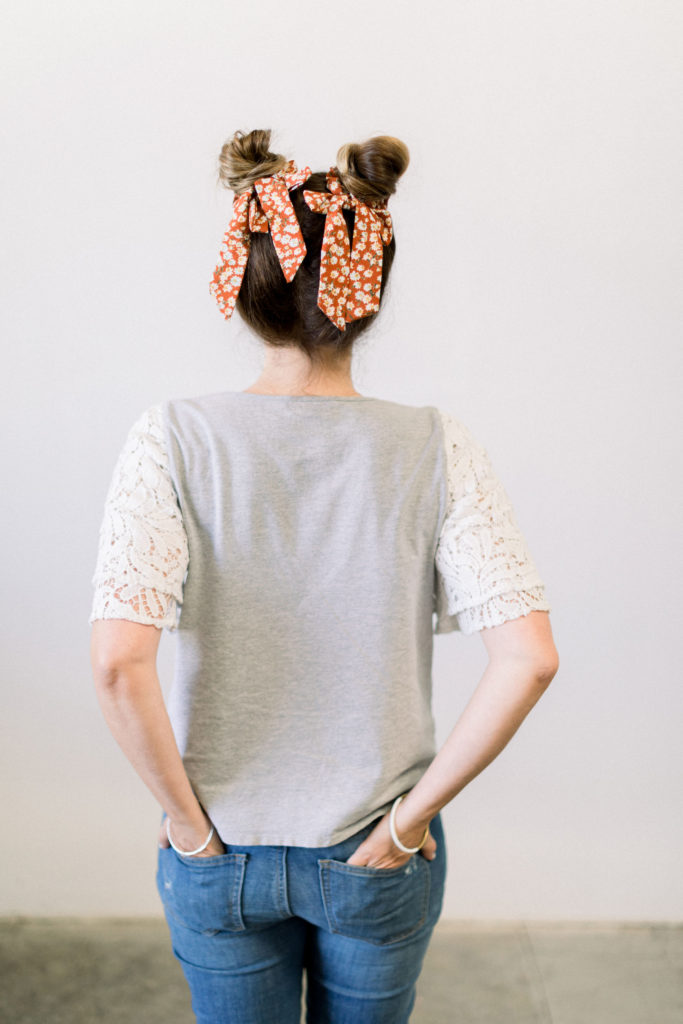
Who doesn’t love a good top knot or messy bun. With a 90’s throwback, we had to pay respects to the space bun! If you wanted to really embrace your love of all things 90’s you could straighten your center parted fringe area and leave out some stick straight face framing pieces… or even add in some butterfly clips, rhinestone bobby-pins or perhaps tweeze the majority of your eyebrows off – raise your hand if you are now very much beyond your 20’s and have your eyebrows micro-bladed due brow casualties?
To create this look, part your hair evenly down the center, separating the hair into two sections. Where you place the two ponytails (pigtails) will determine where the center of each bun will be positioned. For the OG space bun look, keep the buns a little more separated positioning each pony where the tip of the head starts to curve..
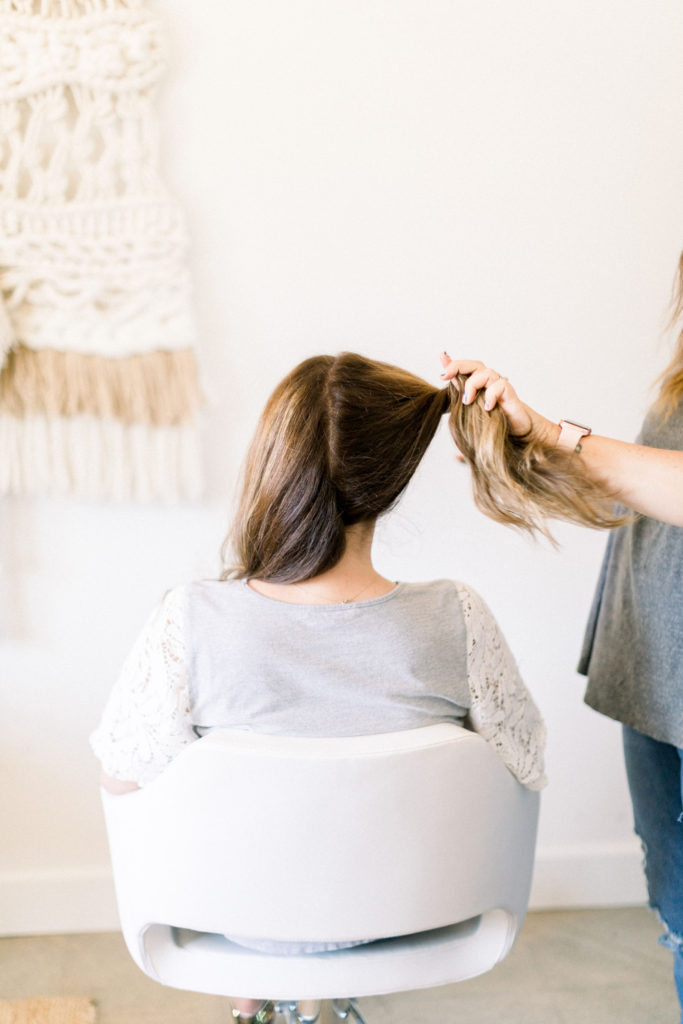
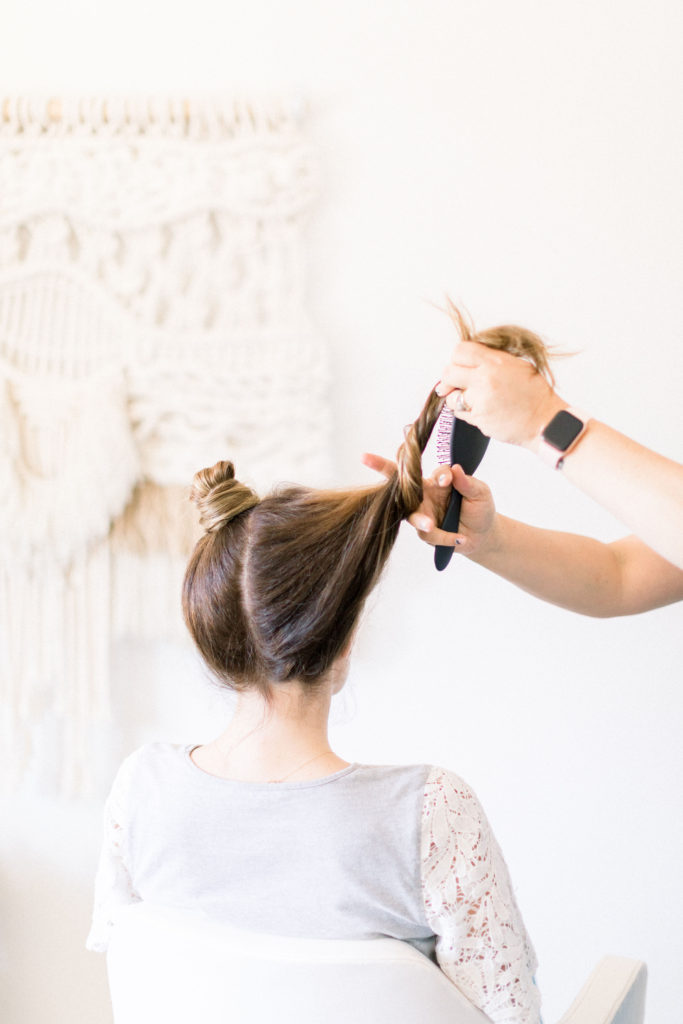
For a more modern look position the ponytails closer together along the topside of the head. You will then secure the hair into pigtails using a rubber band. However, BEFORE you pull the hair through your last loop through the rubber-band, leave the hair only partially pulled through. This helps to create a nice and even bun with a full center. You can also use this technique as a way to create volume and fullness in your top-knot/ messy buns.
Take the hair that is not looped through (the tail of the hair) and twist it holding the ends and forming a loose rope (the more you twist the tighter the rope will become), then wrap the rope around the rubber band (and the looped hair that you didn’t pull through previously), tuck the ends under securing with a bobby pin.
You can keep the buns tight and small by keeping the hair twisted tight the looped hair small (leaving more of a tail). -You can create fuller buns by back combing the hair prior to twisting into the rope or once secured into the buns you can pull apart the hair gently tugging on the buns to create a fuller look.
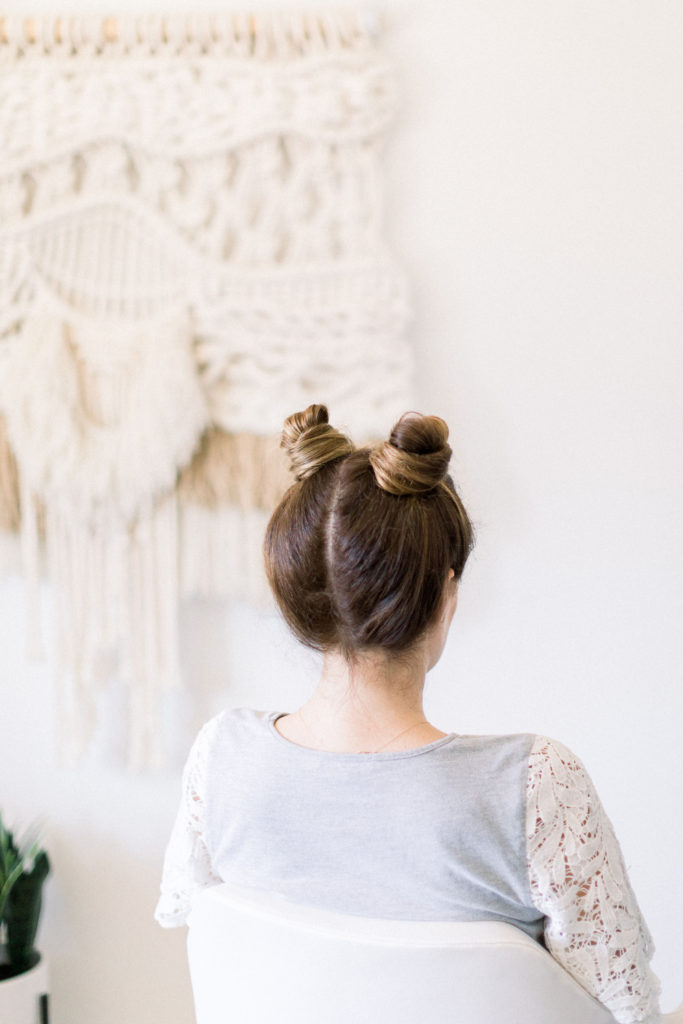
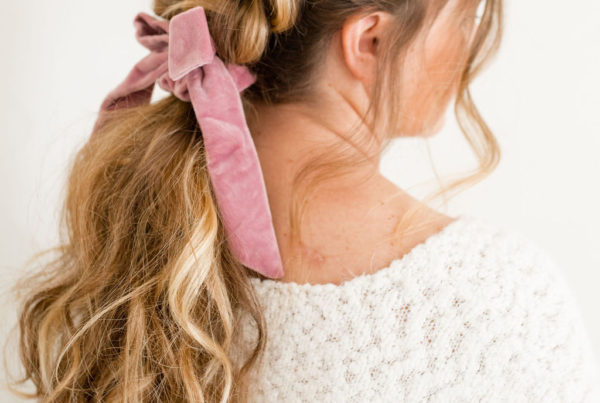
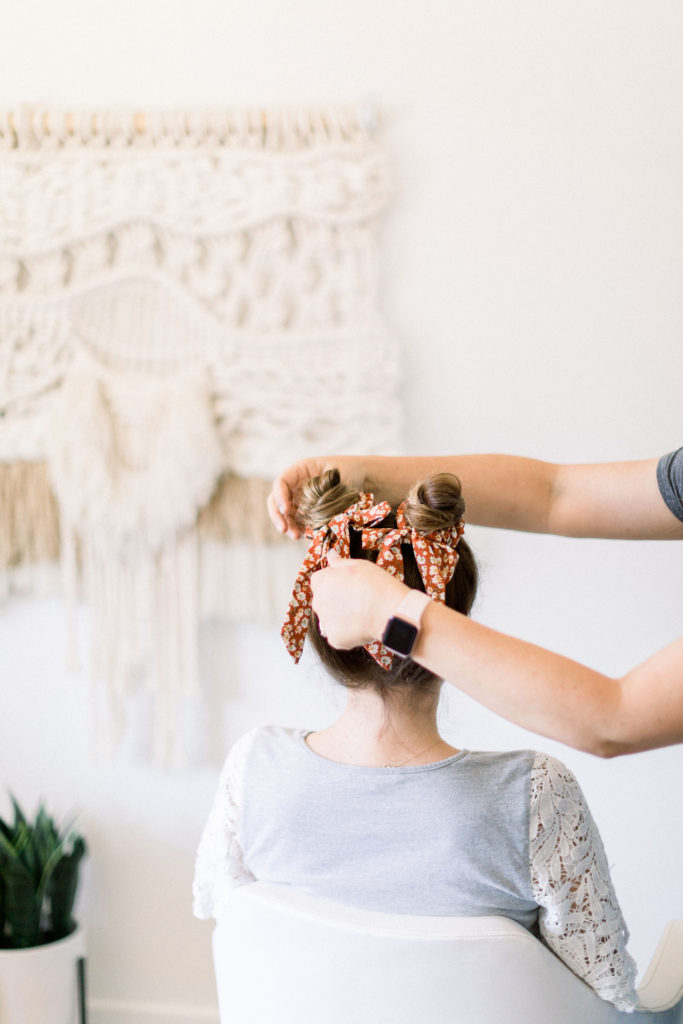
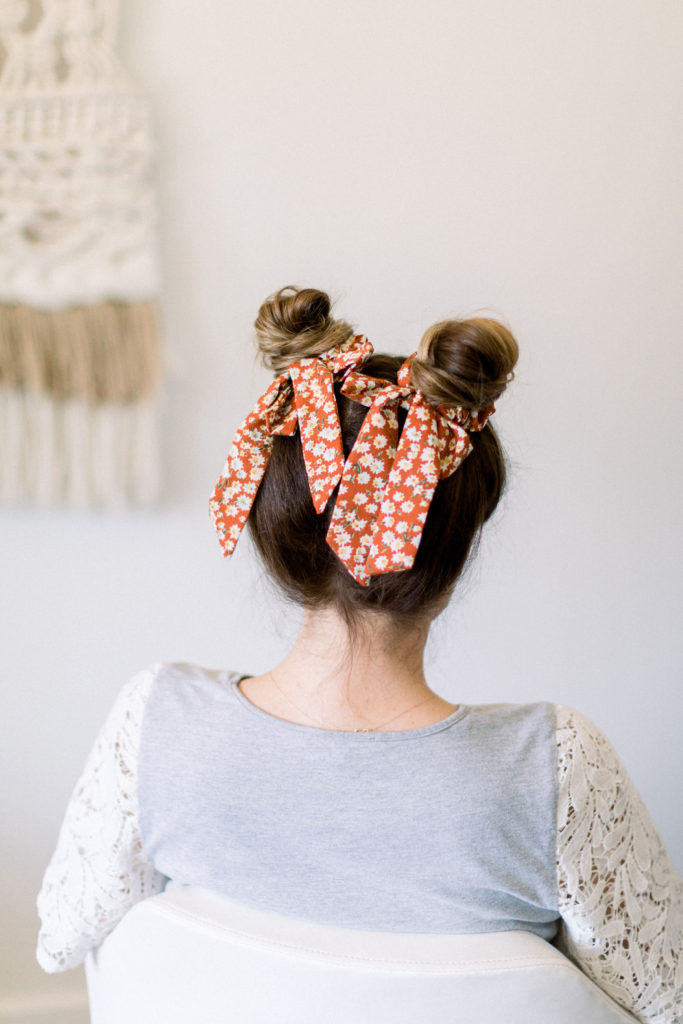
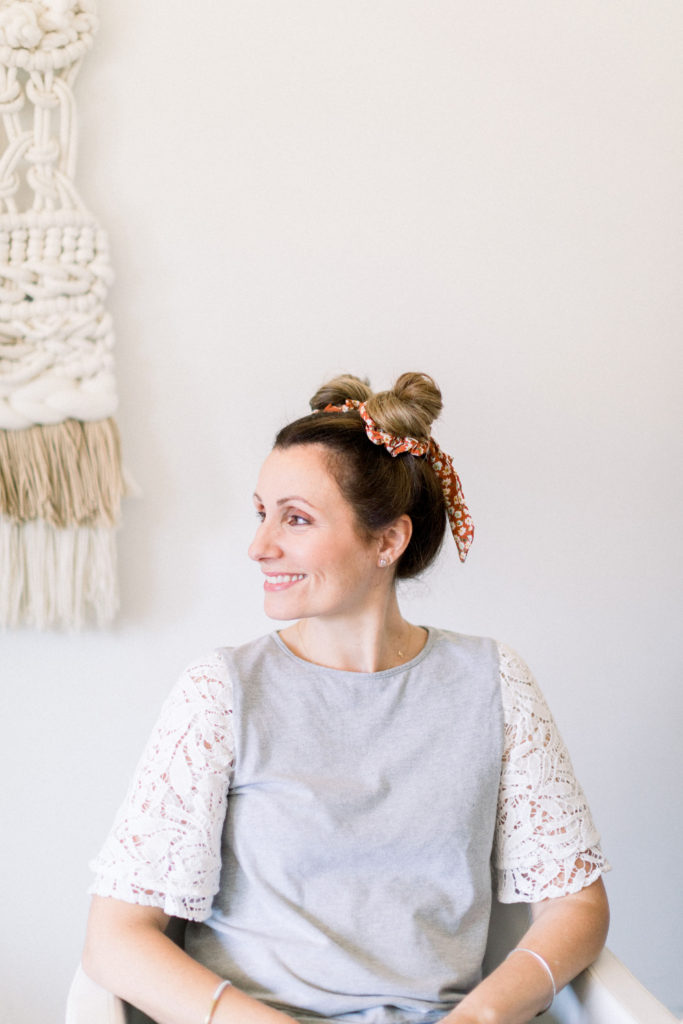
We finished the look with one of The Daydream Republics autumn scrunchies placing it gently around the bun with the bow positioned to the back.
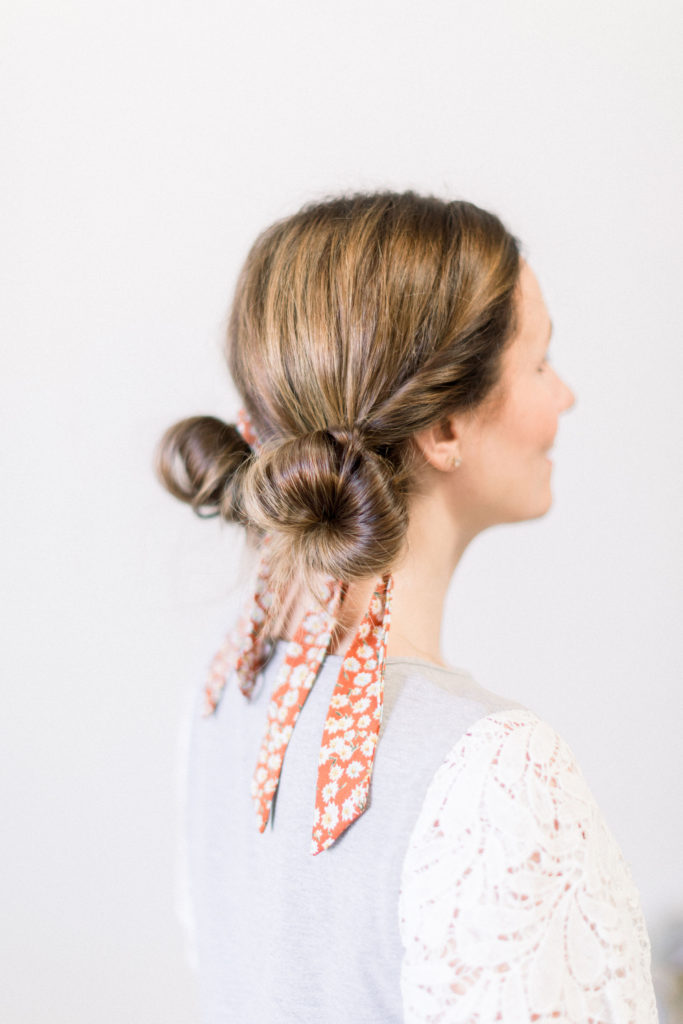
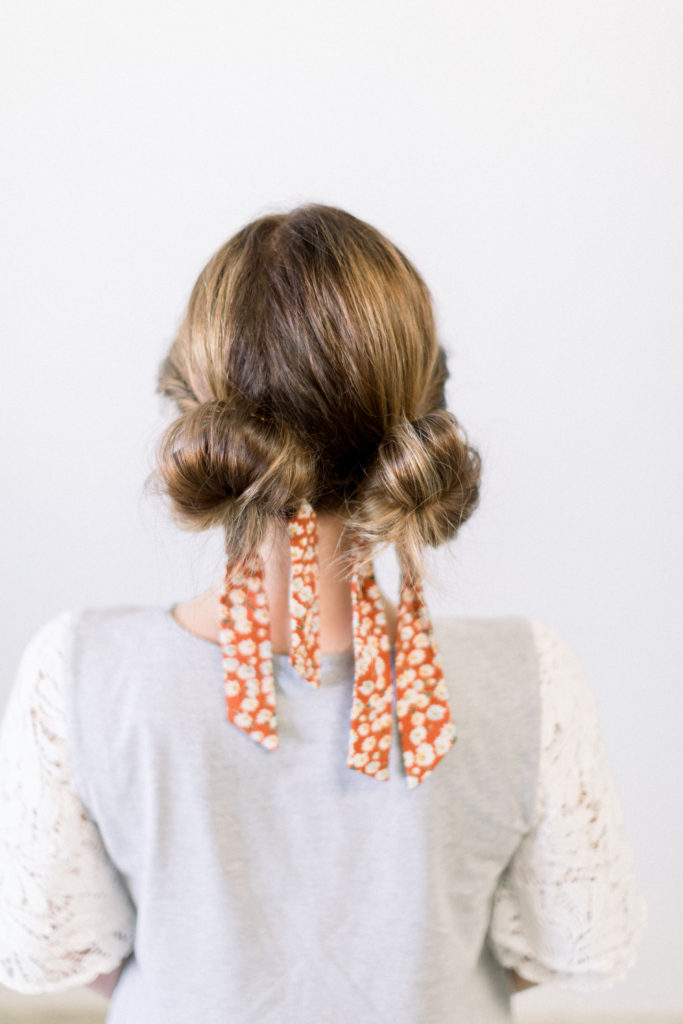
Low Buns with a Fancy Twist
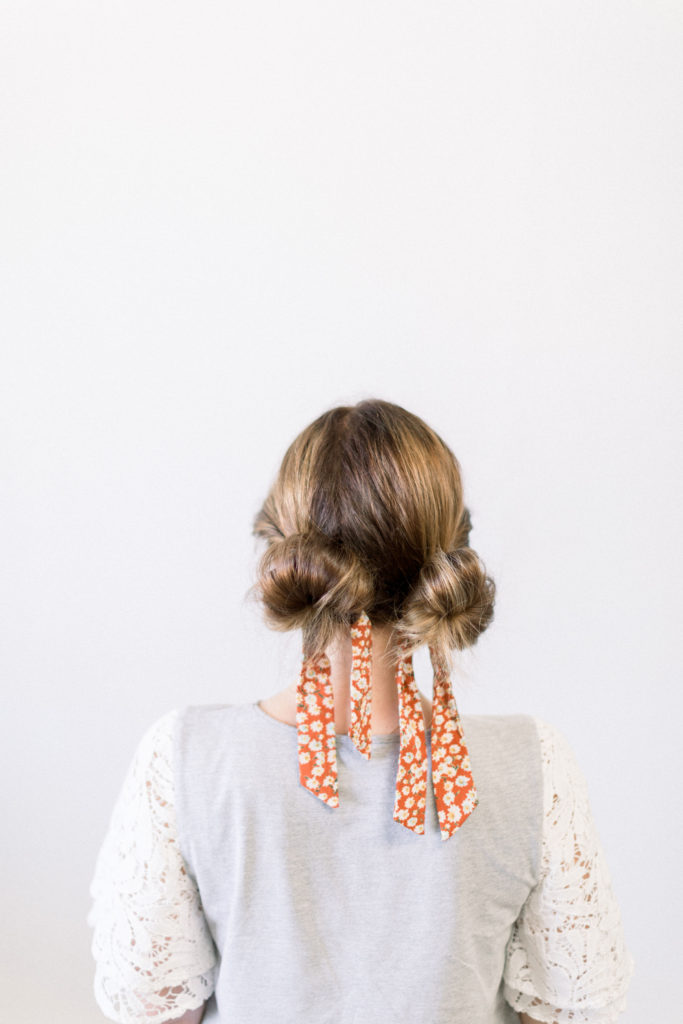
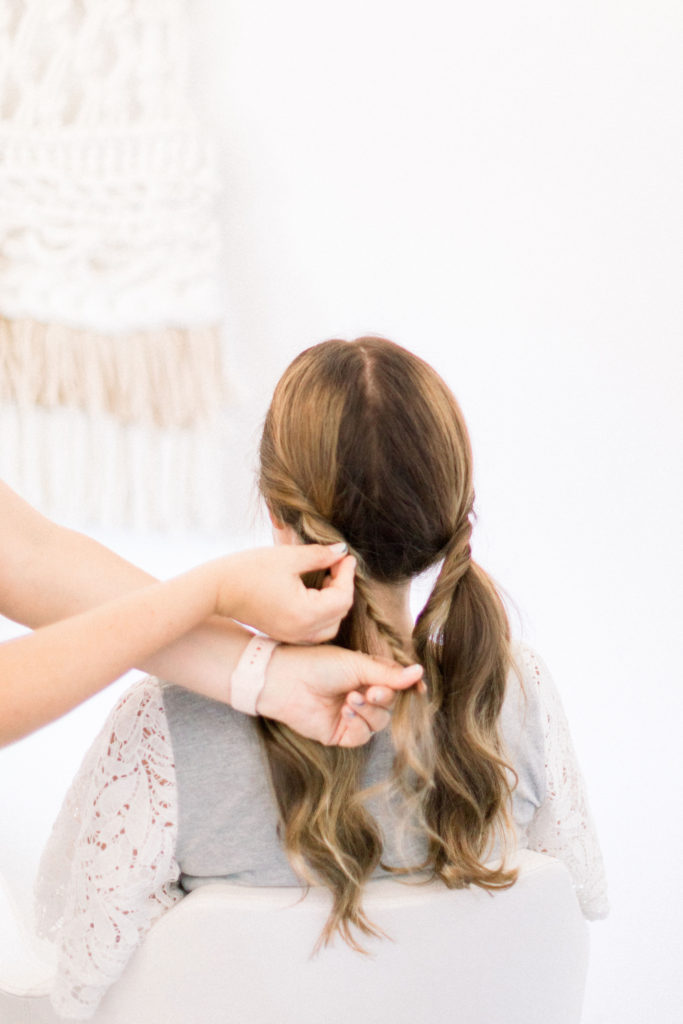
Part the hair down the middle into two sections. Secure the sections into two low pigtails at the nape of the neck, leaving out about a two inch section of hair on each side at the front of the hair line. Take one of the sections of hair that you left out and twist into a rope form and secure it to the pigtail to the inside of the rubber band.
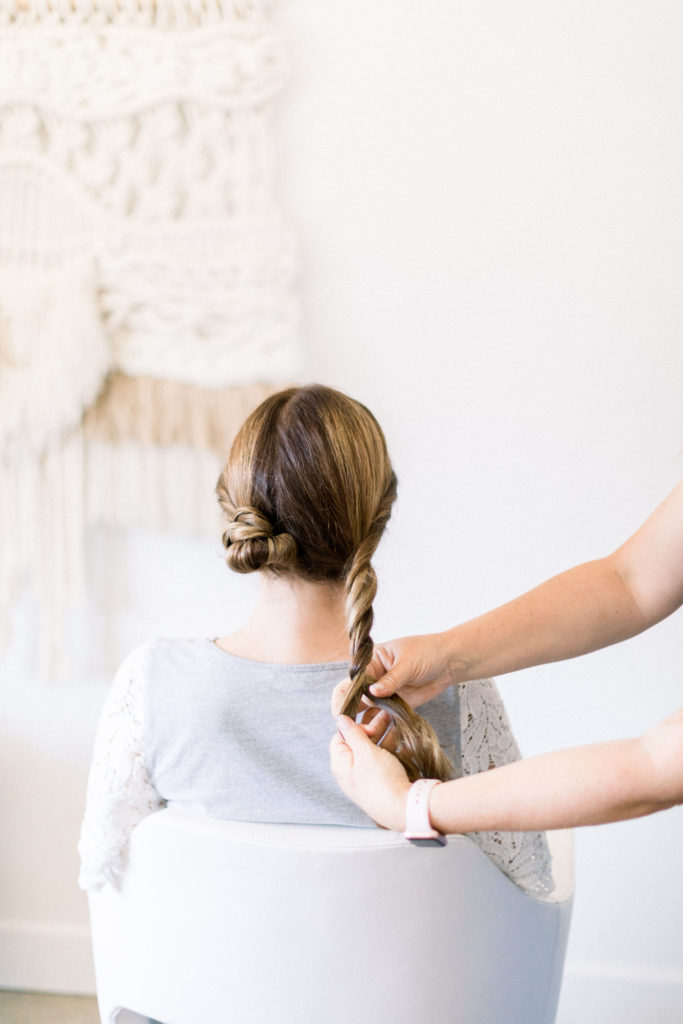
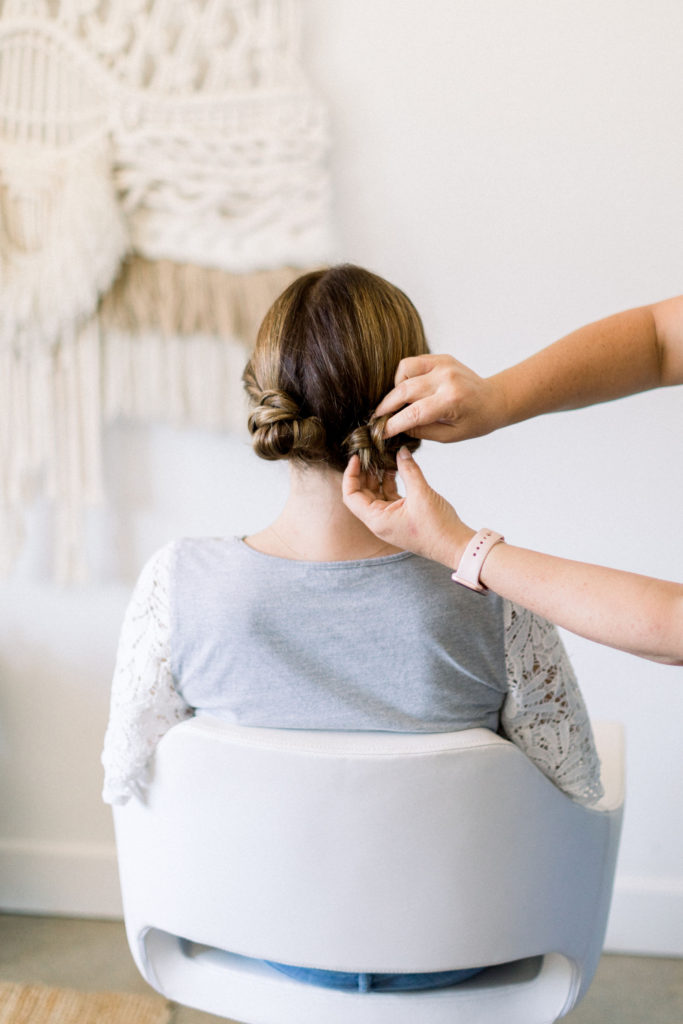
Repeat on the other side. Take the hair in one of the pigtails and separate the hair into two sections and twist them into a rope form, making sure to include the previously twisted and secured hair, and wrap the rope coiled around the base of the pigtail and secure with bobby-pins Repeat on the other side.
You can pull apart the buns making them fuller and messier or you can leave them right. Take a ribbon or scarf and wrap it around each bun tying the knot at the bottom of the bun and leaving loose, or you could tie in a bow. Spray with finishing spray!
Now you’re ready to rock all these cute styles!! Hope you liked them as much as us! A big thanks to Erica at 1011 Makeup for these fun tutorials!!
xx
Jacquelyn

