How many of you are gettin’ all cute and going out for Valentine’s Day?! I can’t say I’m one of you… My big Valentine’s Day plans are taking my kids to see the new Sonic the Hedgehog movie, haha! But the day before is my bday – so a hot date night will have to take place for that!
I don’t know about you guys but I love seeing beauty or hair tutorials, especially from my friend Erica of 1011 Makeup and Your Beauty Invite. She always gives the most detailed step by step guide that’s so easy to follow. A few years back she taught me how to curl my hair – yes, I know I’m pathetic – and now I have the confidence to try more amazing styles!
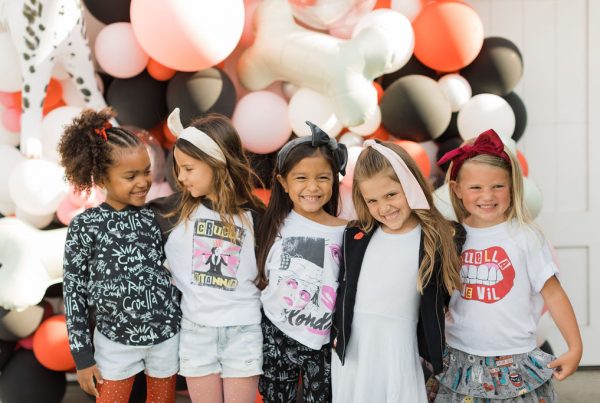
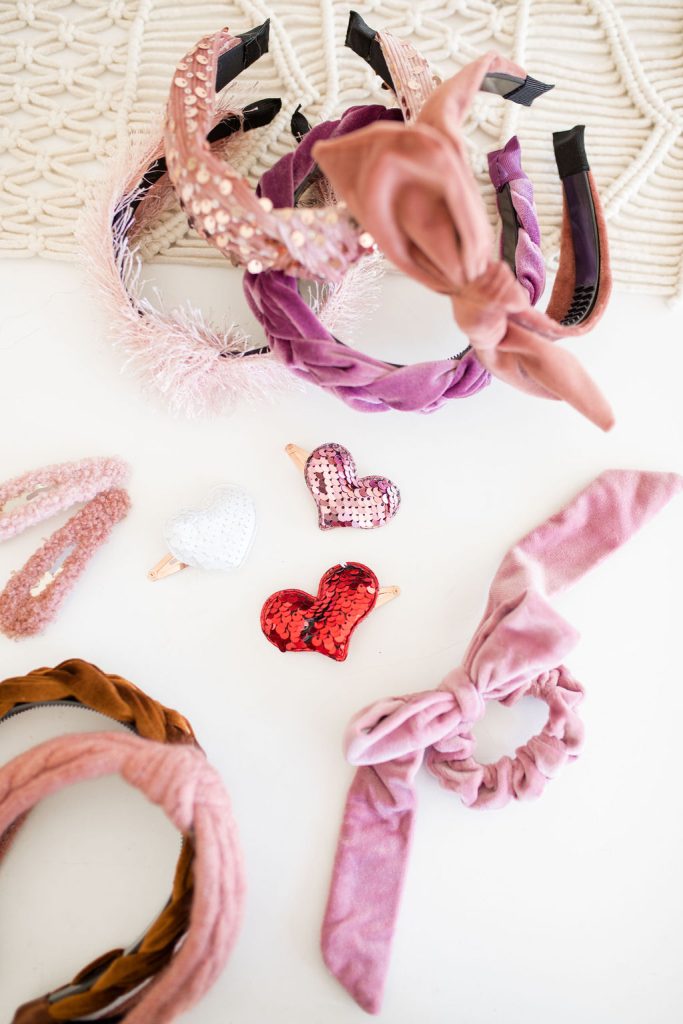
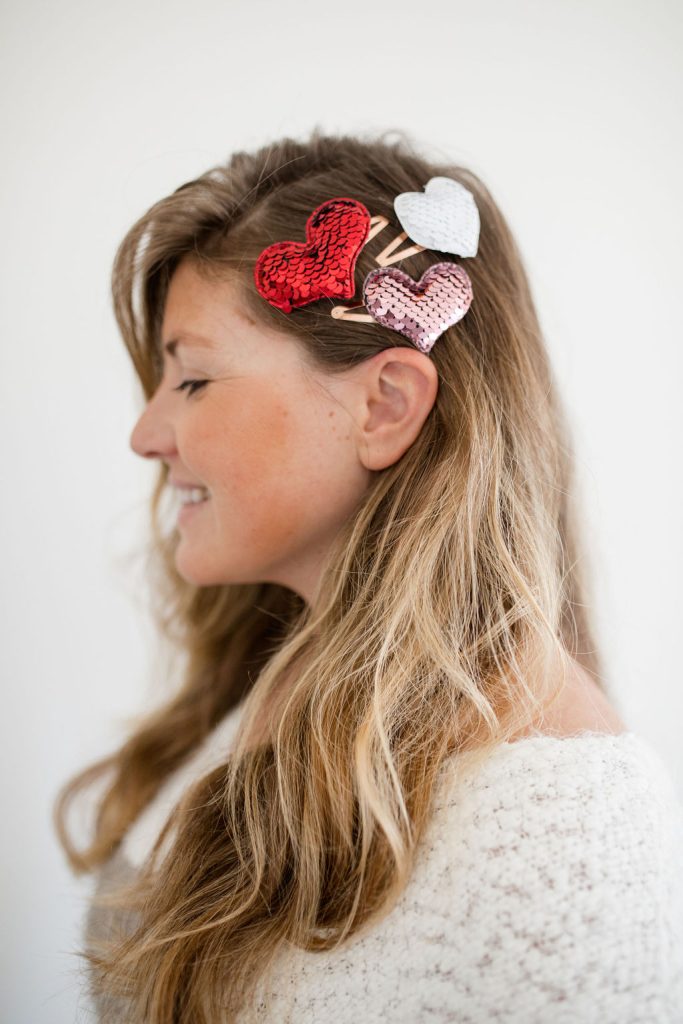
She used the cutest accessories from The Daydream Republic to style our models up and they are all so cute!! They had me at sequin heart clips… So keep scrolling to get some fun inspiration!!
Photos by Corrie Lynn Photo
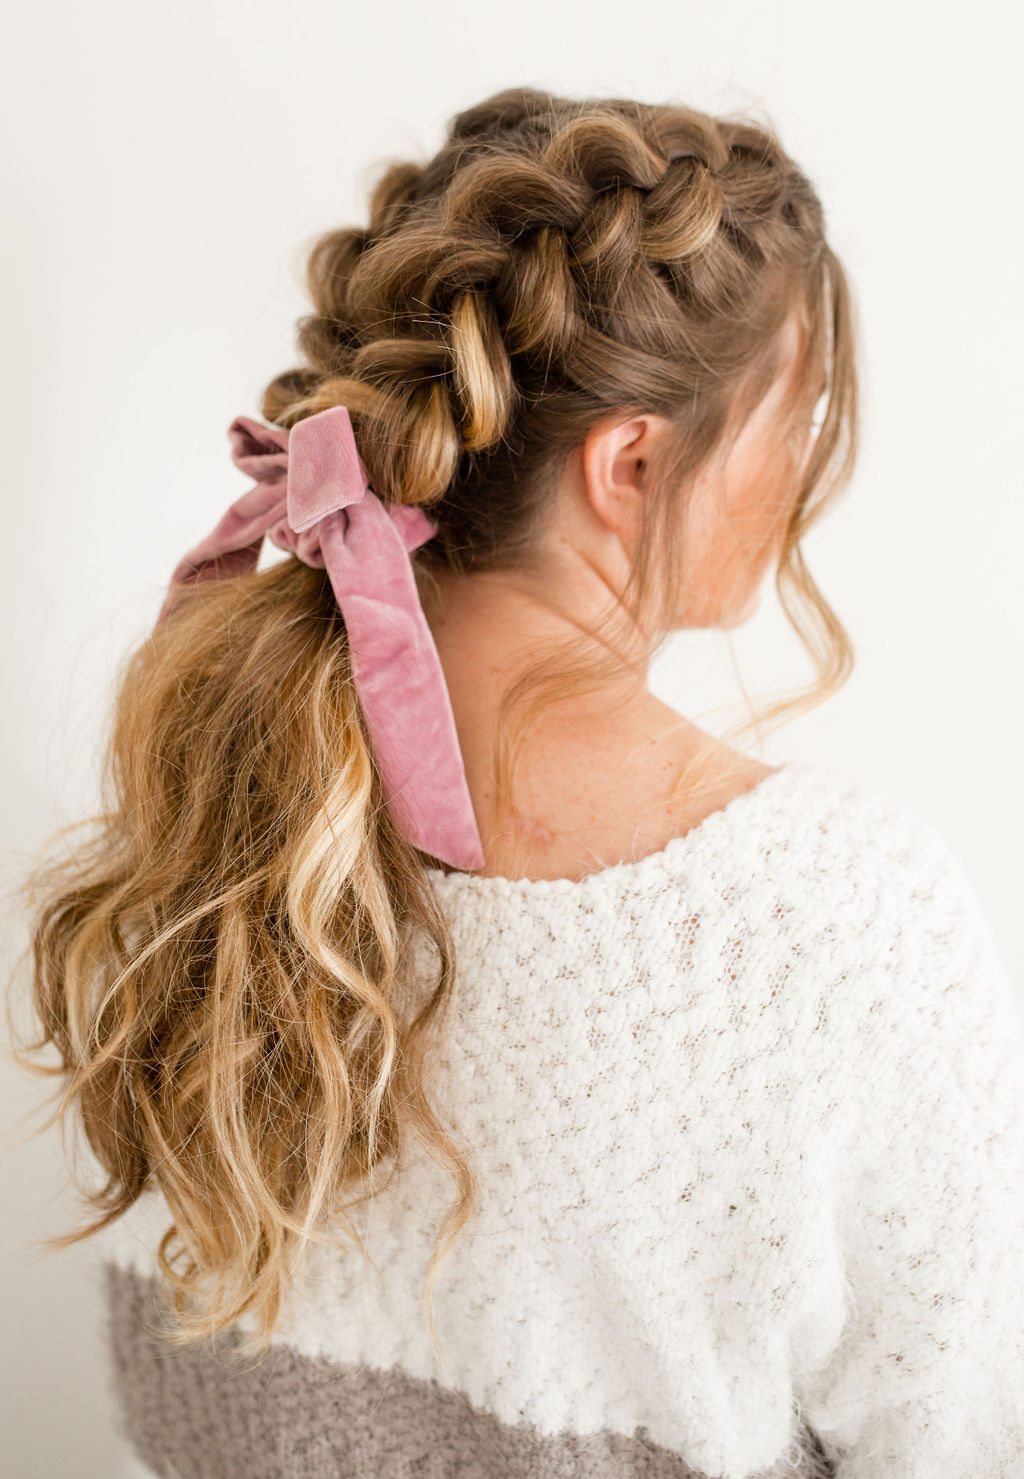
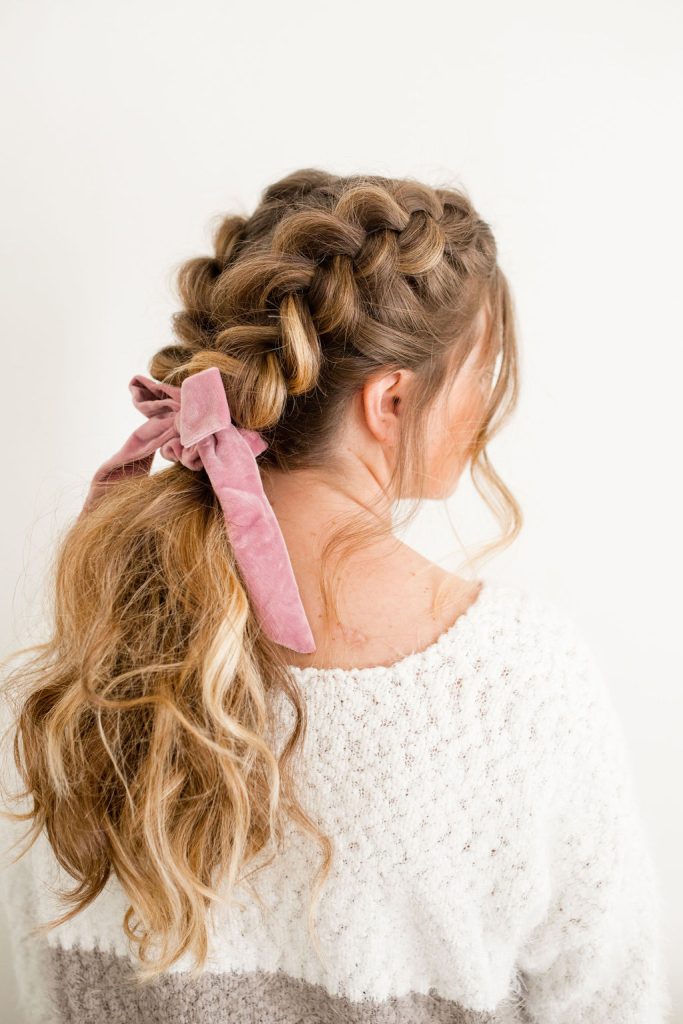
S C R U N C H I E
B O W
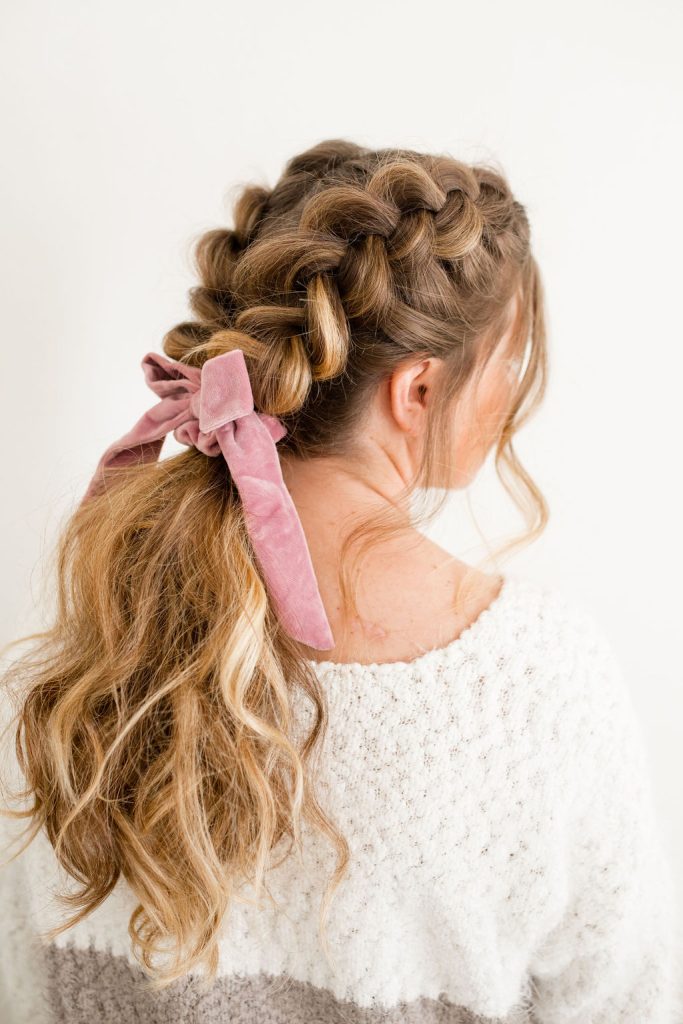
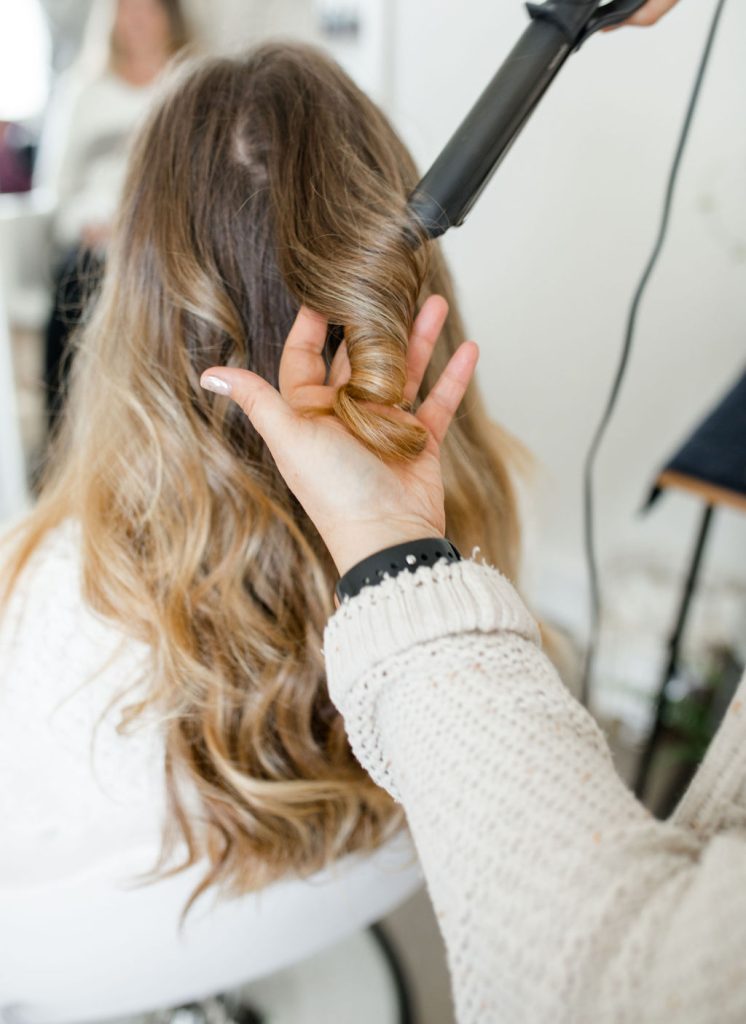
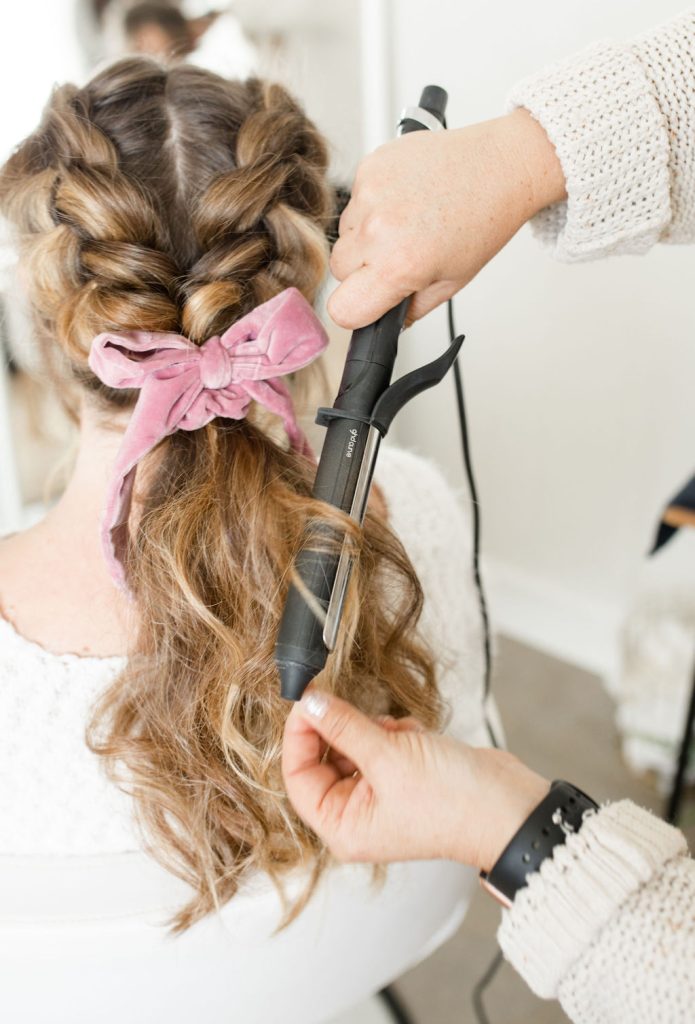
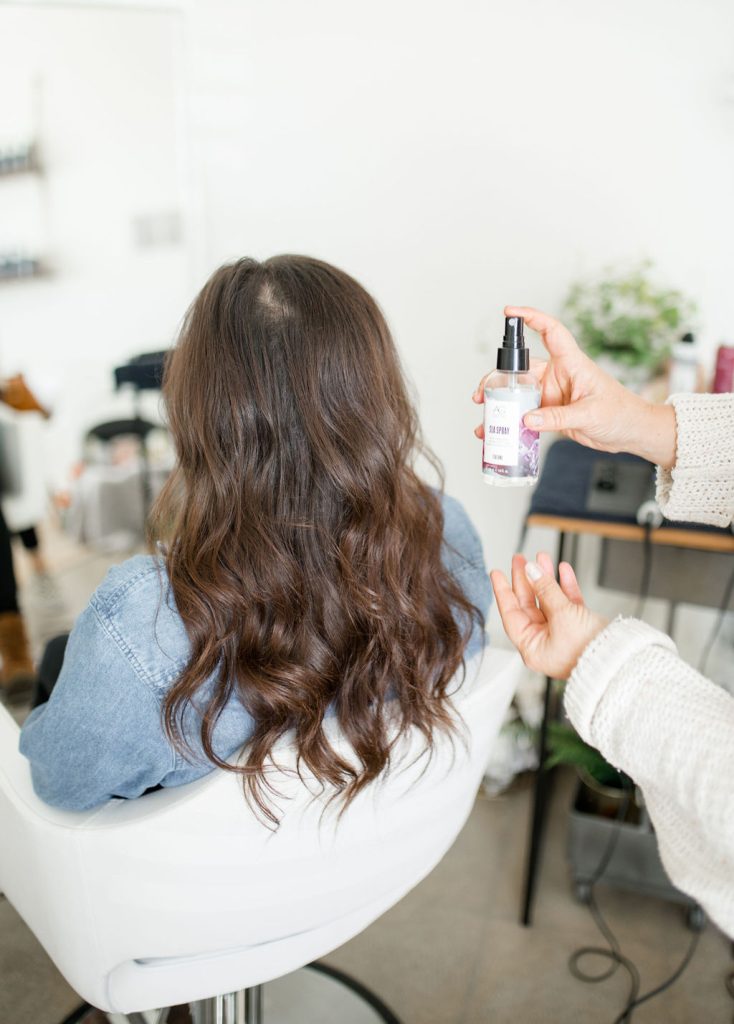
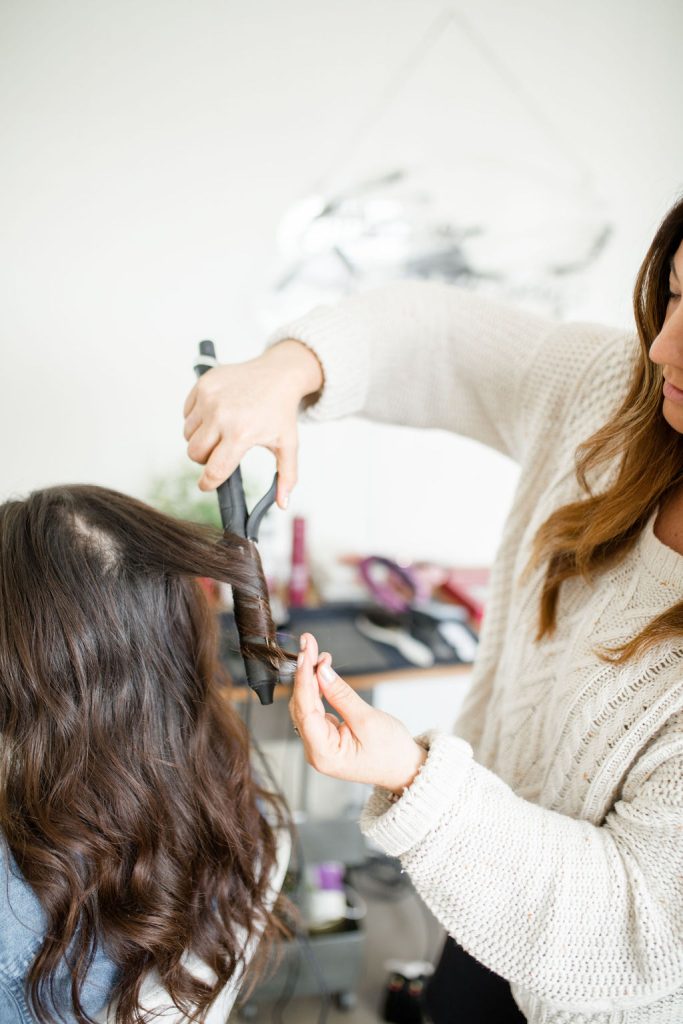
Prep hair with texture using a hot tool, and curls of your choice.

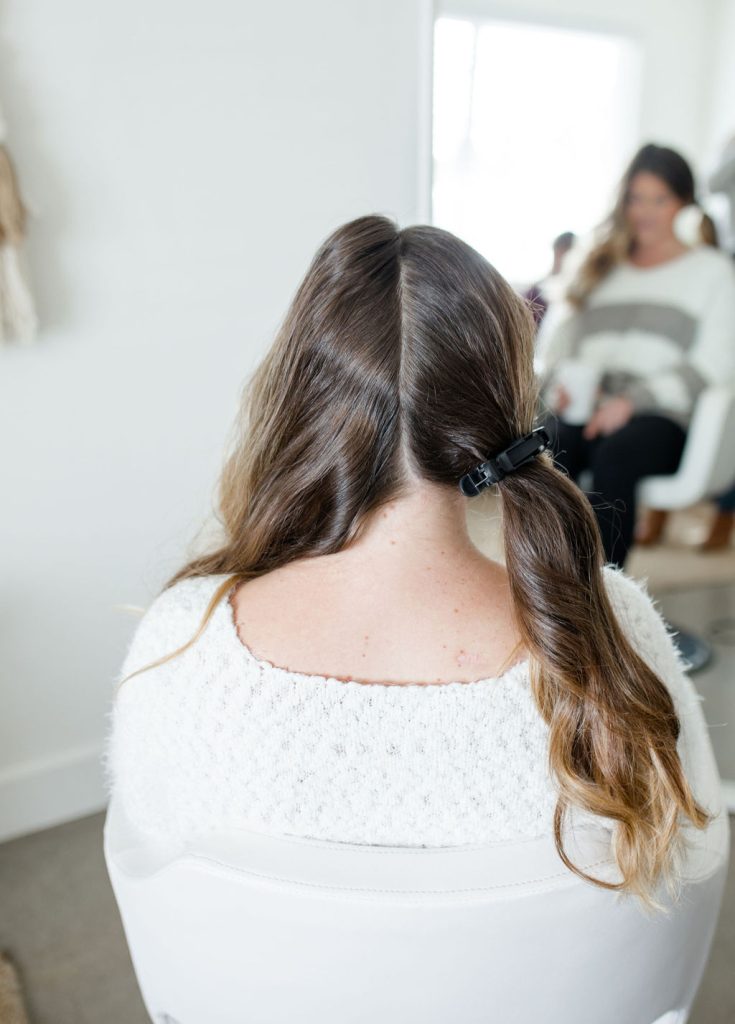
Section the hair, parting down the middle of the head, securing one side away with a clip.
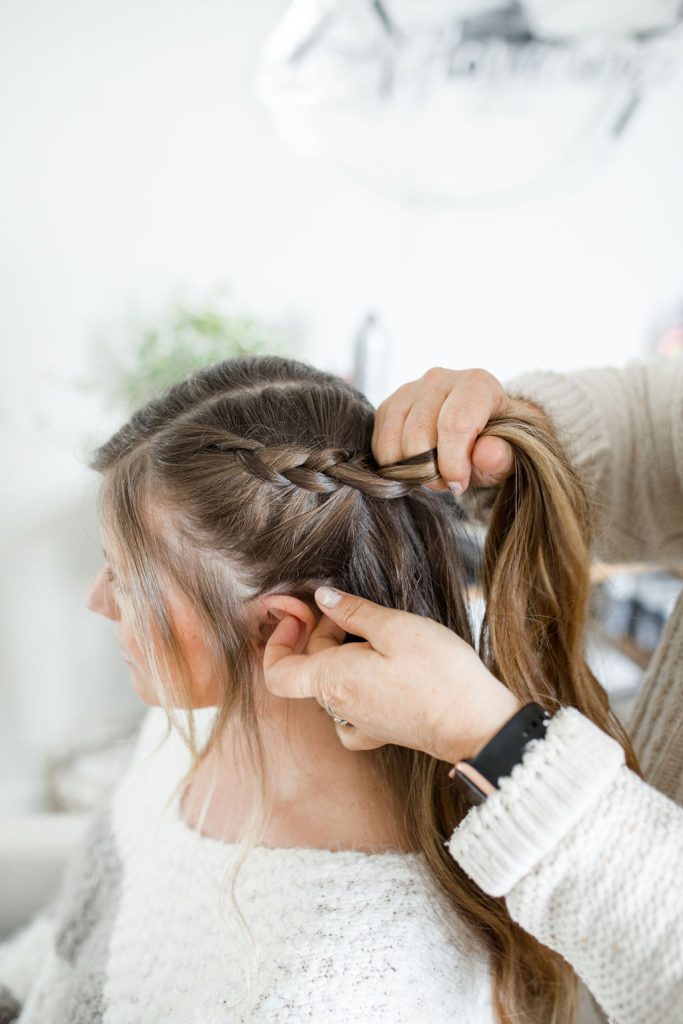
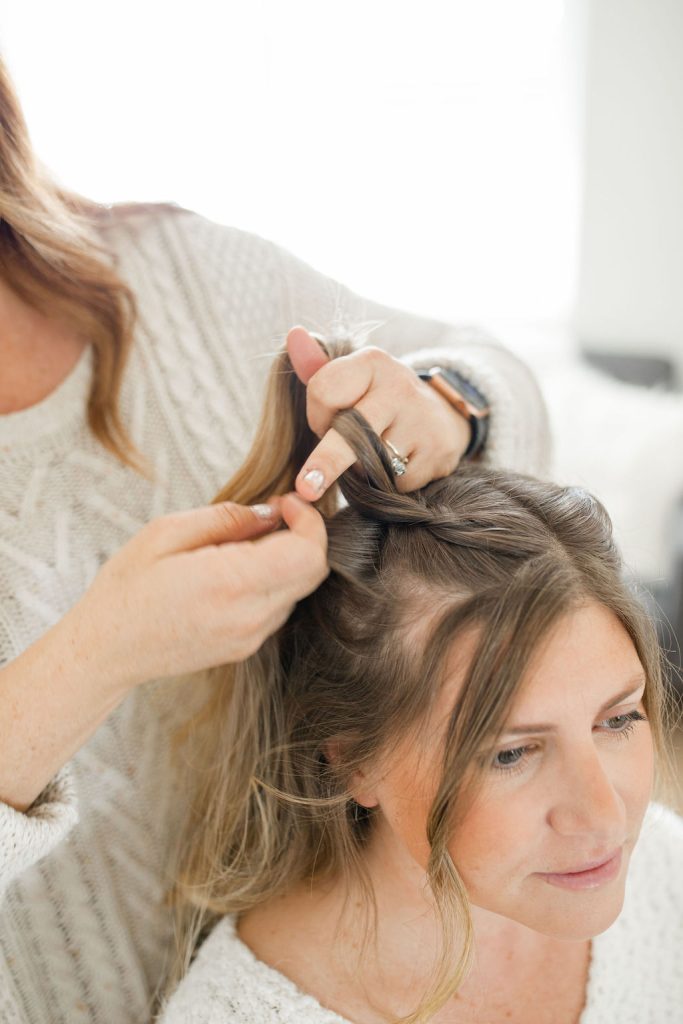
Take the side not secured, and section out the hair line from the face framing fringe area to just above the ear (this will be a very thin section for loose pieces to frame the face once you have finished the style).
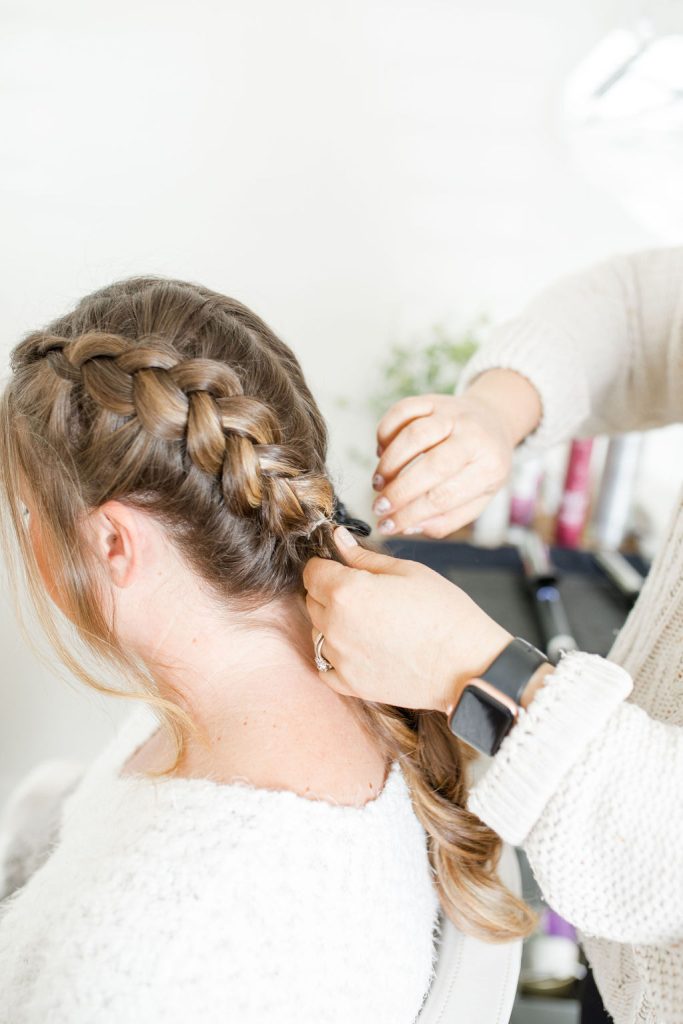
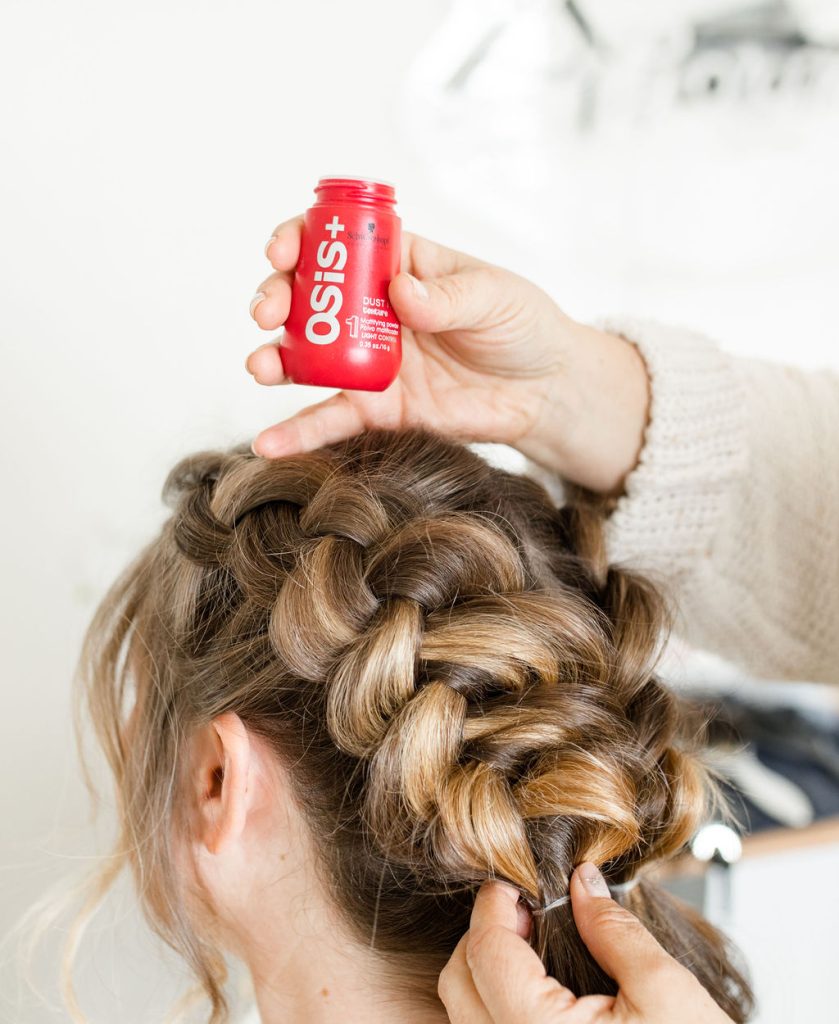
Begin a dutch braid (inside out braid), keeping it fairly tight and directing it along the side and towards the back of the head as you braid.
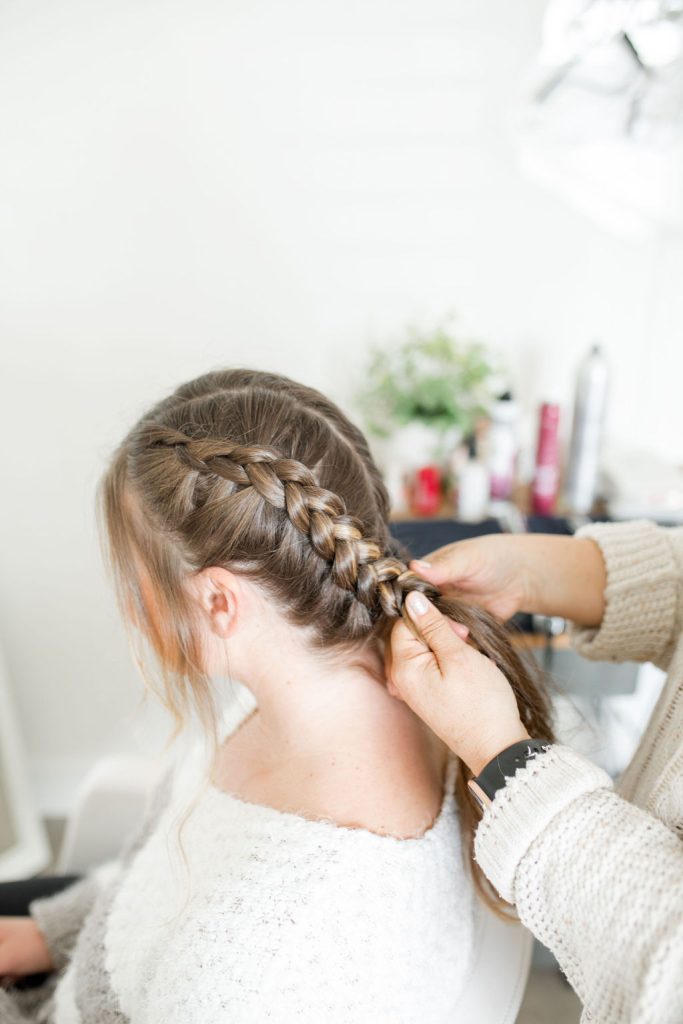
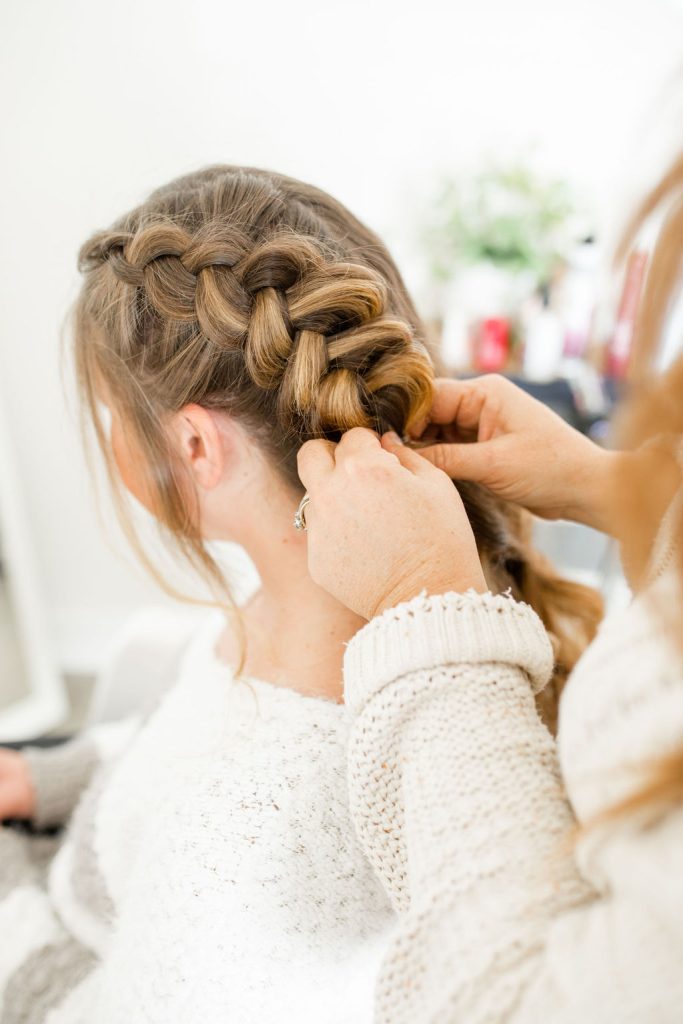
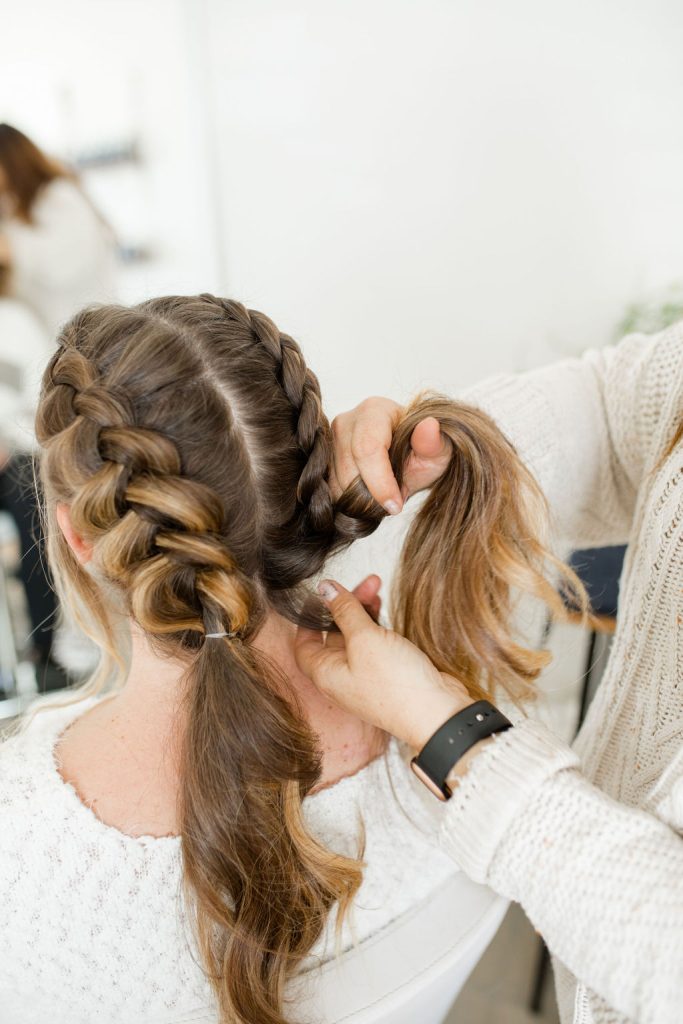
Once you get to the nape of your neck you can stop braiding and begin to “pancake” the braid. Starting at the end of the braid, pull and tug on the hair to loosen it, with your pointer finger and thumb, and work your way up the braid until you have reached your desired fullness of braid.

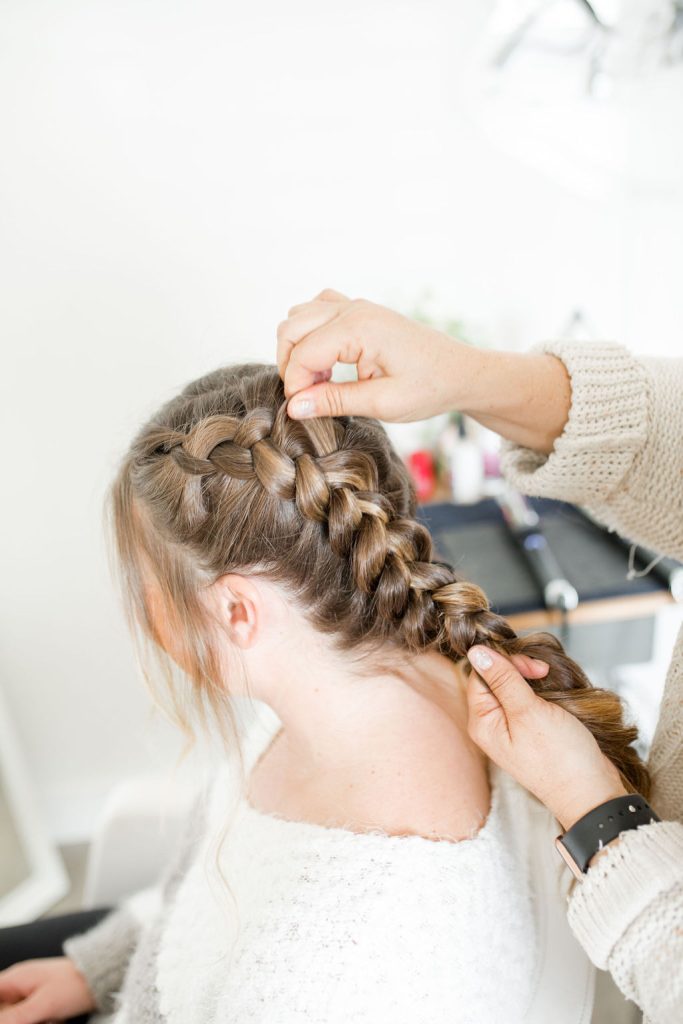
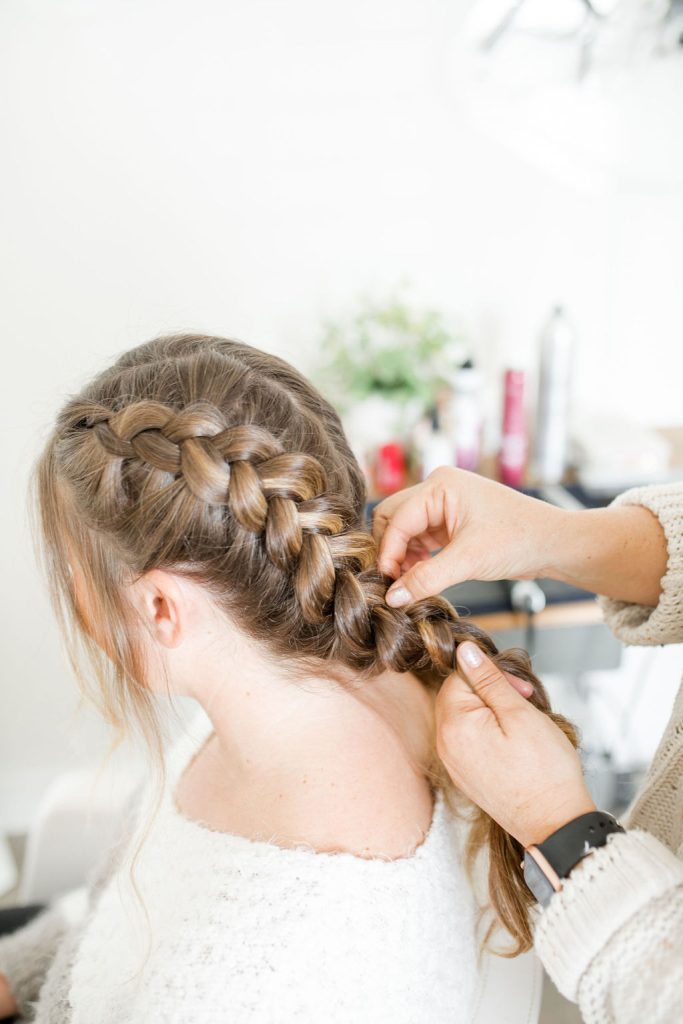
Secure the braid with an elastic band leaving a ponytail at the end of the braid. Once you secure the braid you can go back and continue to tug/ pull on the braid to create more fullness.
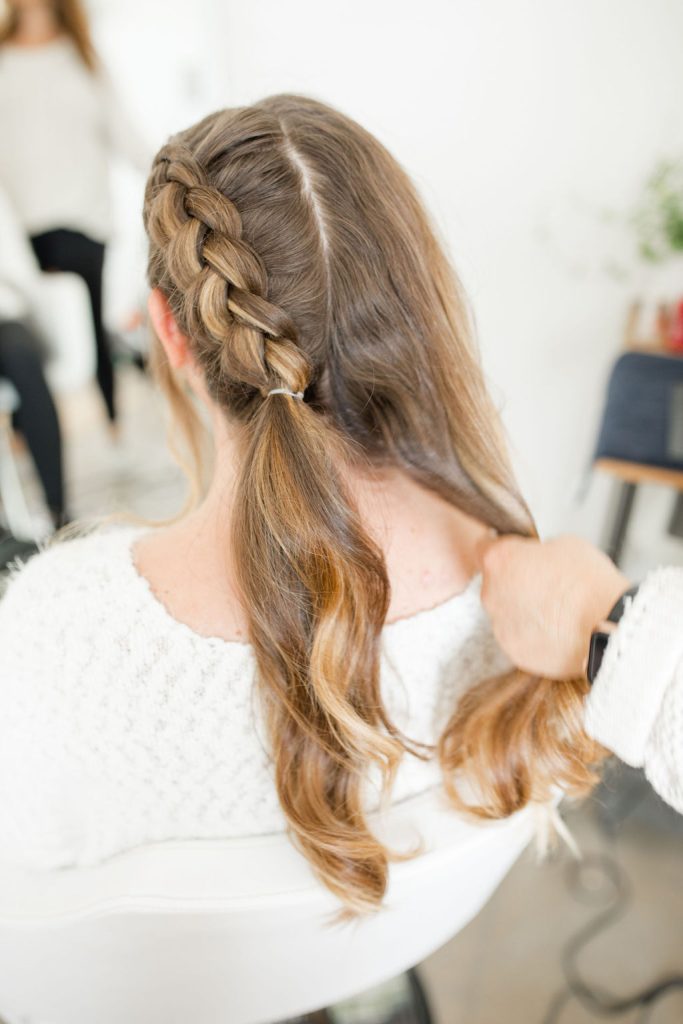

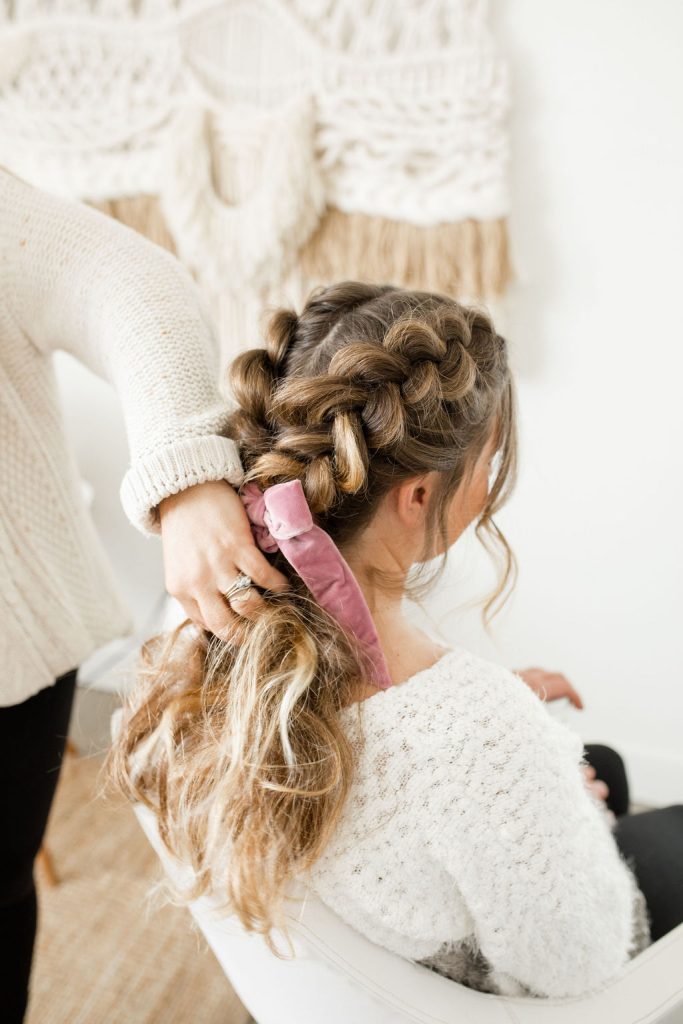
Repeat on the other section of hair that you previously clipped to the side.
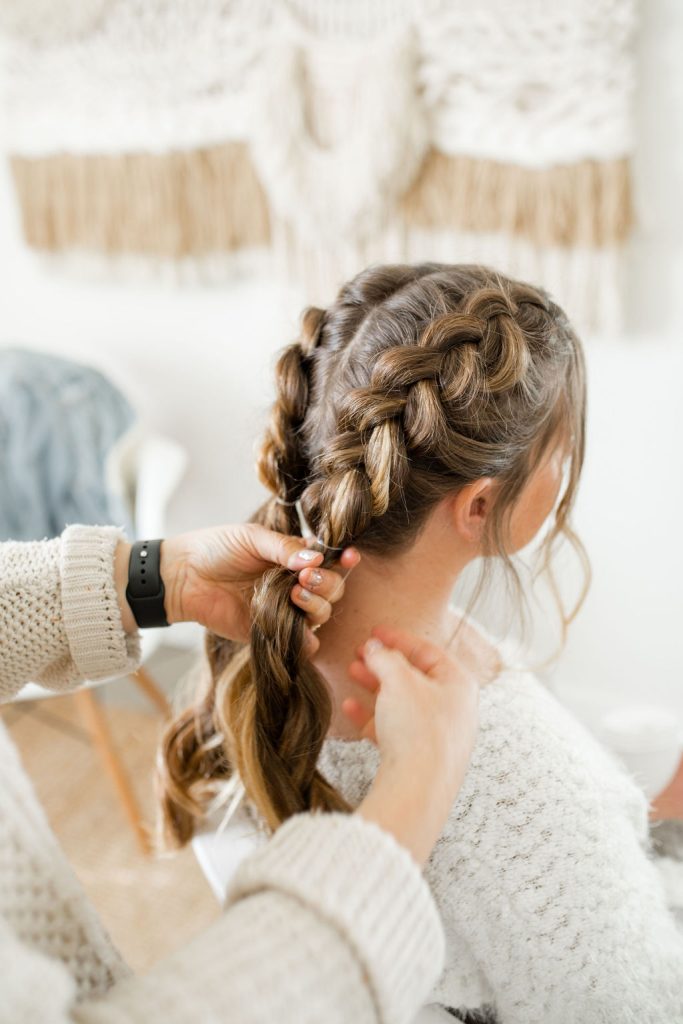
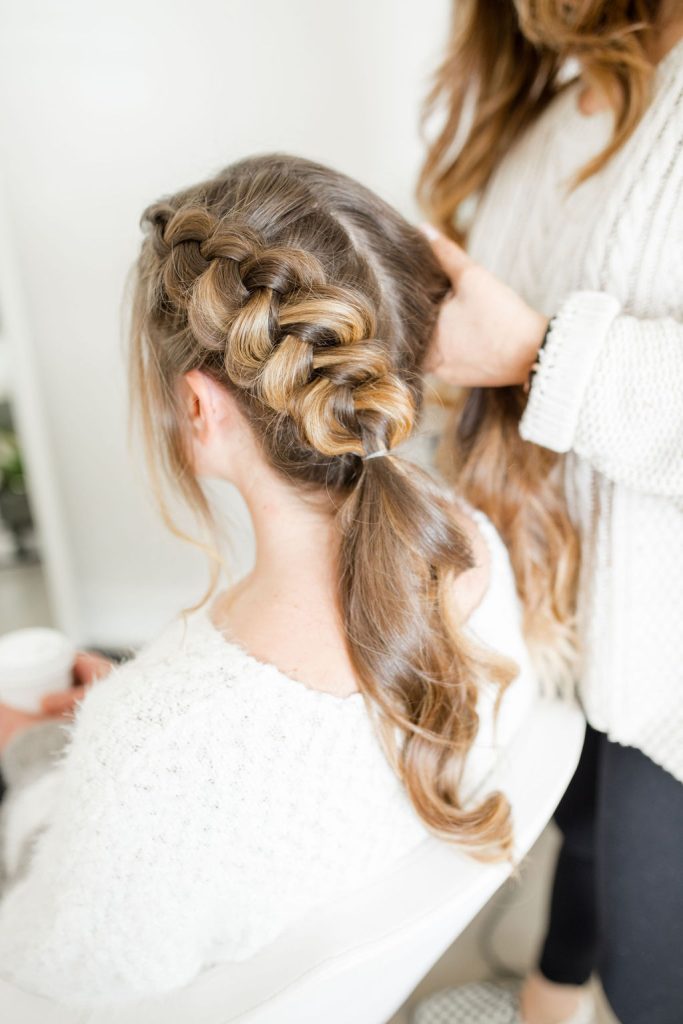
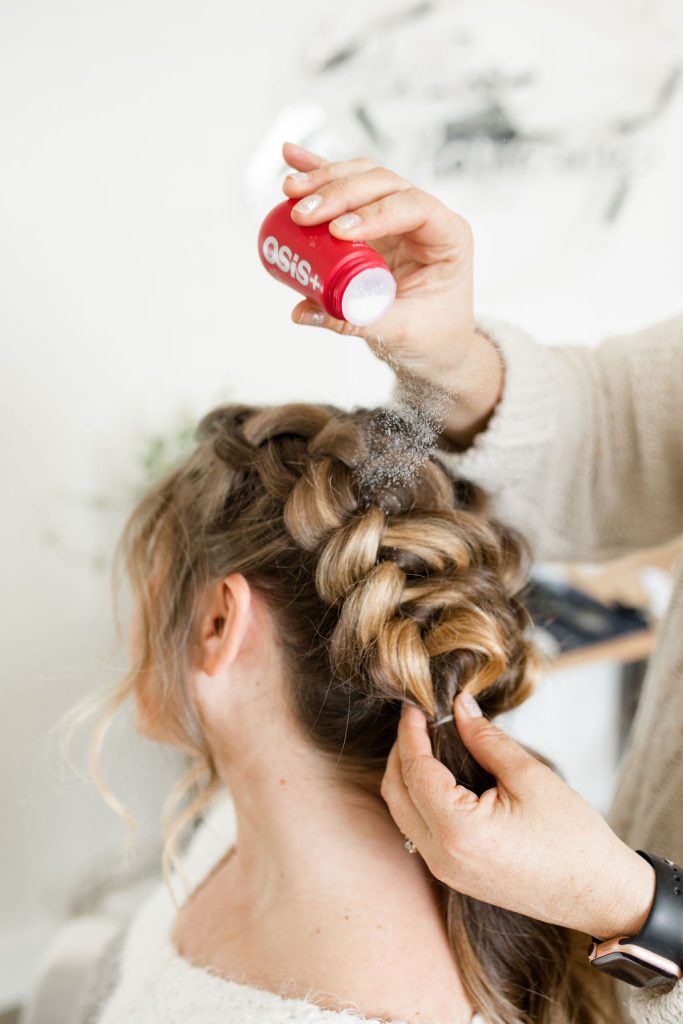
You can also use a texturizing powder to help create grit in the hair- this is great for soft hair or finer hair to allow for more fullness and texture for the braid.
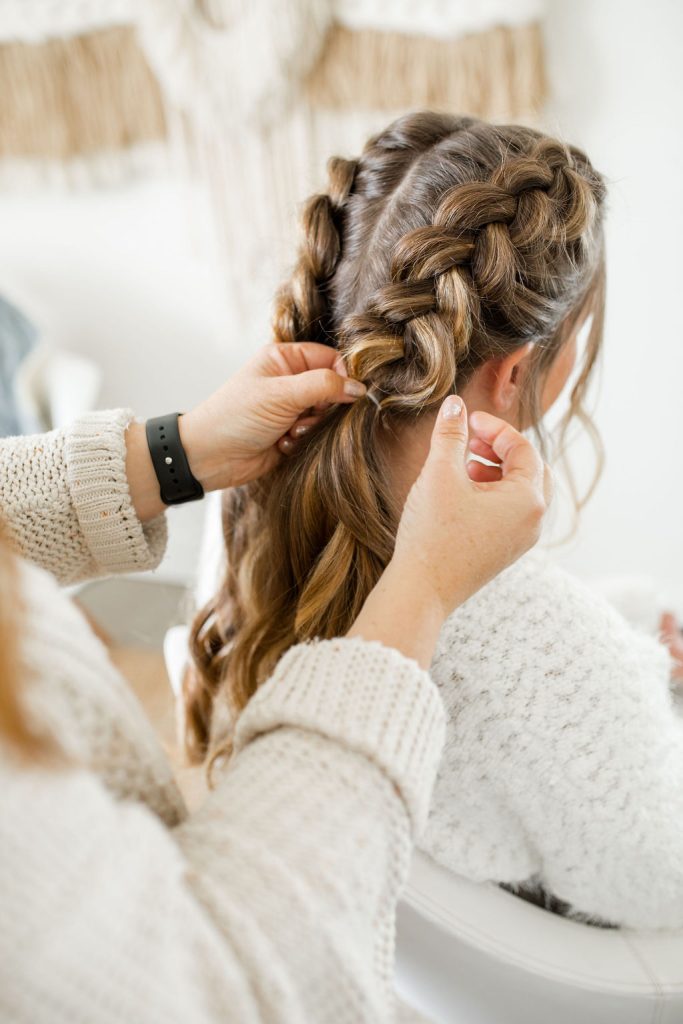
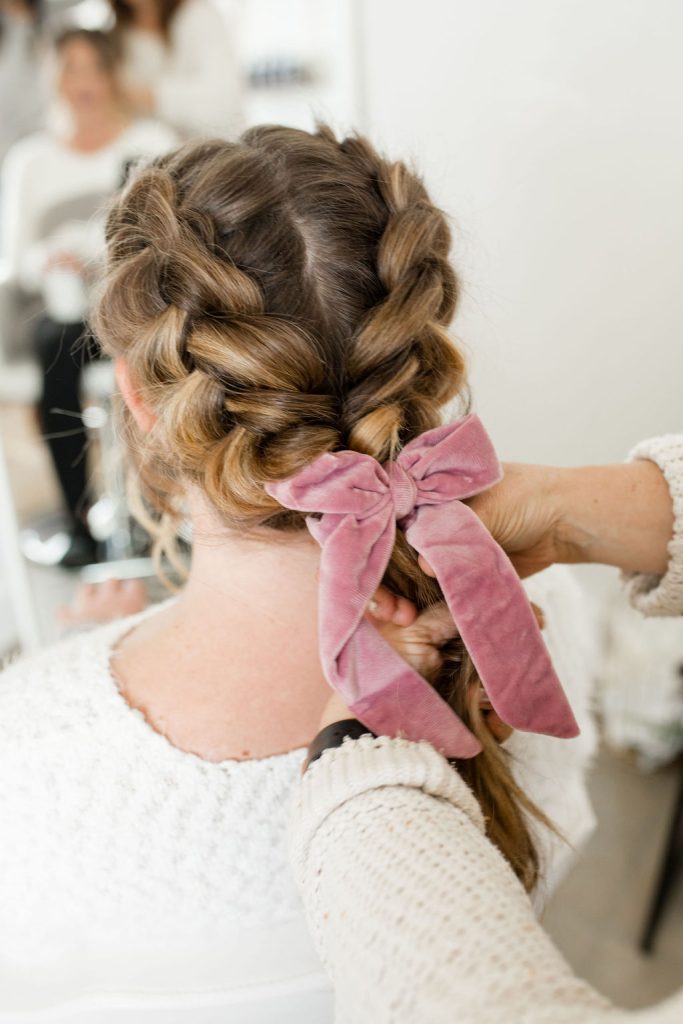
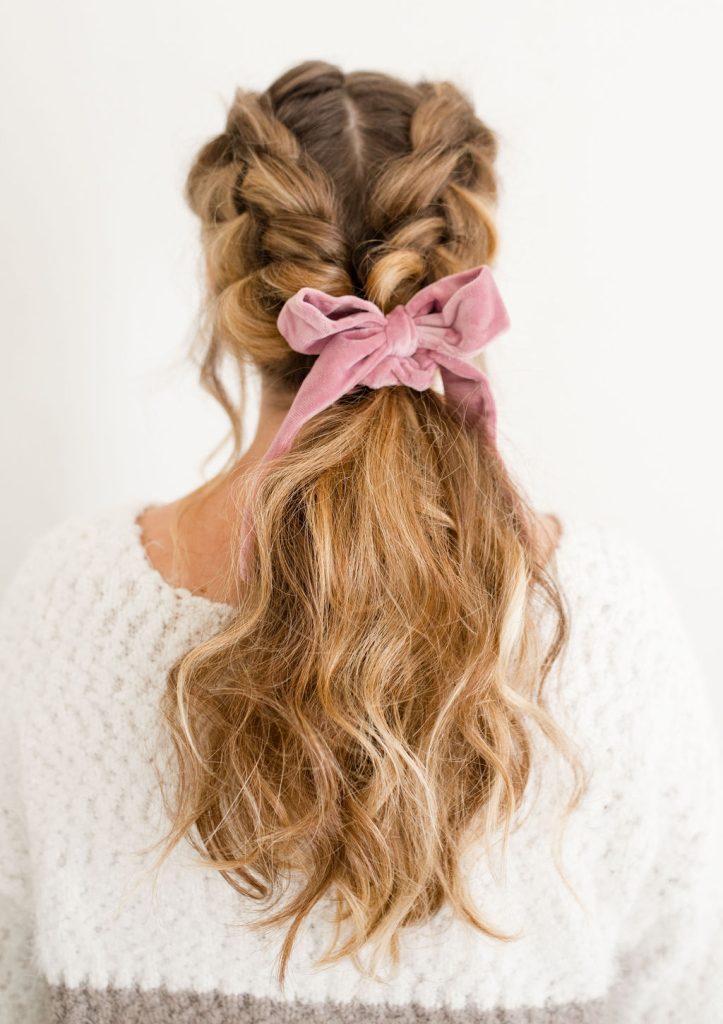
Once you have reached your desired fullness, take your scrunchie and secure the ends of both braids together into a ponytail . Making sure to keep the bow centered at the nape of the neck.

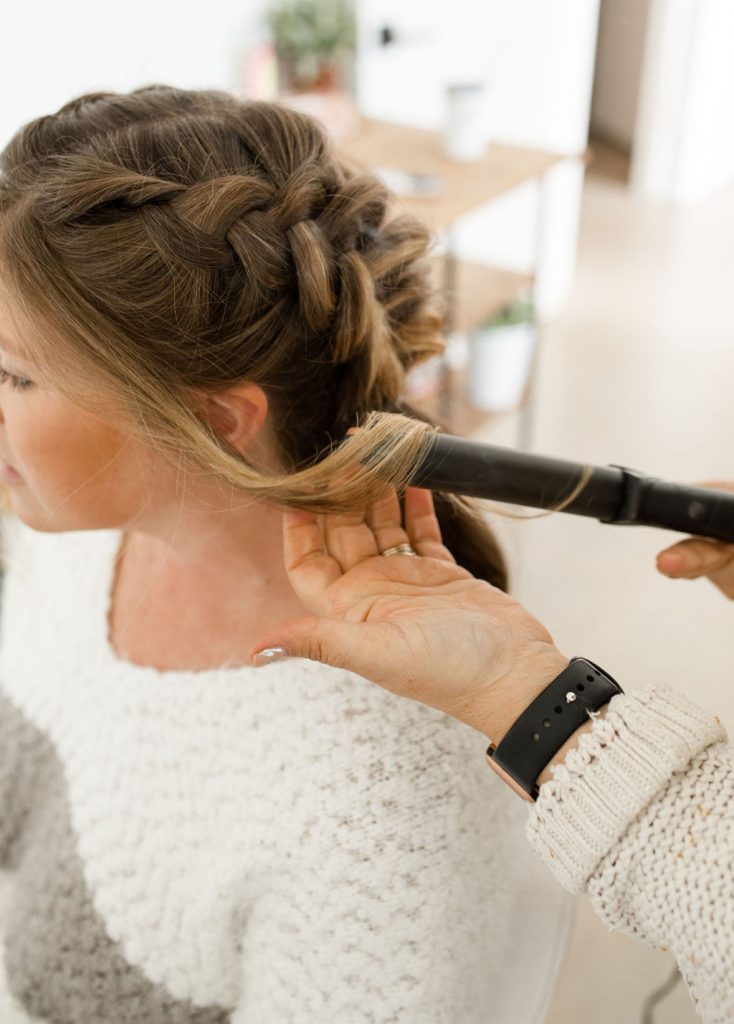
Take your comb and backcomb the hair in the ponytail for more fullness and texture.
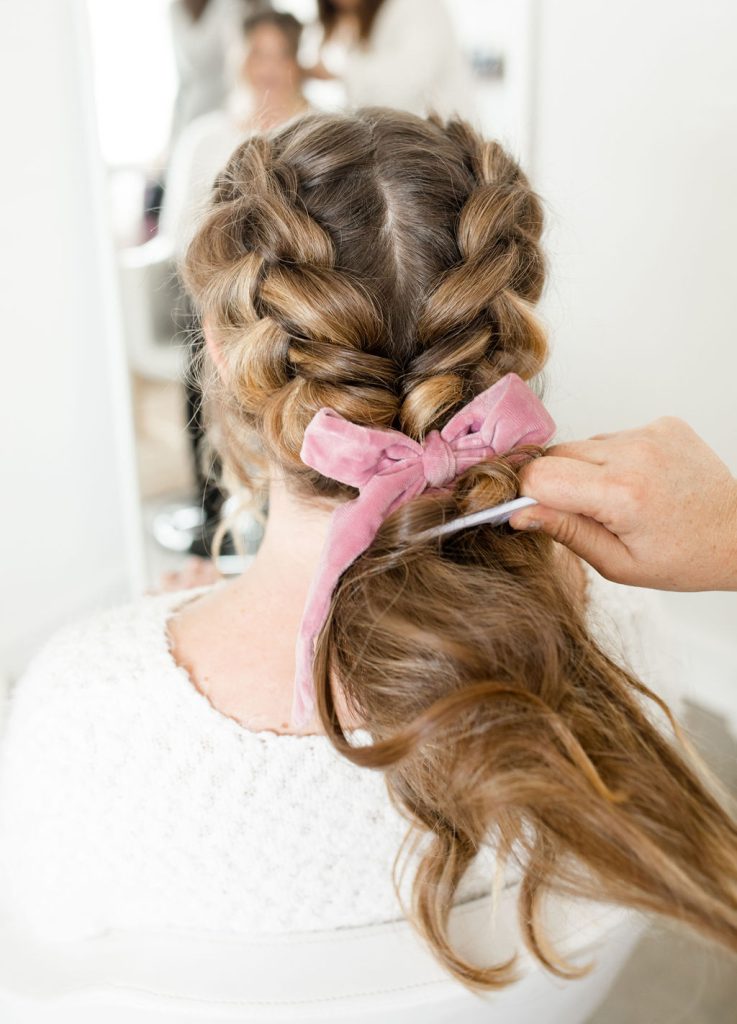

Curl the pieces along your hairline, and spray with a finishing spray.
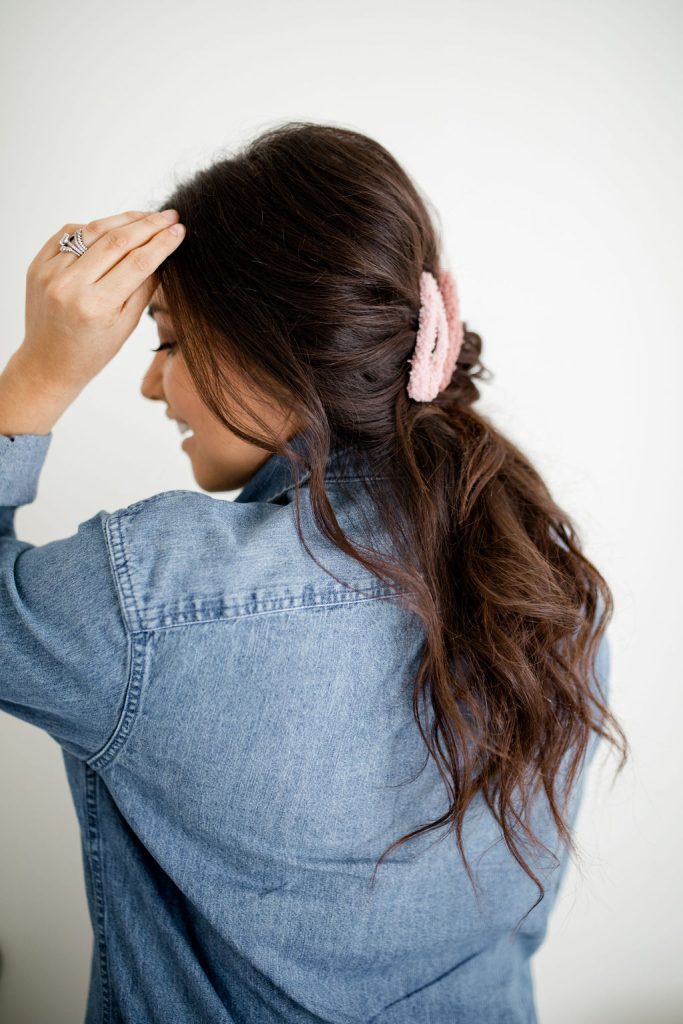
S W E A T E R
B A R R E T T E S

Prep the hair with a curl type of your choice. For a more undone or tousled look, spray the hair with a sea salt spray or a light spray wax and break up the curls with your fingers.
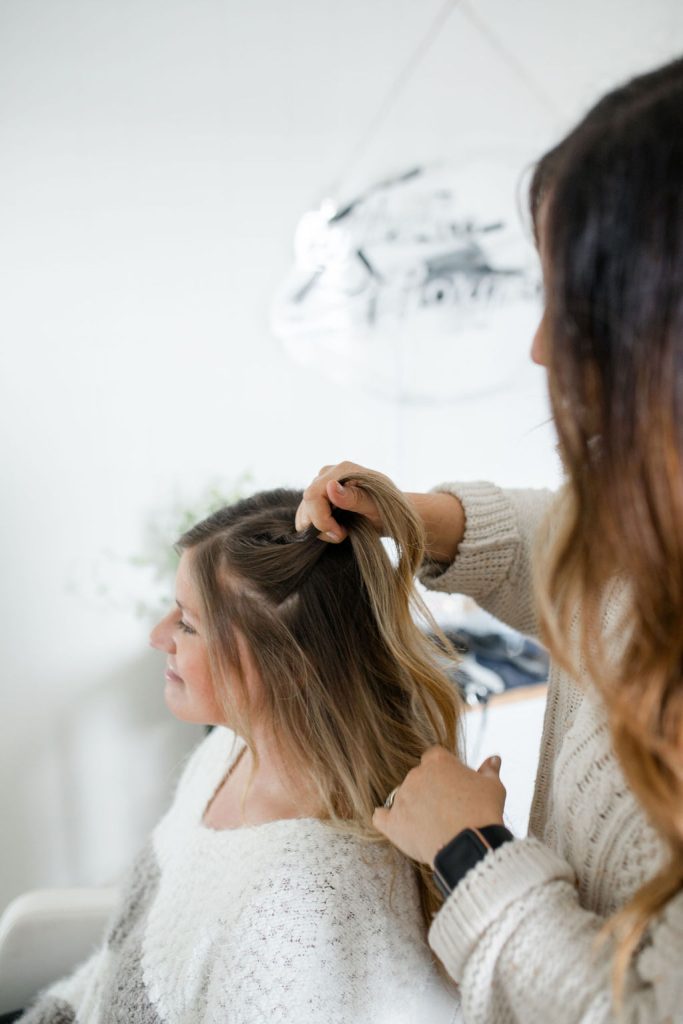
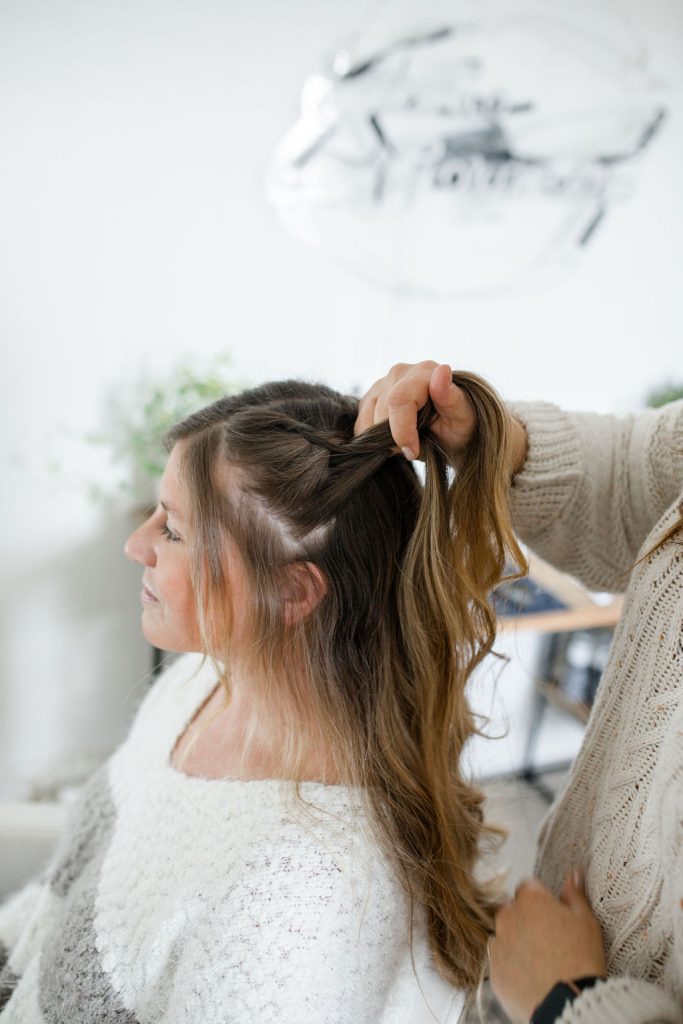
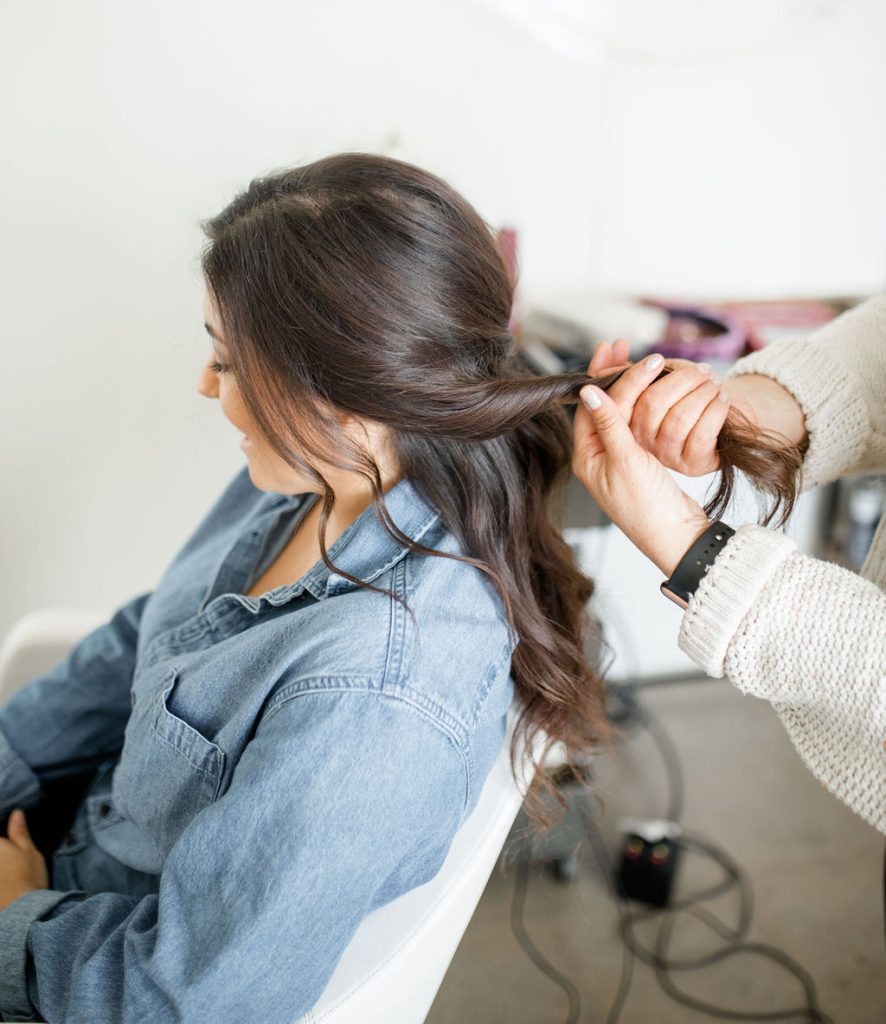
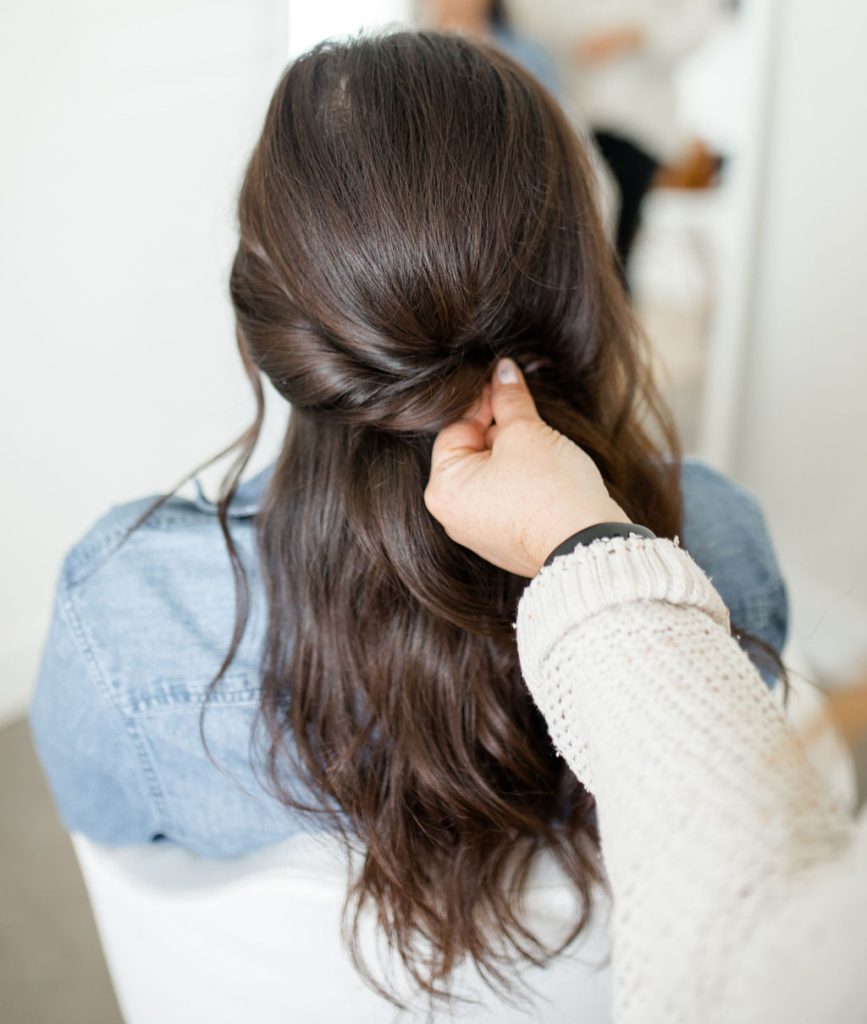
Gather the hair at the crown of the head, leaving the hair out on each side (from the ear forward), twist the hair at the crown in one direction and secure with a bobby pin.
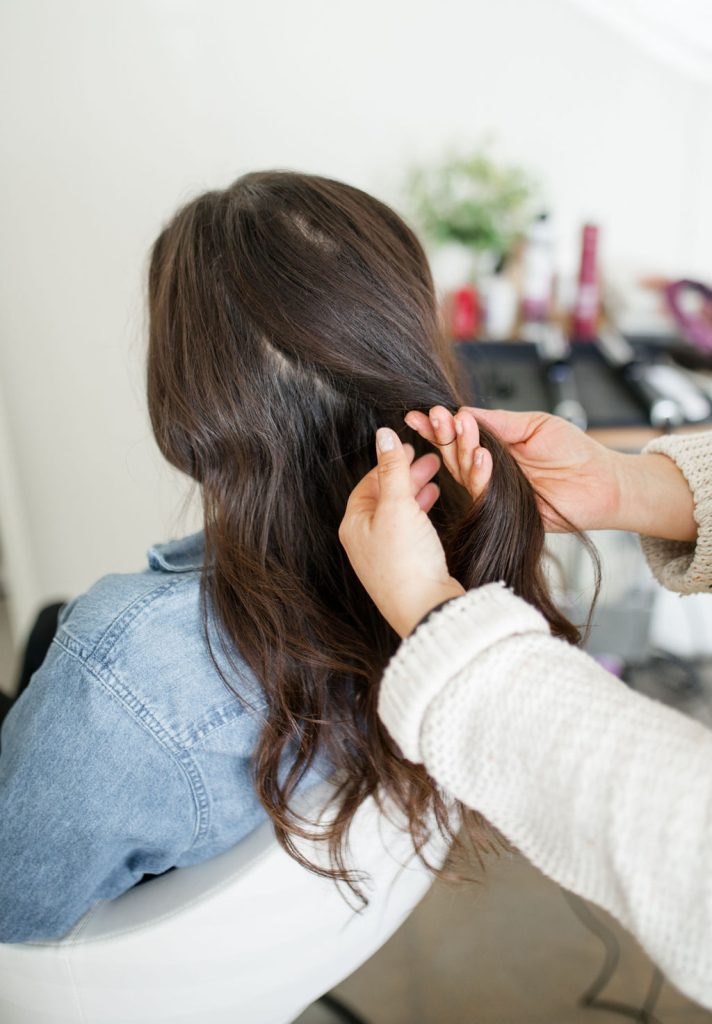
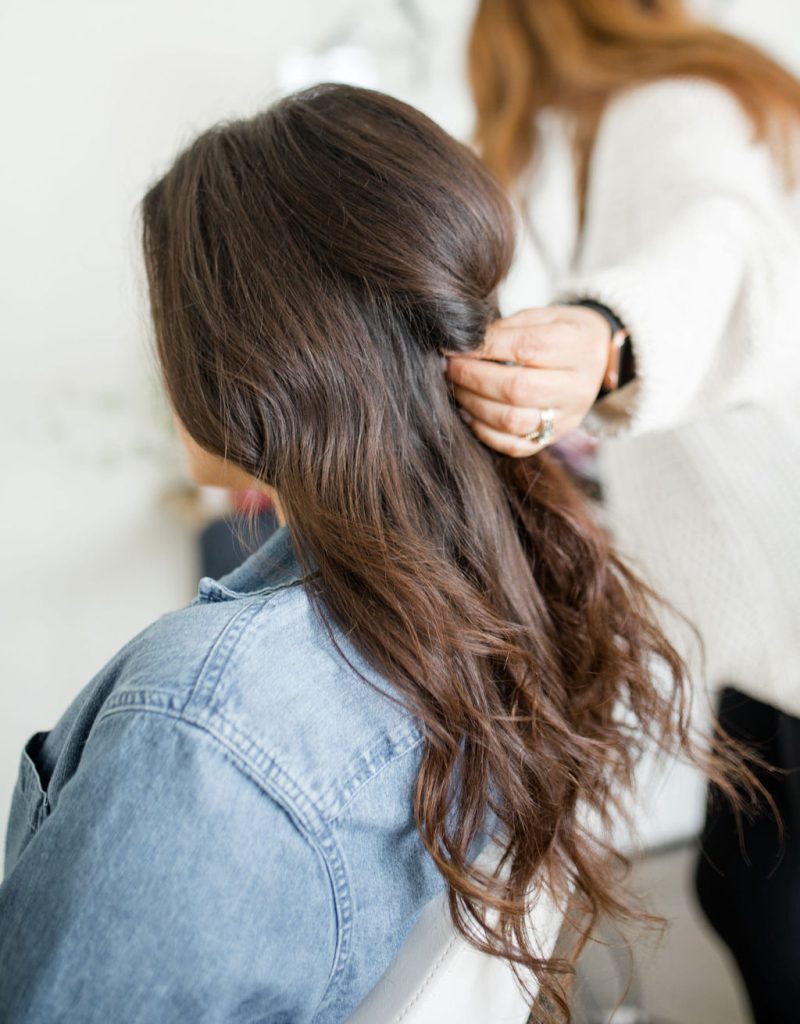
Take the hair from one side, and roll/twist it back towards your pinned style. You can pull some hair from this section for face framing pieces if you do not want all of the hair away from your face.


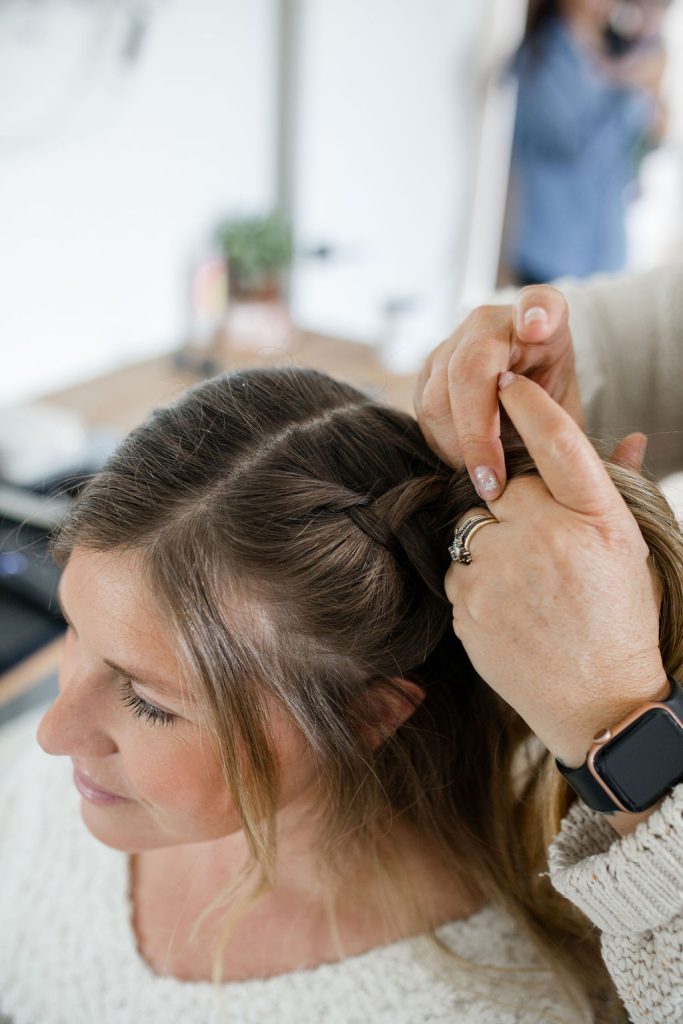
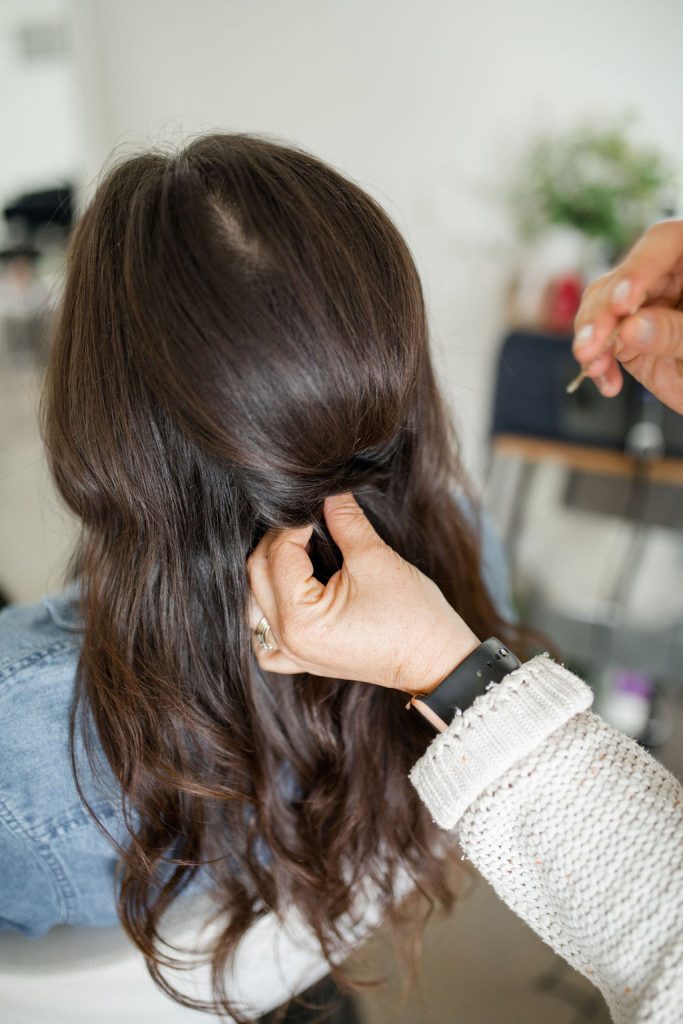
Holding the end of the twisted hair with one hand, pinch and push the twist with your other hand up towards the head, creating a fuller look. Secure the hair directed across the base of your previously pinned crown section, and allow the end of the twist to drop back into your curls.
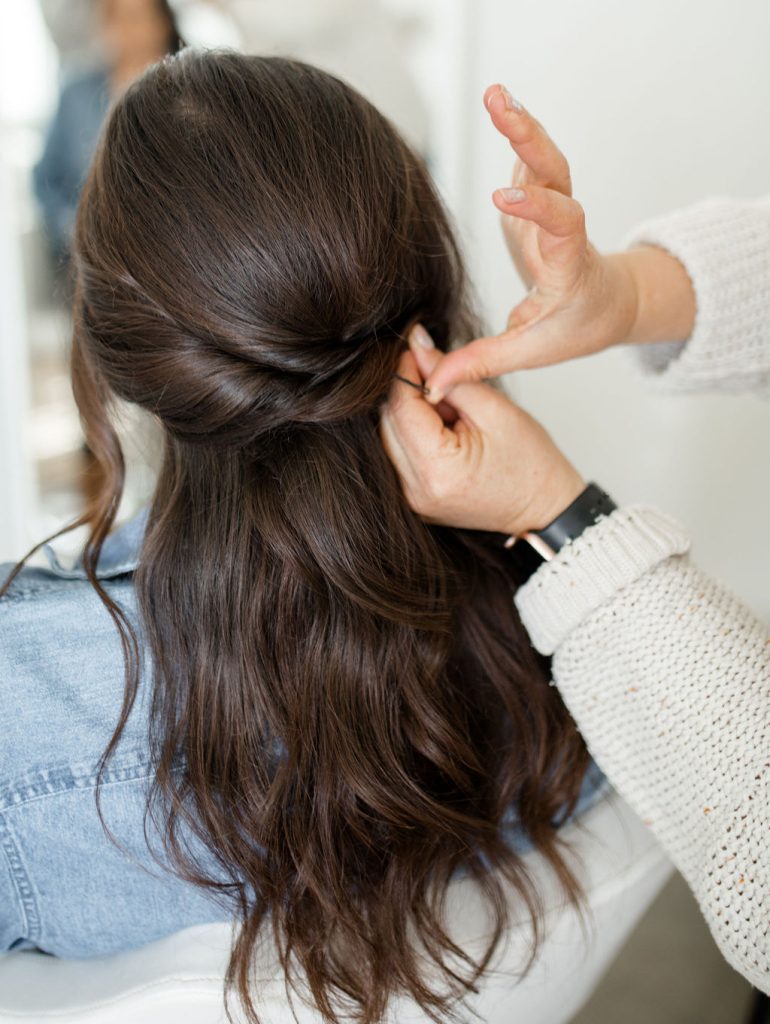
Repeat the step above on the other side, crossing over (overlapping) the hair at the base and pinning.

You can use your fingers to break up the curls, allowing the hair from the ends of your twists to blend in with your curls. You can also add more fullness to the hair that you pinned by tugging on the hair gently as you move across the section.

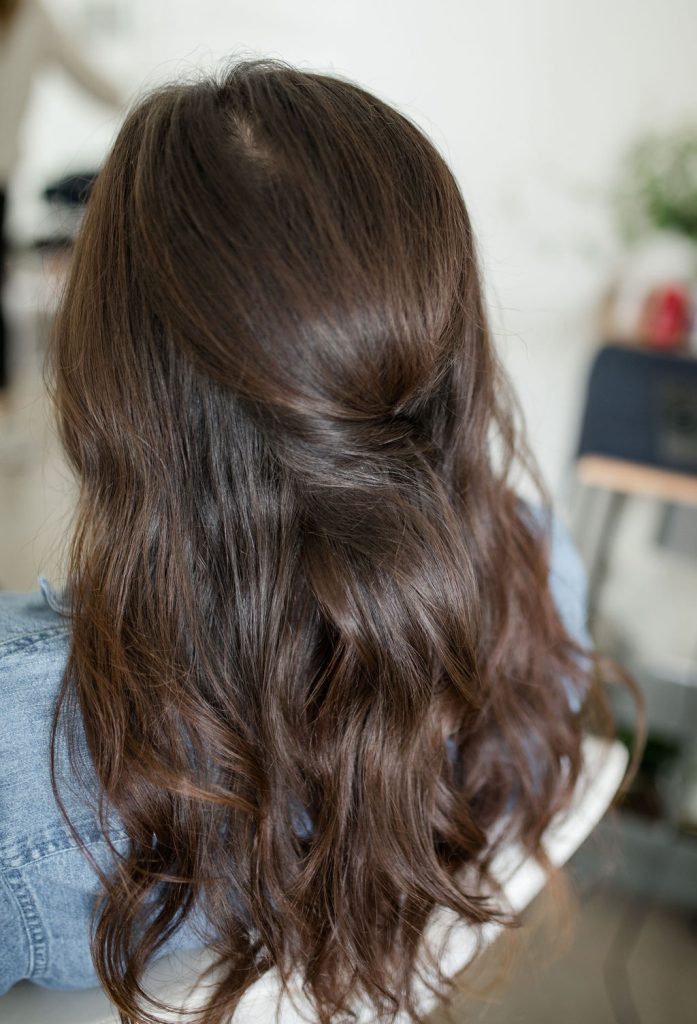
Place your barrettes off centered to which ever side you prefer and secure them.
Using your thumb and forefinger you can pinch the hair at the crown, supporting the base with your other hand, and gently pull/tug on the hair to create more volume and texture.

Spray with a finishing spray!
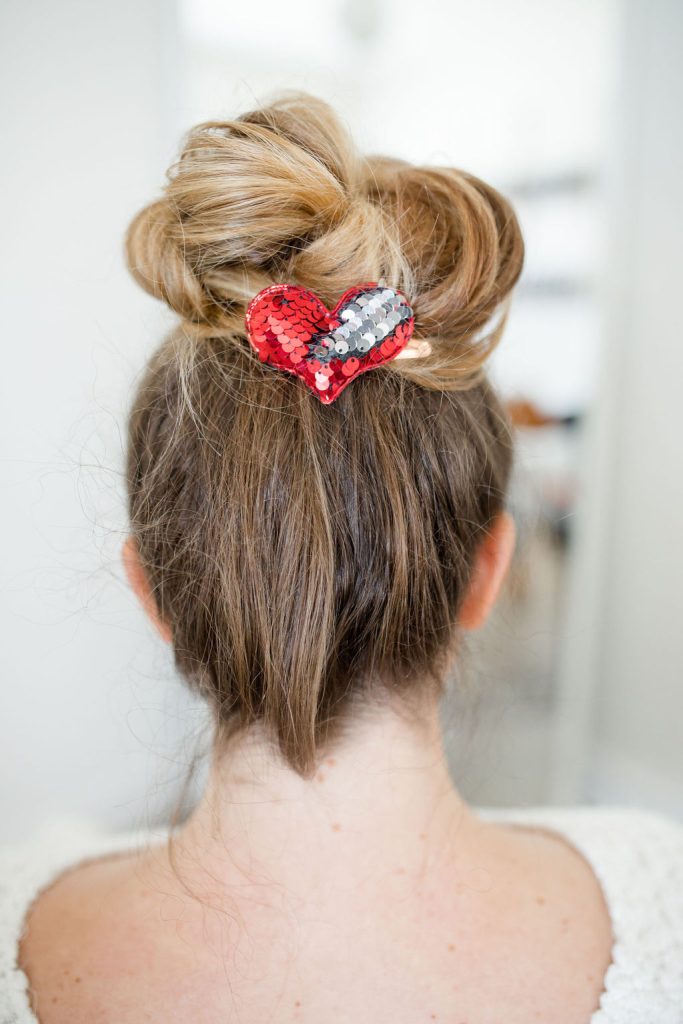
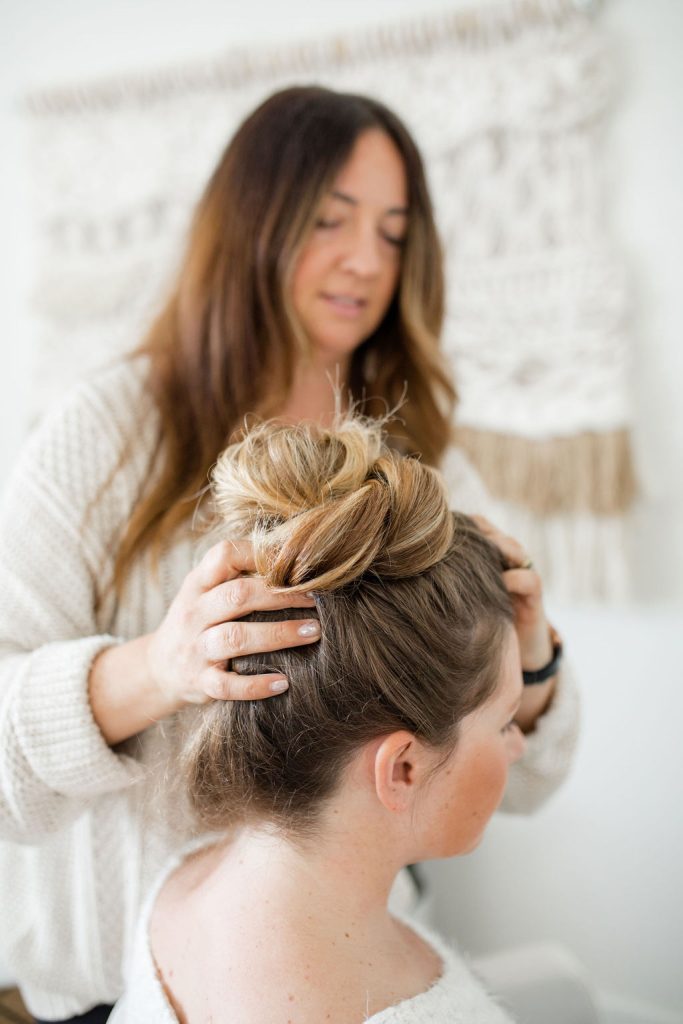
B U N
S T Y L E
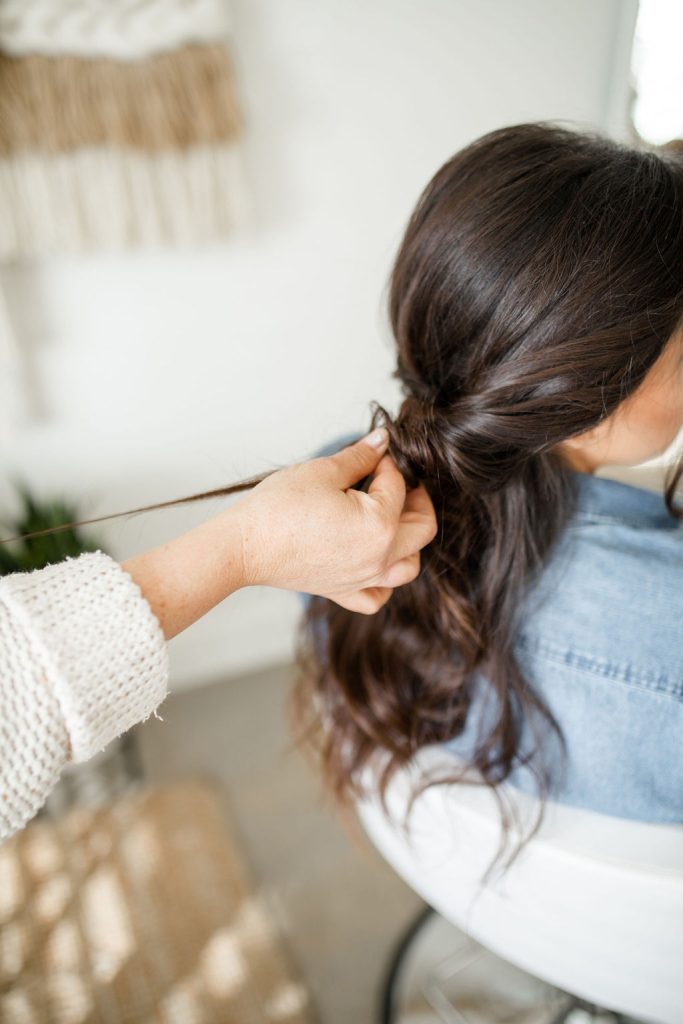
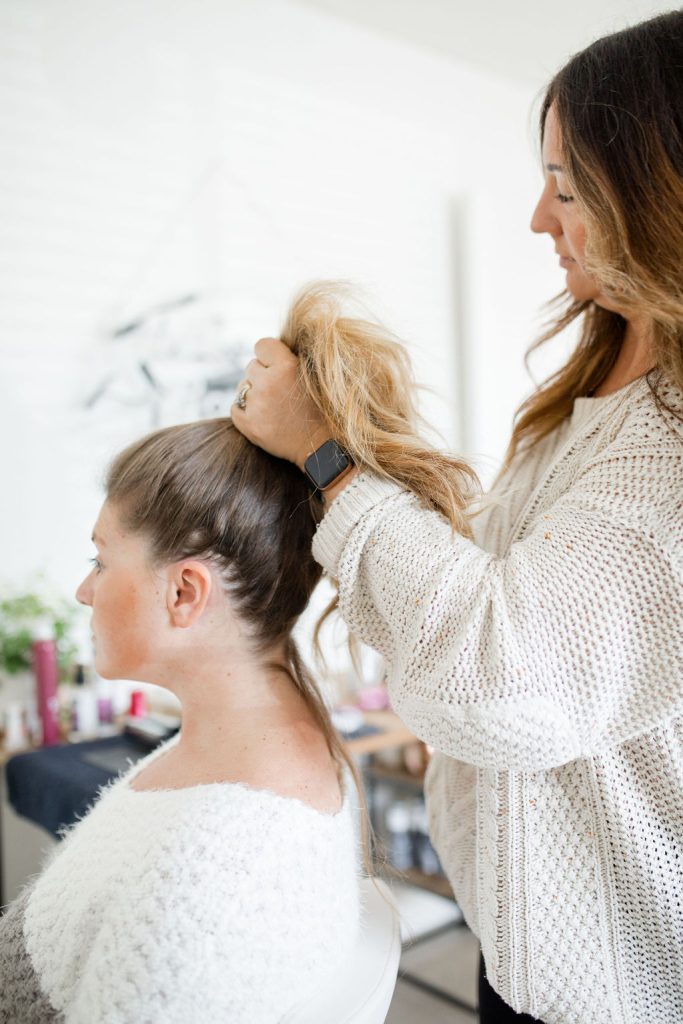
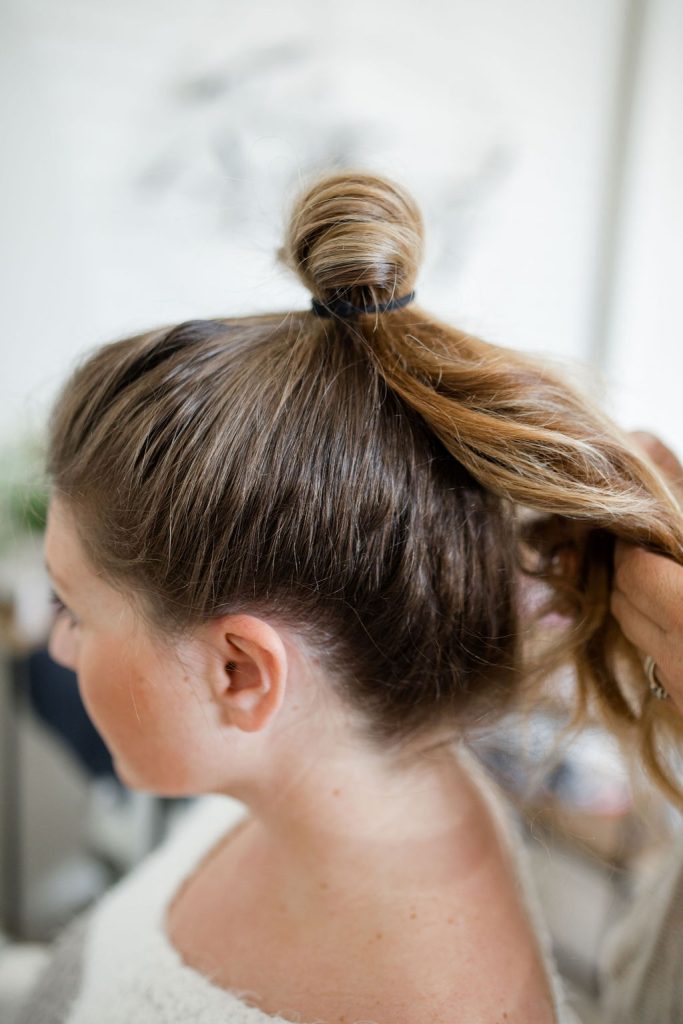
Add in some texture to the hair using a hot tool, don’t worry too much about the shape of your curls. Secure your ponytail using an elastic band, remembering that the placement of your ponytail will dictate where the center of your bun will be- aka how high your bun will be.
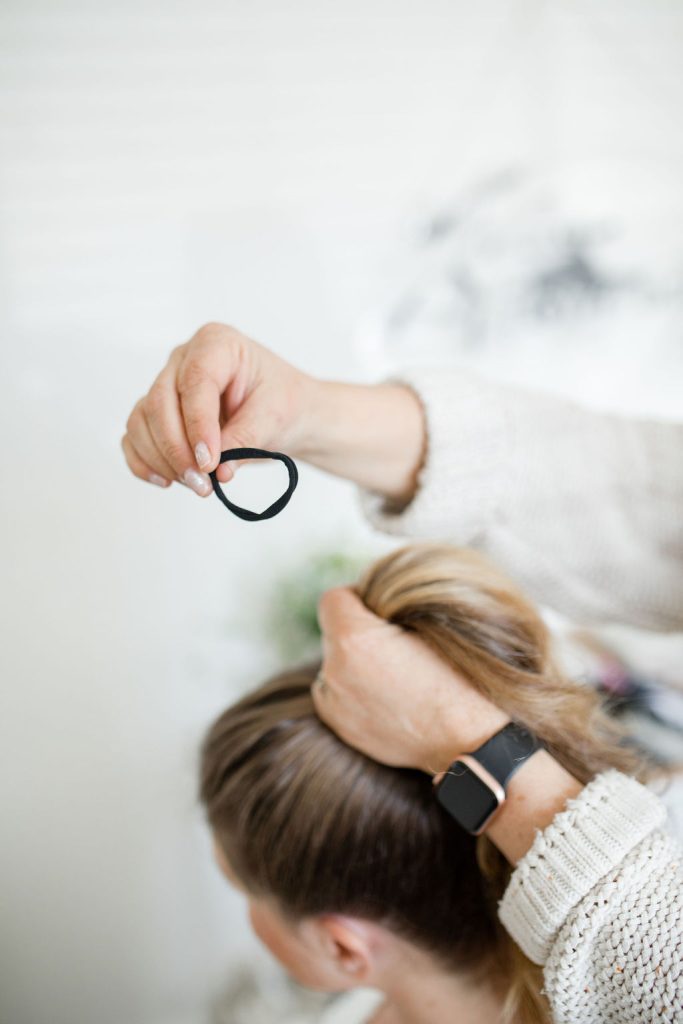
BEFORE you pull the hair through your last loop through the rubber-band, leave the hair only partially pulled through. This helps to create a nice and even bun with a full center. You can also use this technique as a way to create volume and fullness in your every day top-knot/ messy buns, or even space buns.

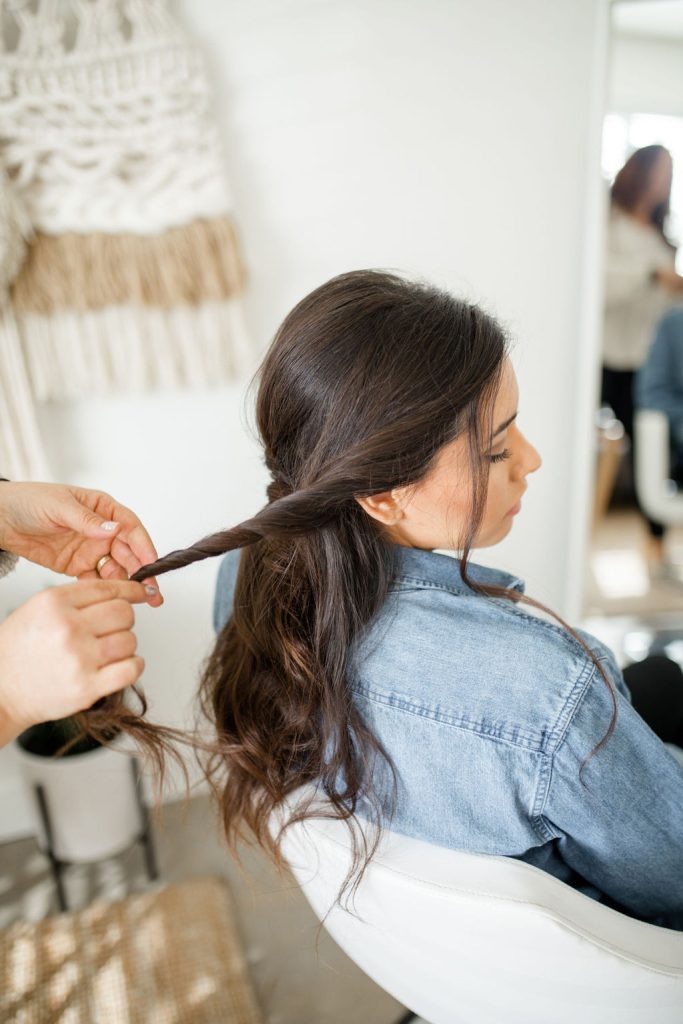
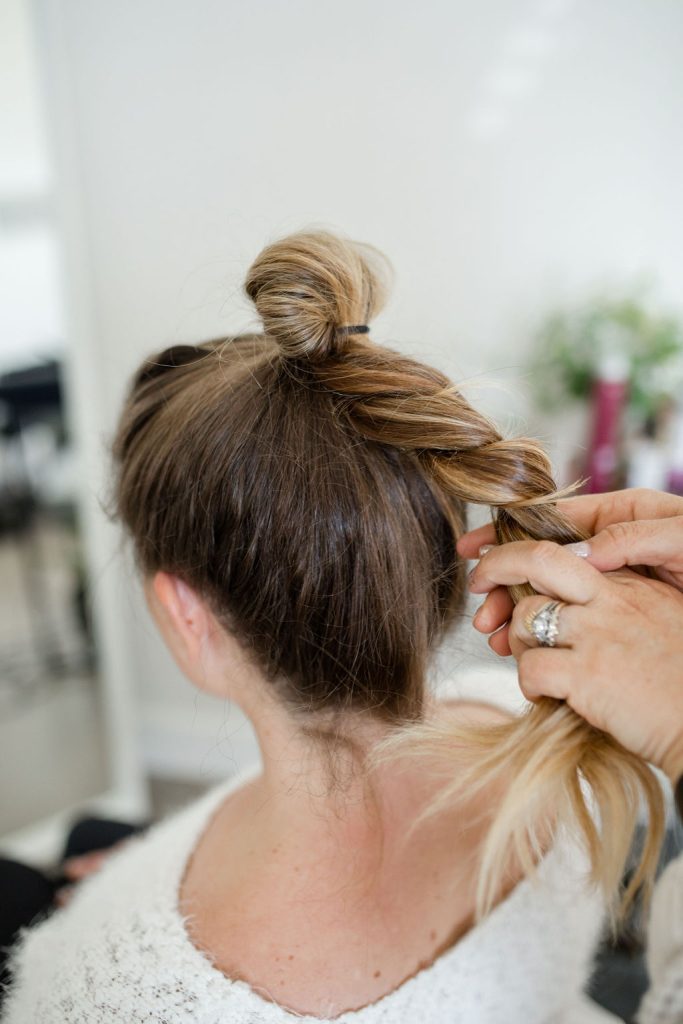
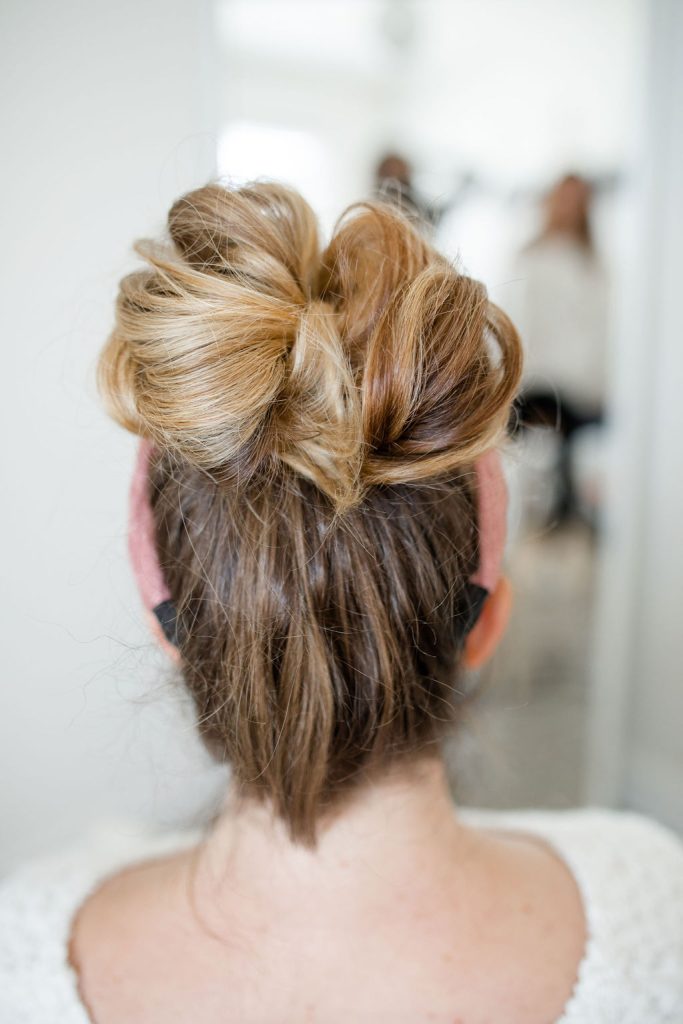
With the hair that is looped, you can use your thumb and forefinger to pinch and pull the hair to add a little texture. Take the hair that is not looped through (the tail of the hair) and separate into two sections and create a rope braid (one section overlapping the other section, continuing till its twisted) continue through the ends of the hair.
*You can secure the end with an elastic hairband for more control before beginning the next step. Wrap the roped hair around the base of your looped hair and secure with bobby pins.
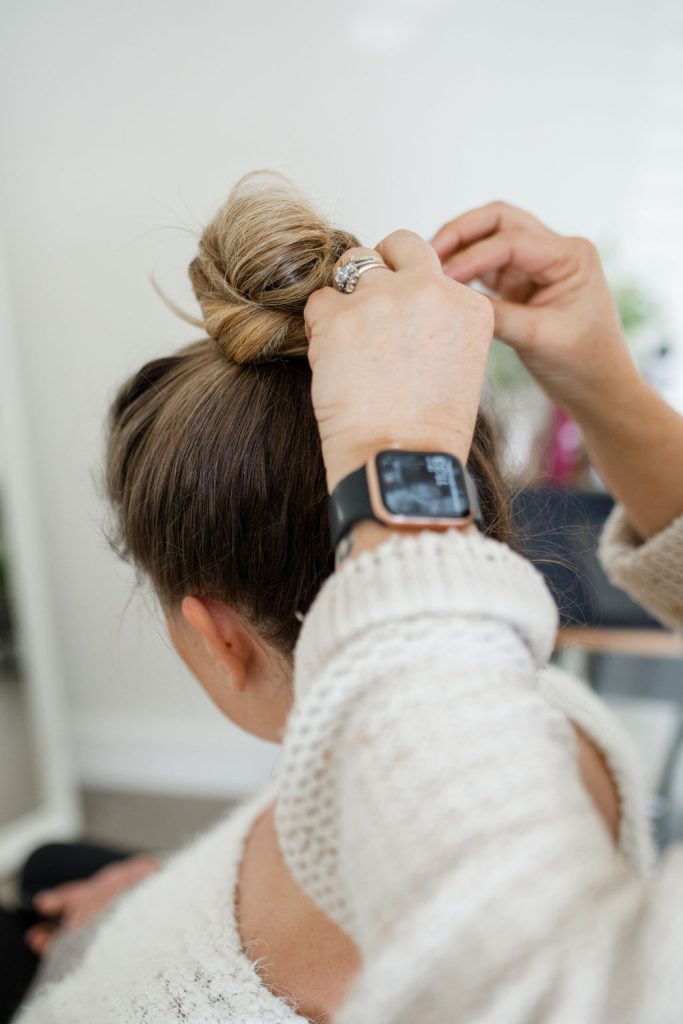
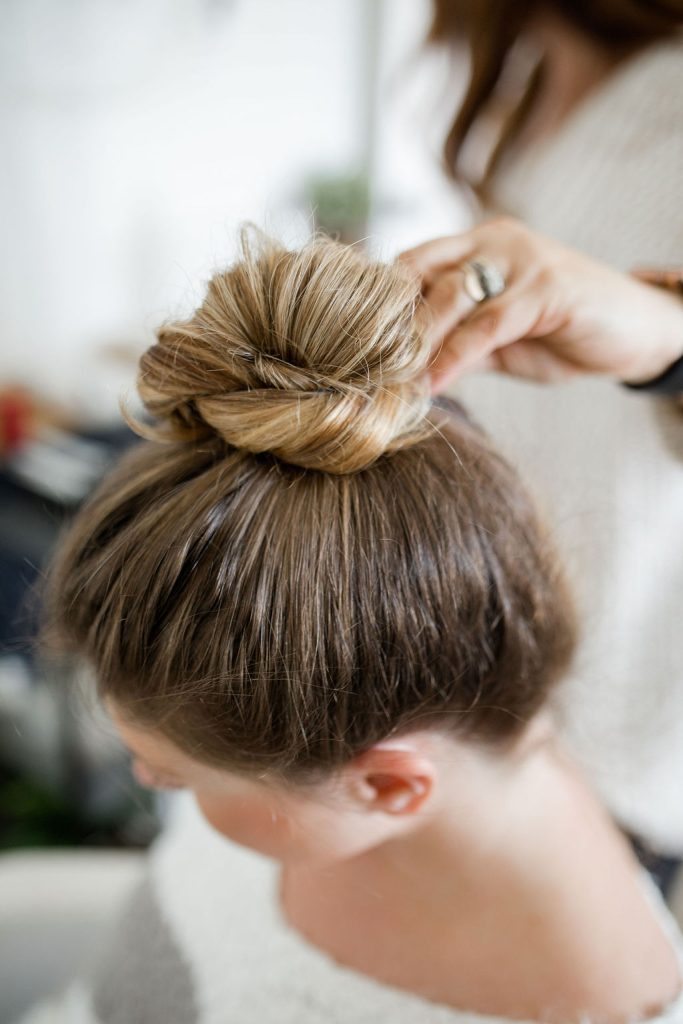
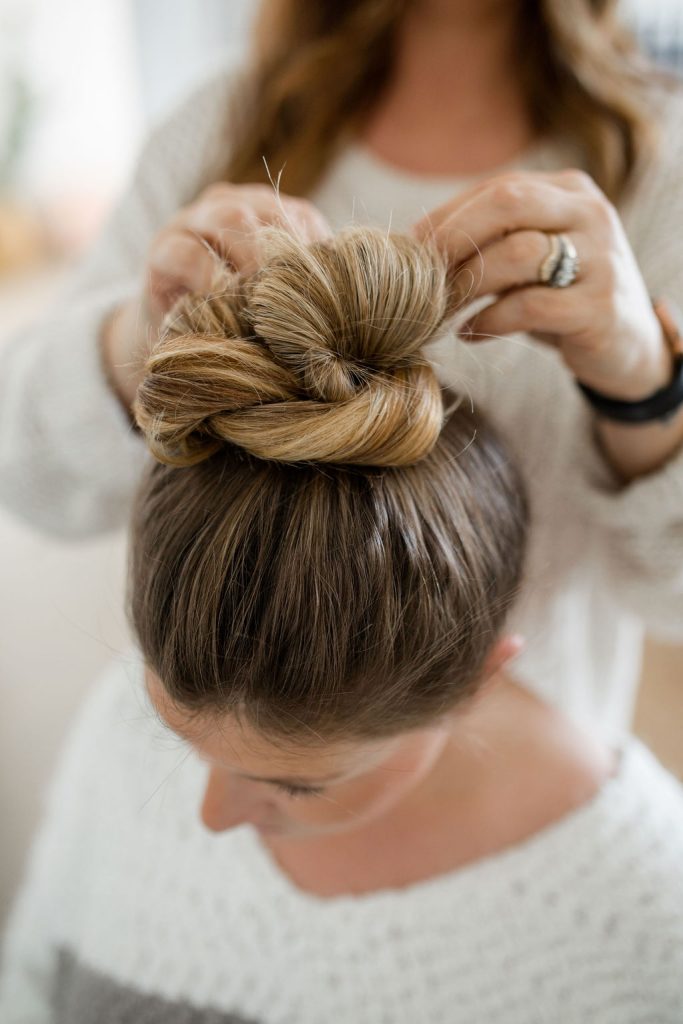
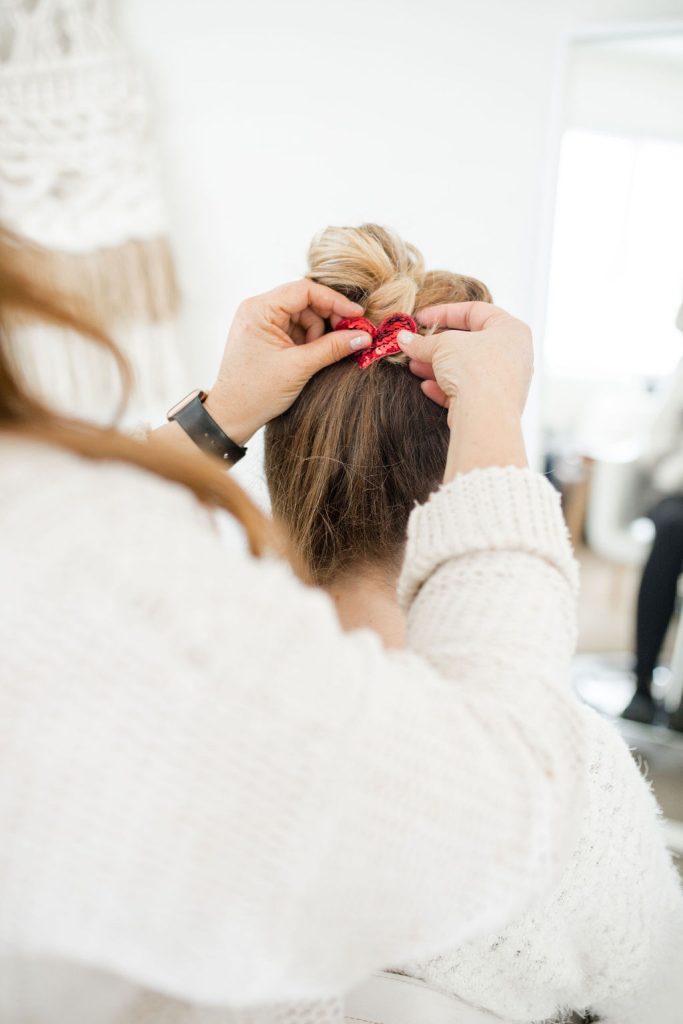
Gently go through and pinch and pull the hair to make a larger more full bun, taking each section of roped and wrapped hair one step and a time. You can continue to secure with pins as you work.

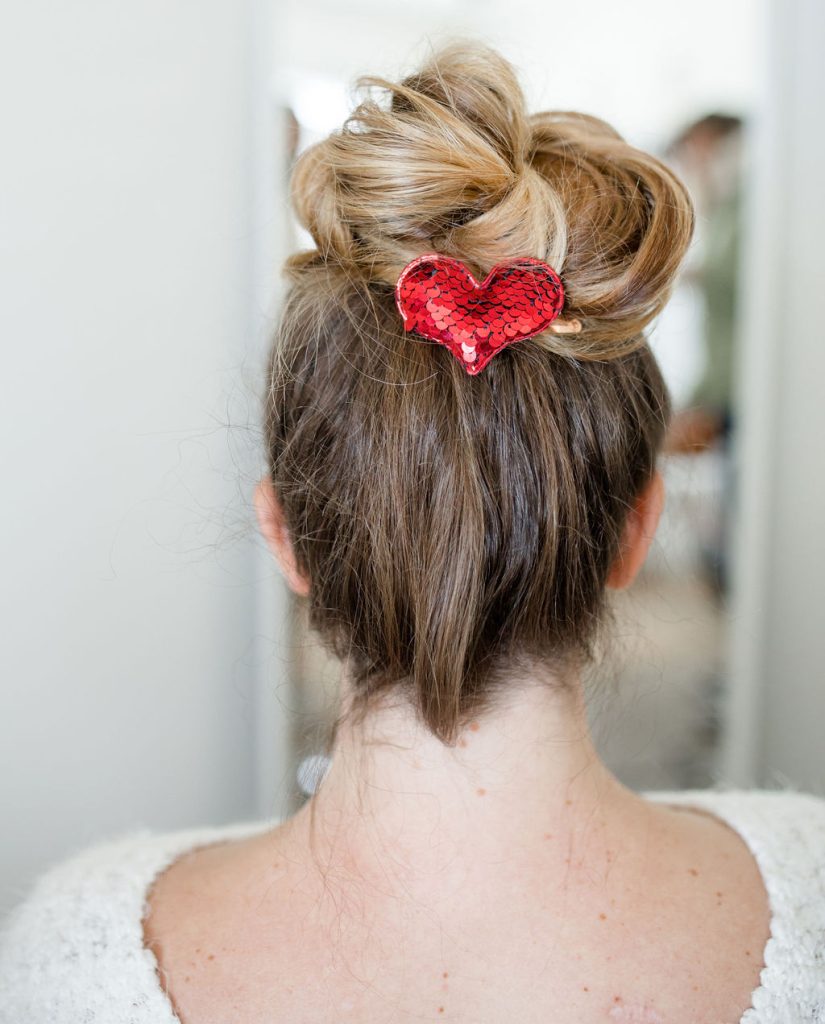
Secure your cute little heart clip, or accessory of your choice, to the back of your bun for a little added sass. You can also place the accessory in the front of the bun off-centered.
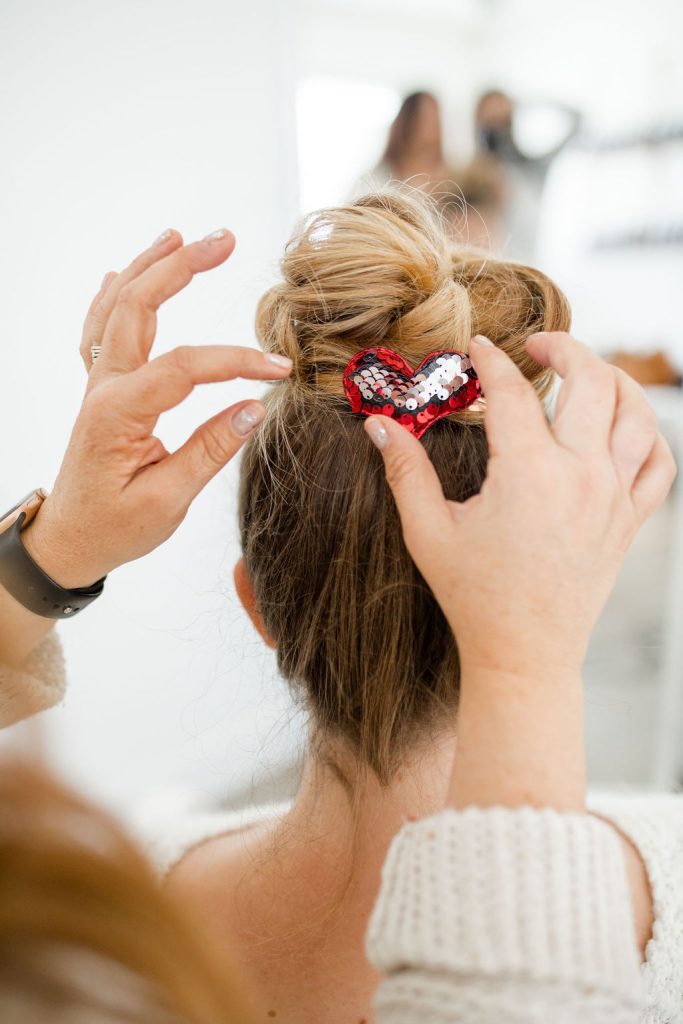
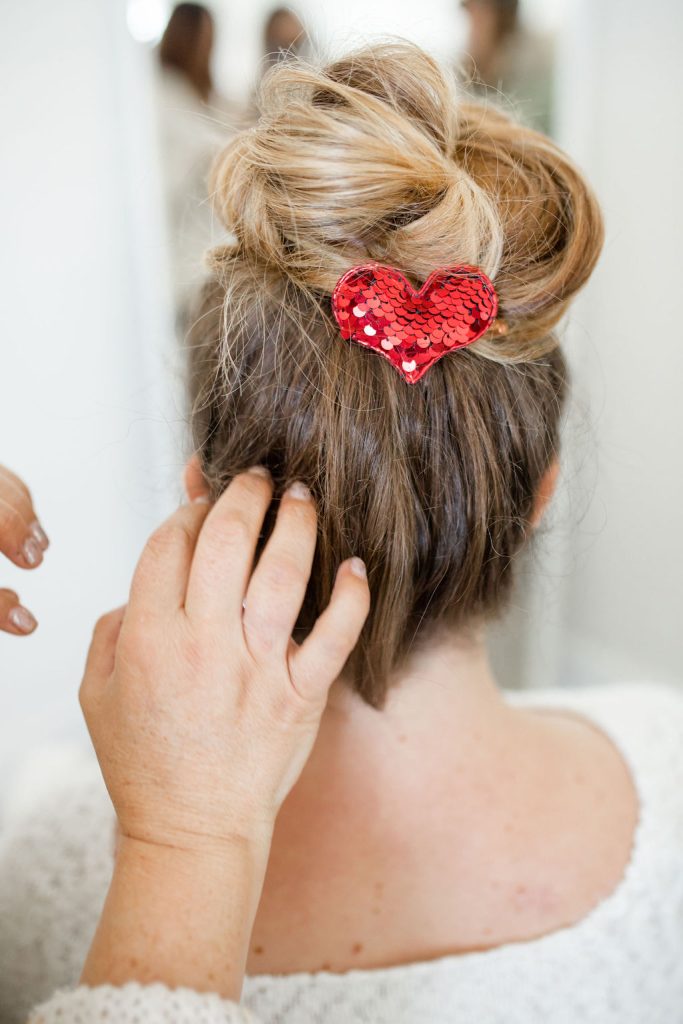
For a more undone and textured look give yourself a little scalp massage, or pinch and pull/tug the hair around the perimeter of the hair to build texture and a little intentional mess.
Spray with a finishing spray
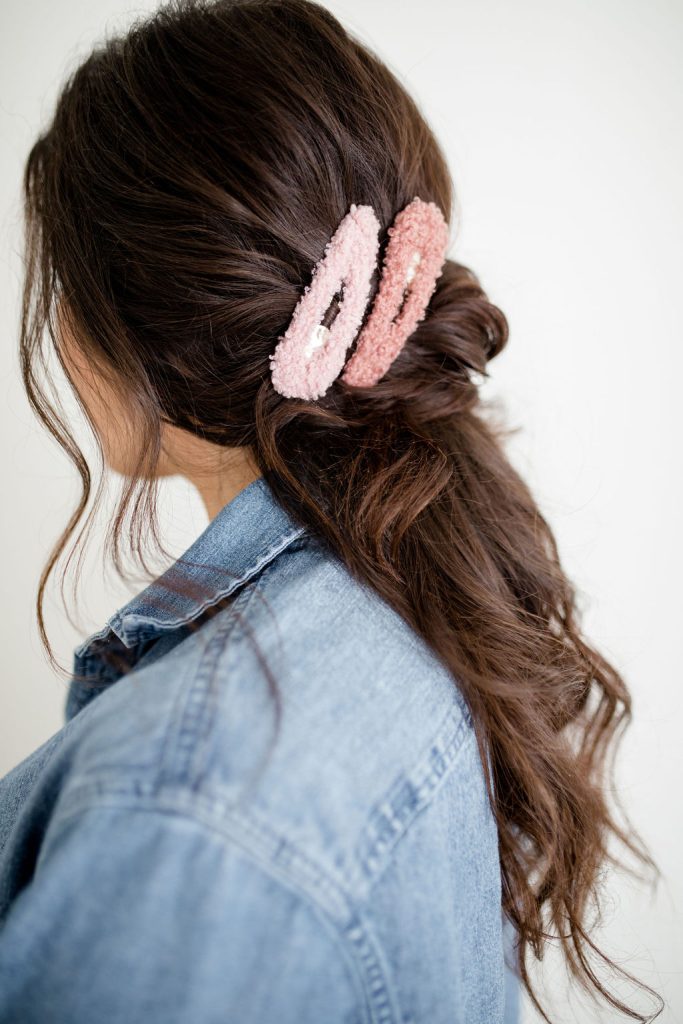
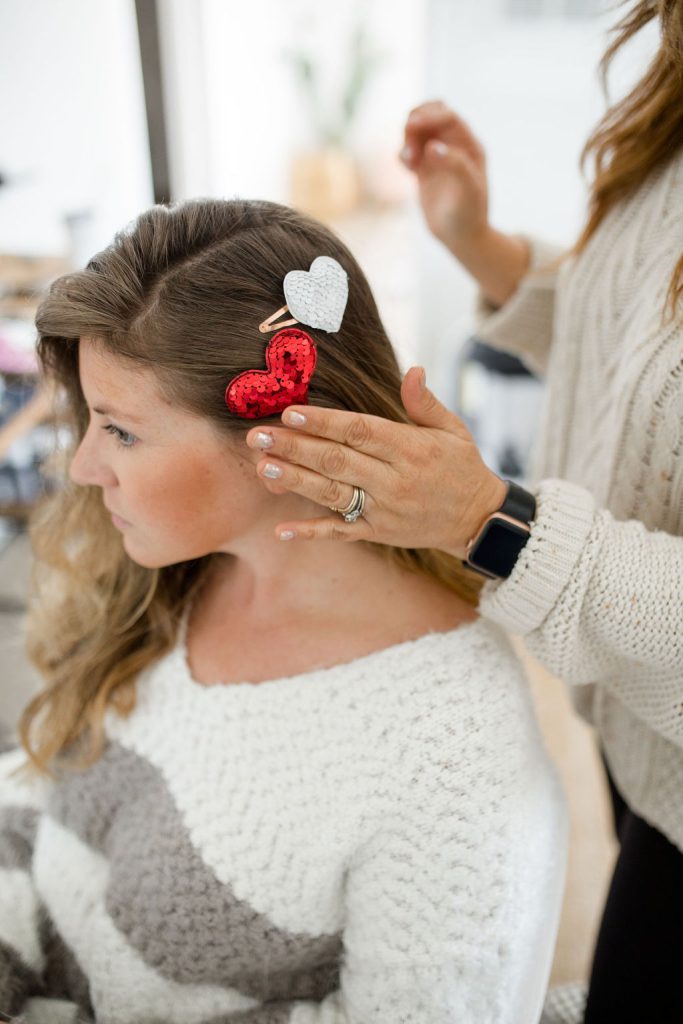
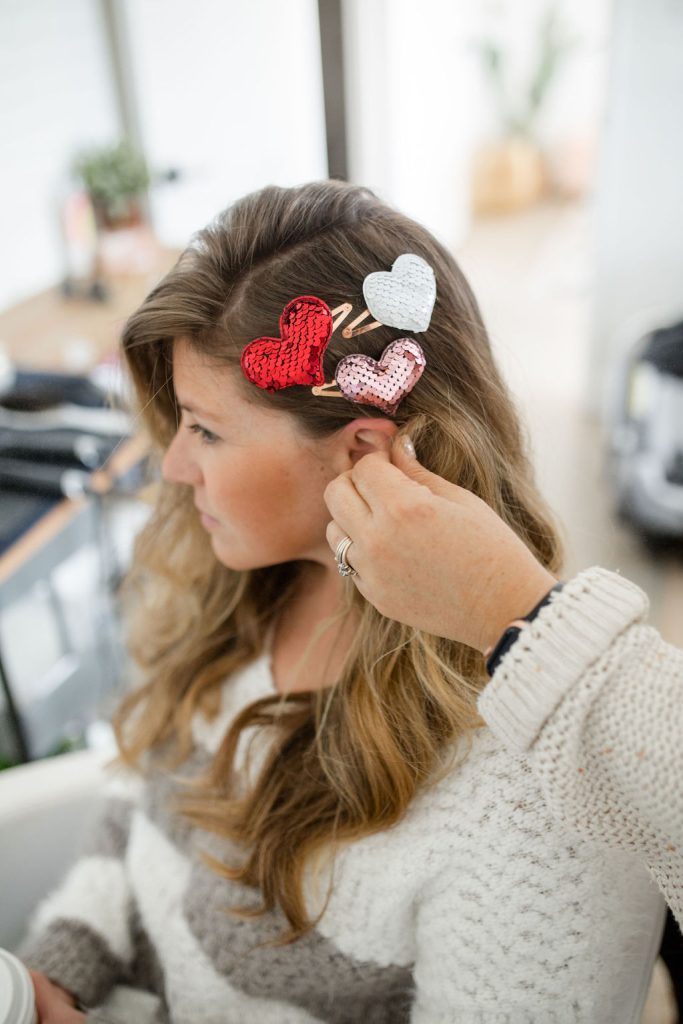
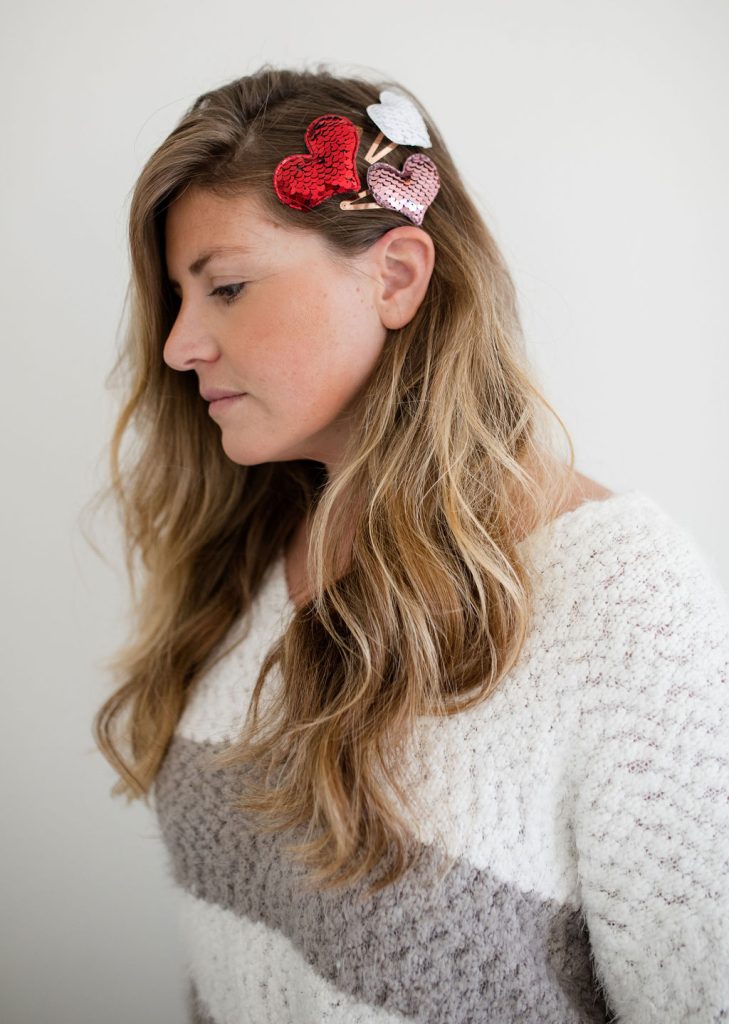
H E A R T C L I P S
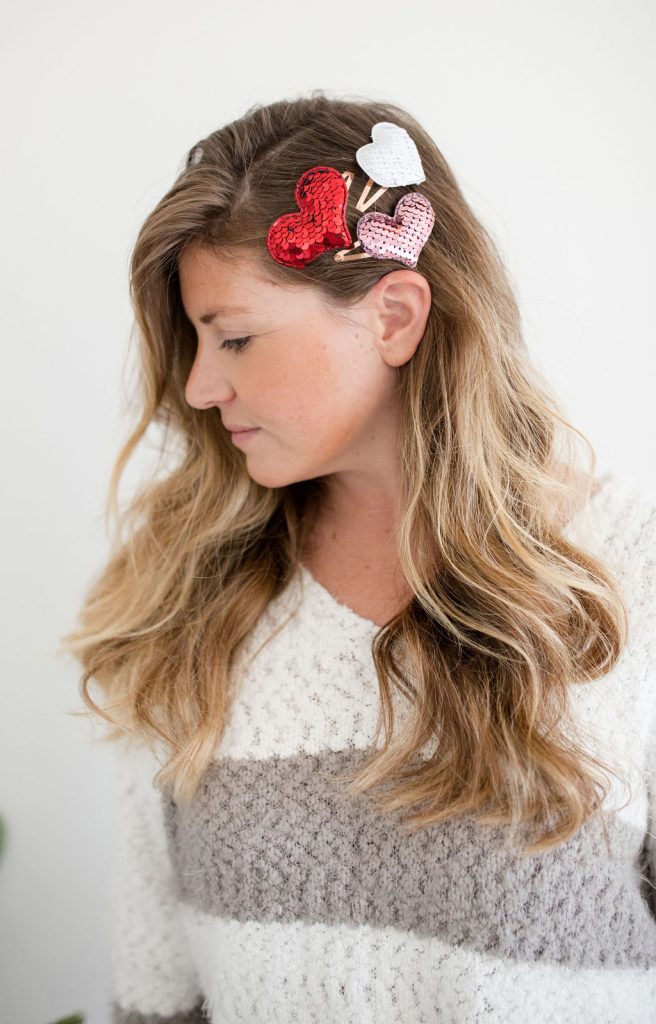
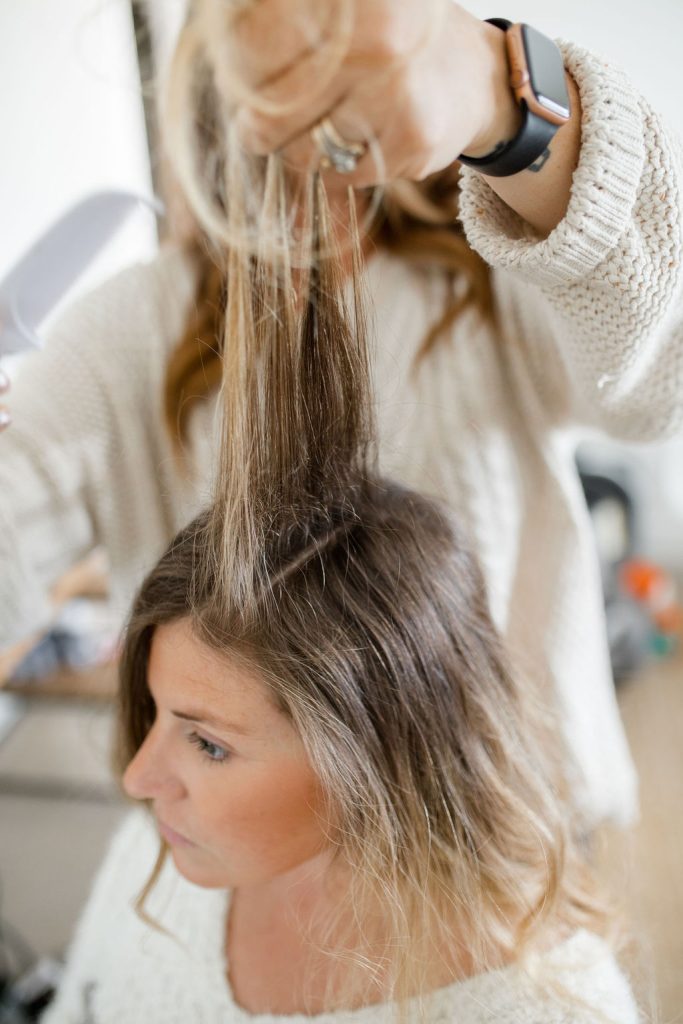
Prep the hair using a hot tool and create the curl type you like best. You could do a more traditional curl type and keep the look sleek (omitting the backcomb step below) and classy, or a beach wave curl type and have more of an undone and sassy look!
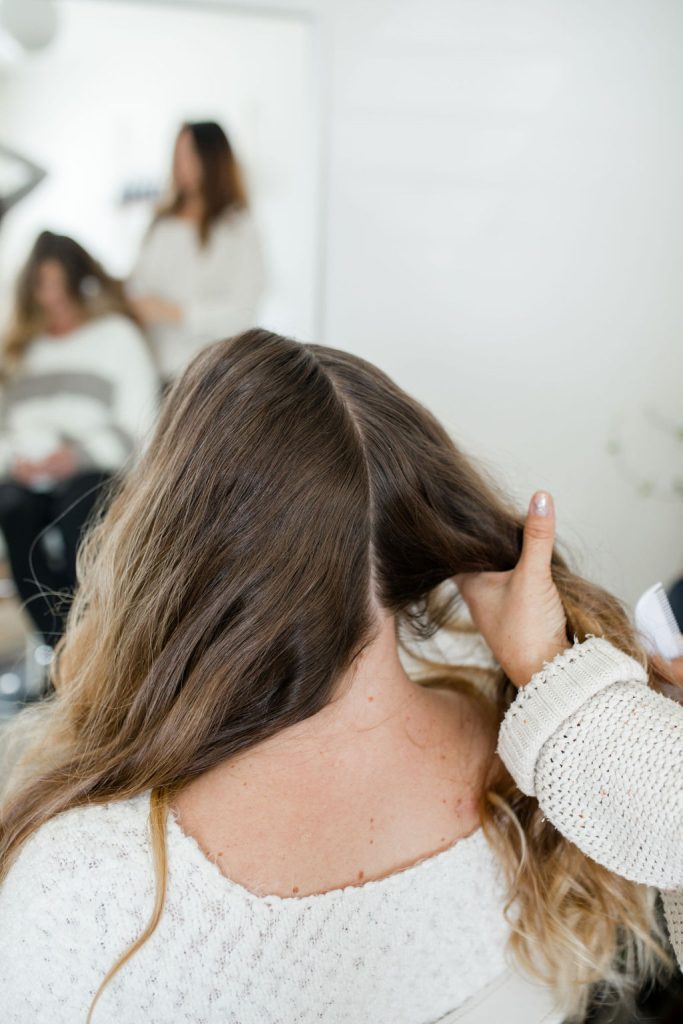
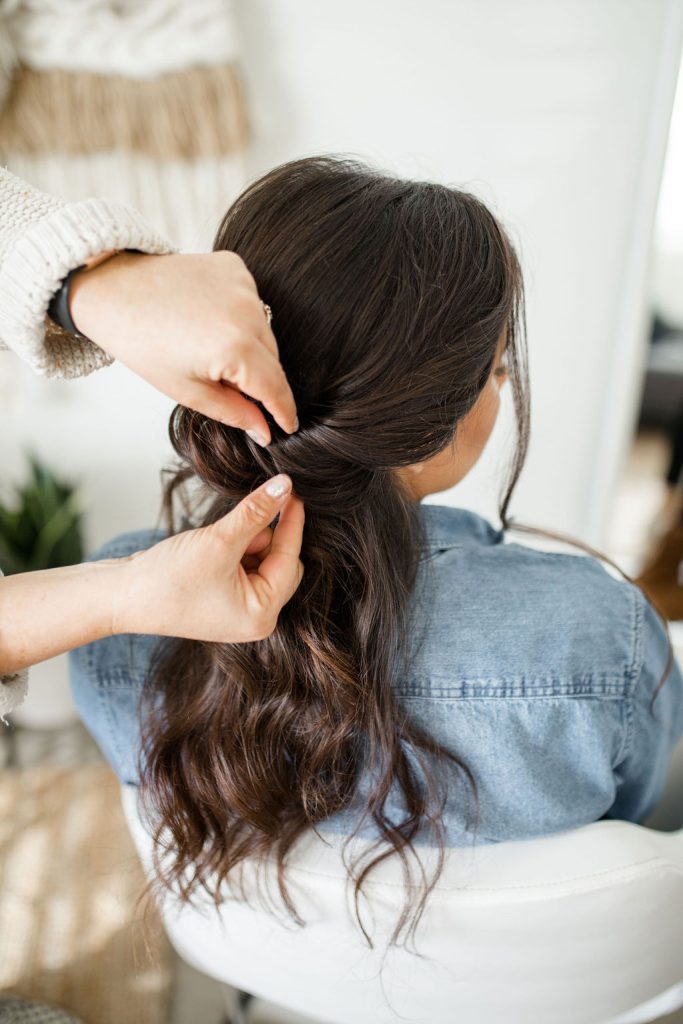
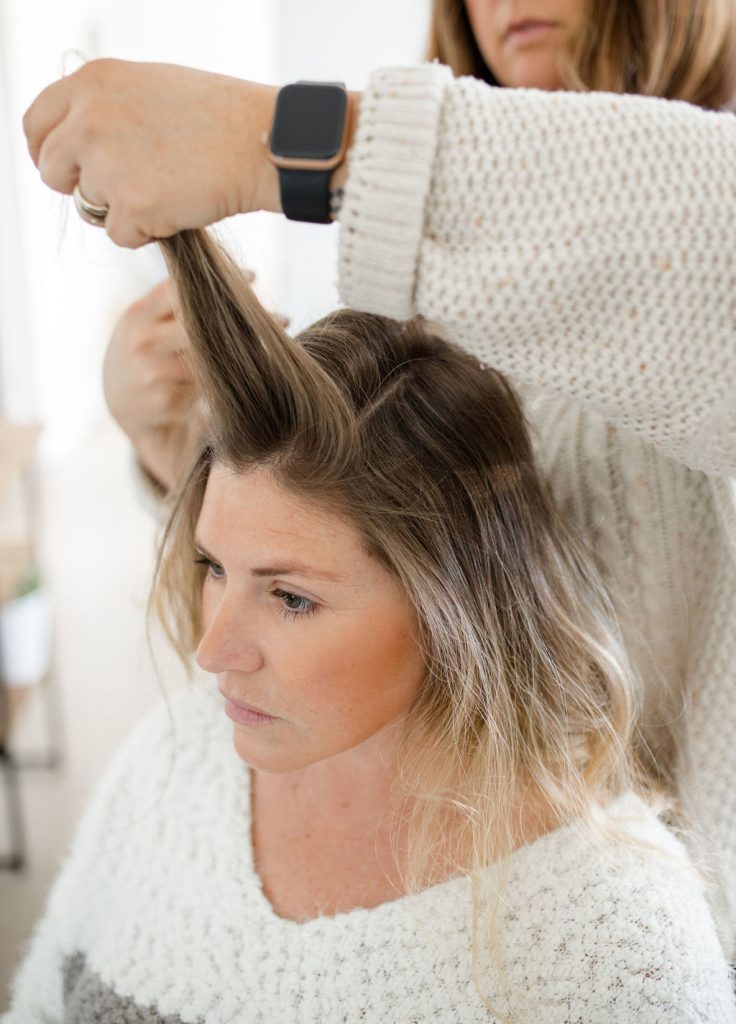
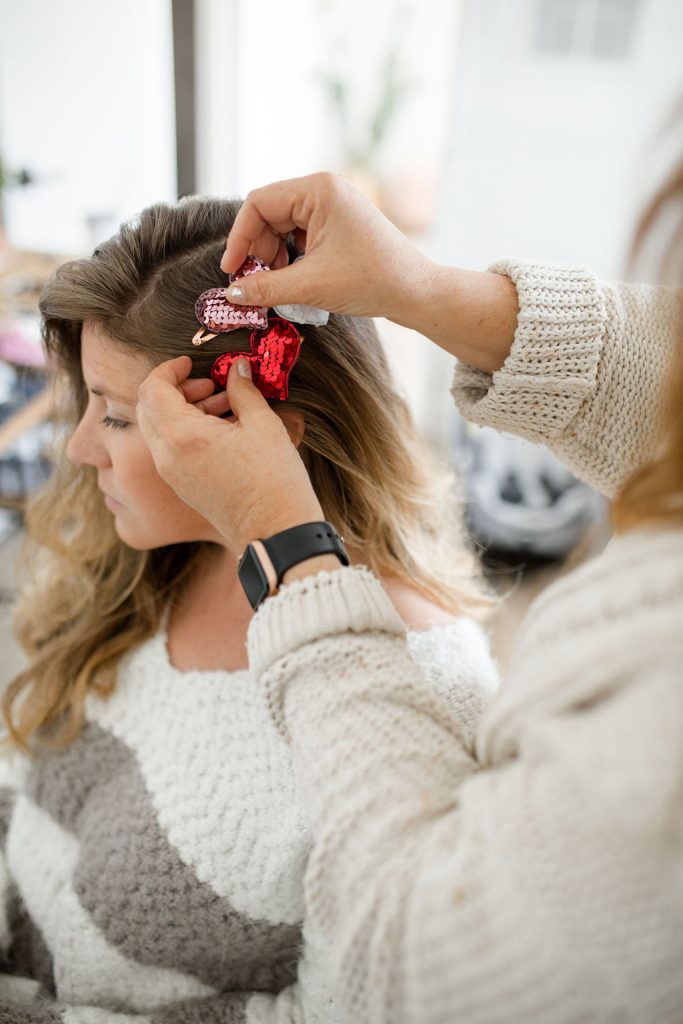
Using a backcomb, taking vertical sections, create volume backcombing the underneath of each section starting at the center part at the top of the head. Flip each section over in one direction until you have reached your desired “dramatic part”. For this look, if you typically part in one direction try going the opposite way for more lift and volume.
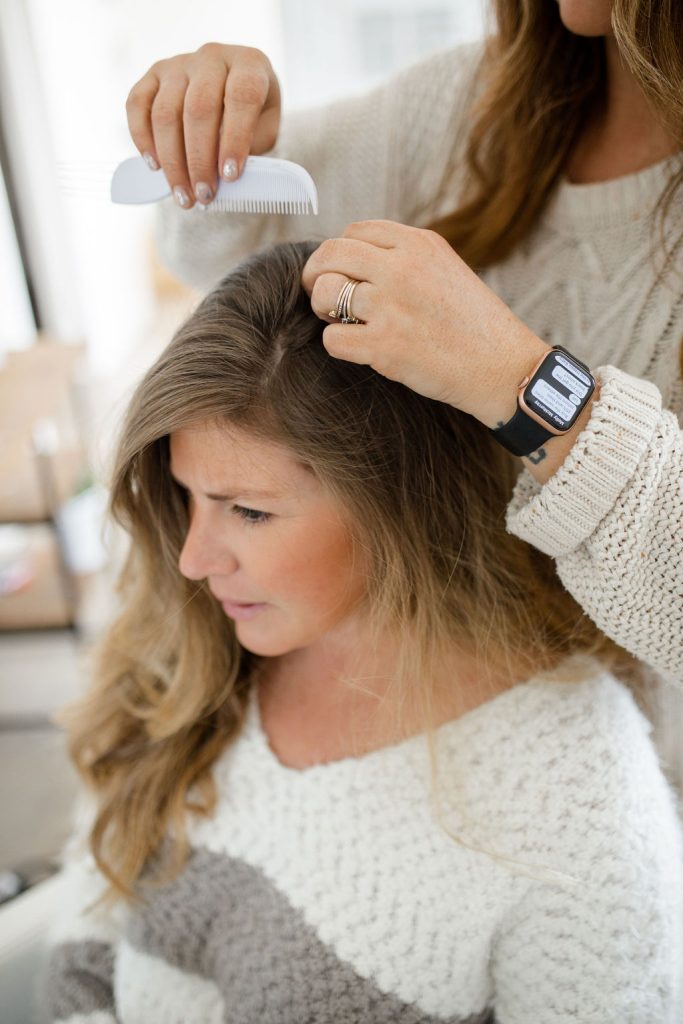
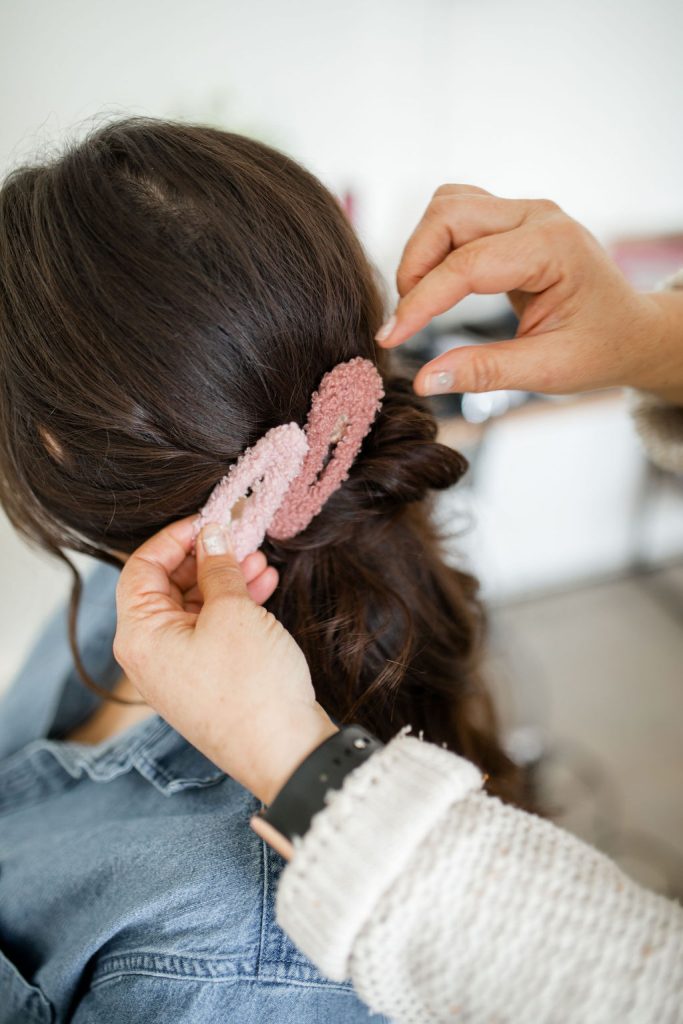
Comb the section of hair that is below your part line, and smooth the hair back. Secure your accessories in a uniformed position OR for more sass place them in a more sporadic formation.
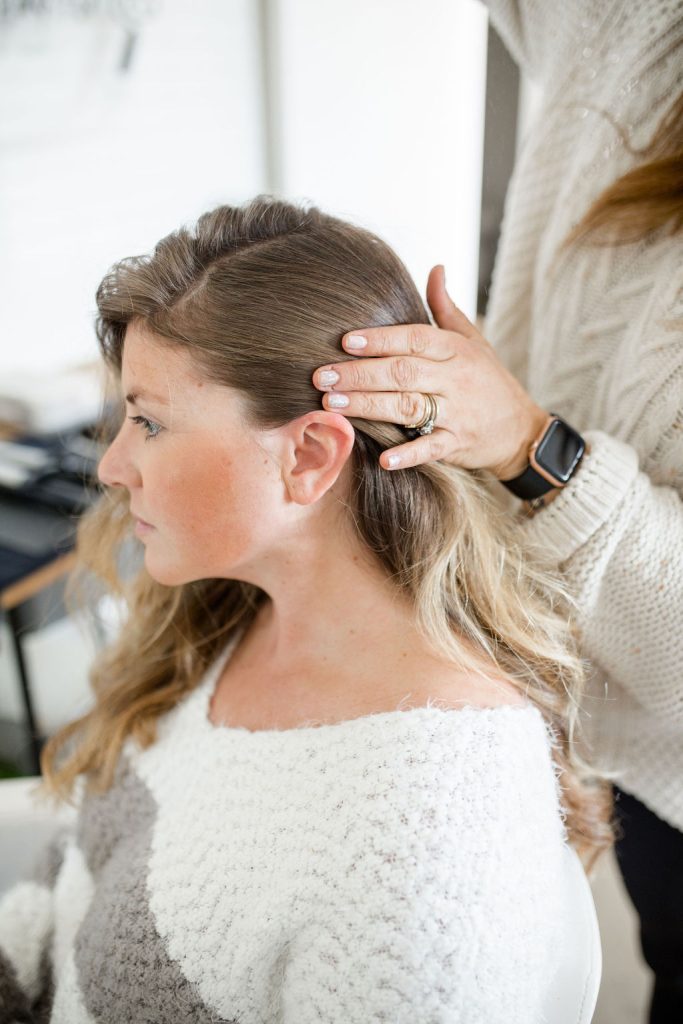

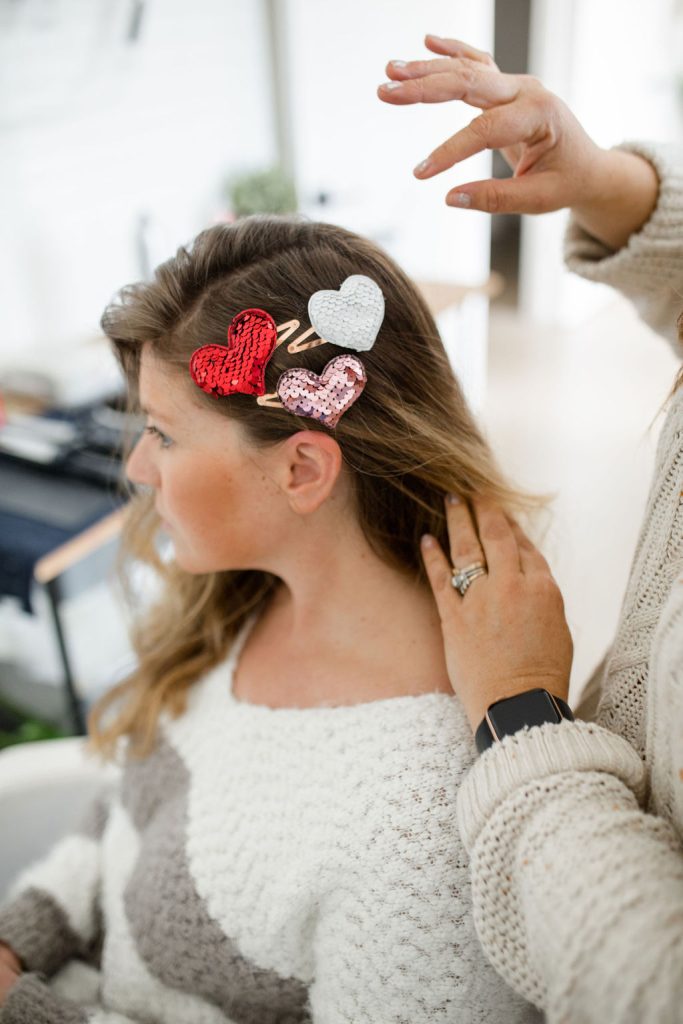
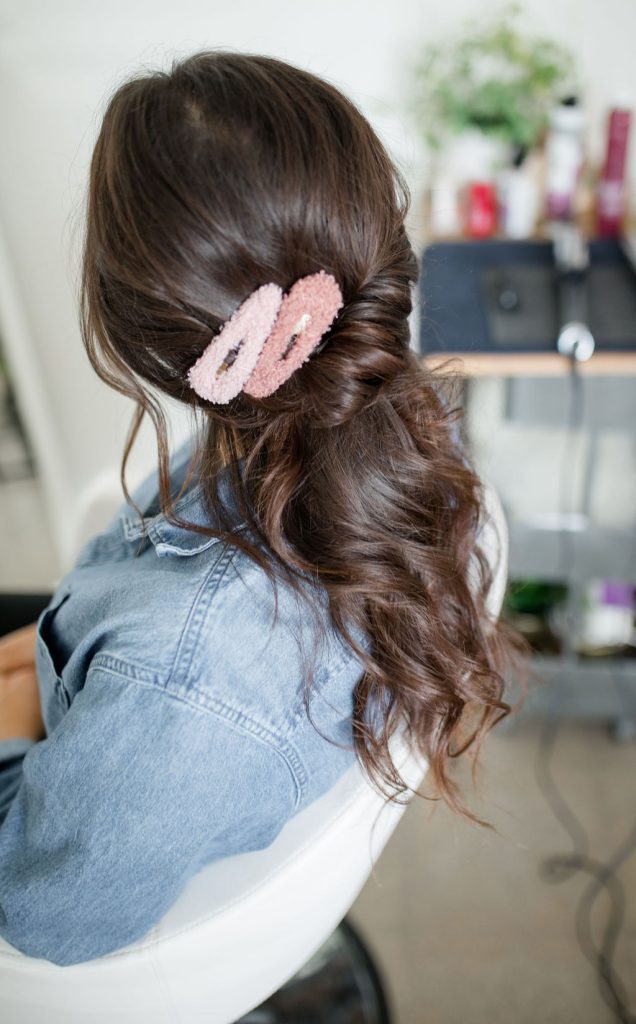
Using the backcomb, go through out the curls and gently comb from the ends upward, create a fuller, more undone and texturized look. You can use your fingers to help break up the backcomb and some of the curls.
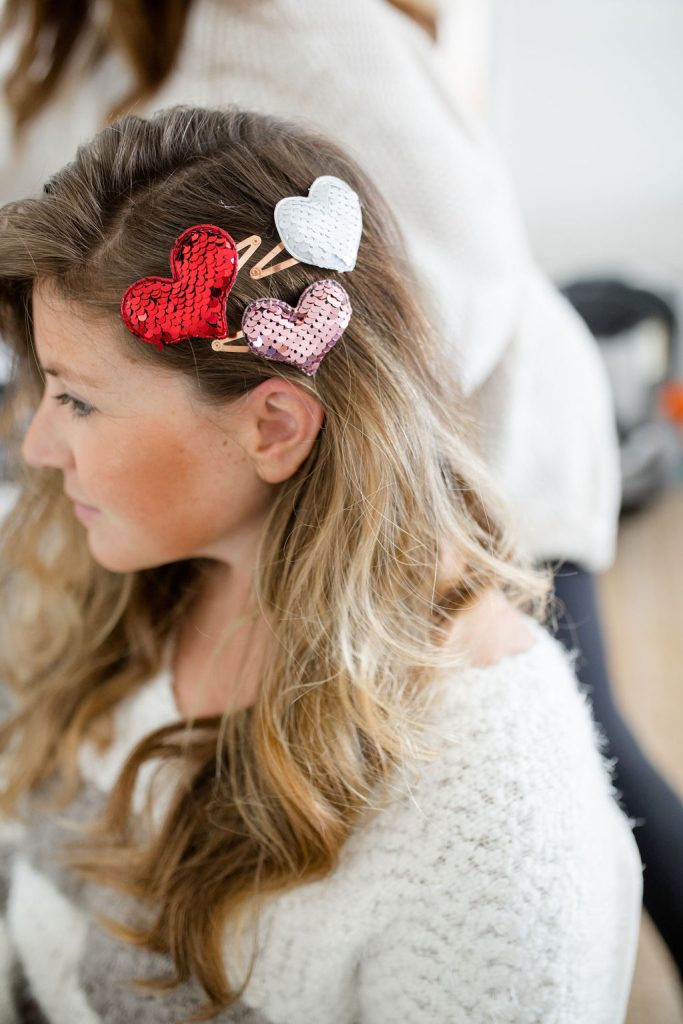
Spray with a finishing spray
Now go glam yourself up for a fun night out!!! Be an even bigger babe than you already are ;)
xx
Jacquelyn