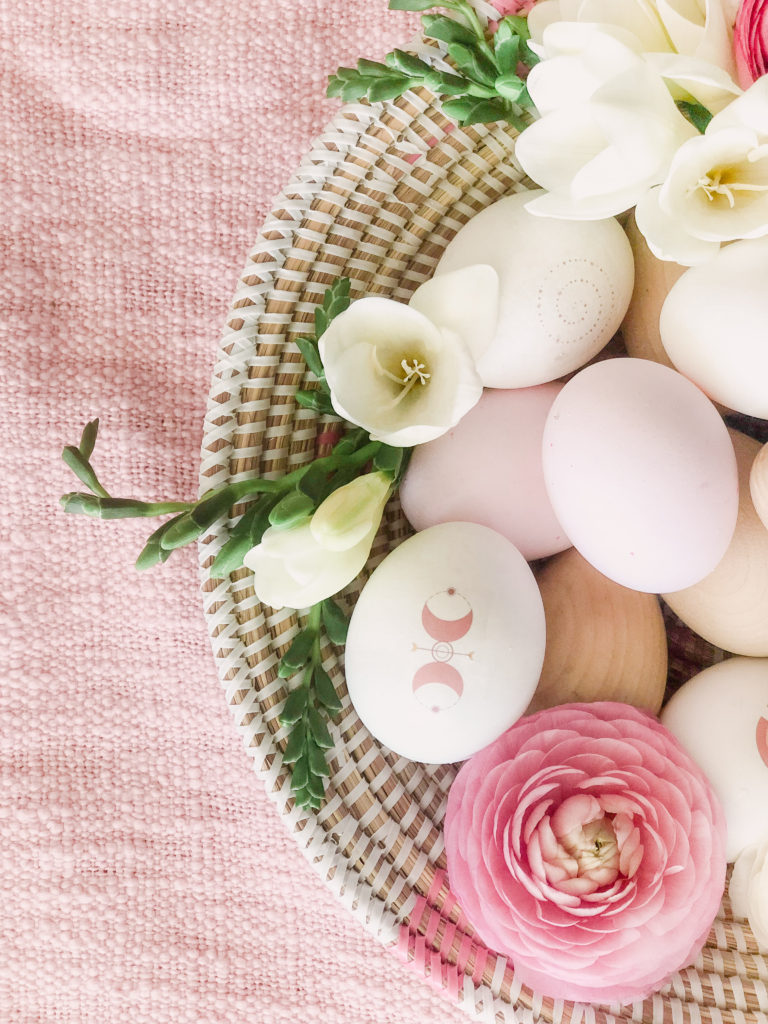
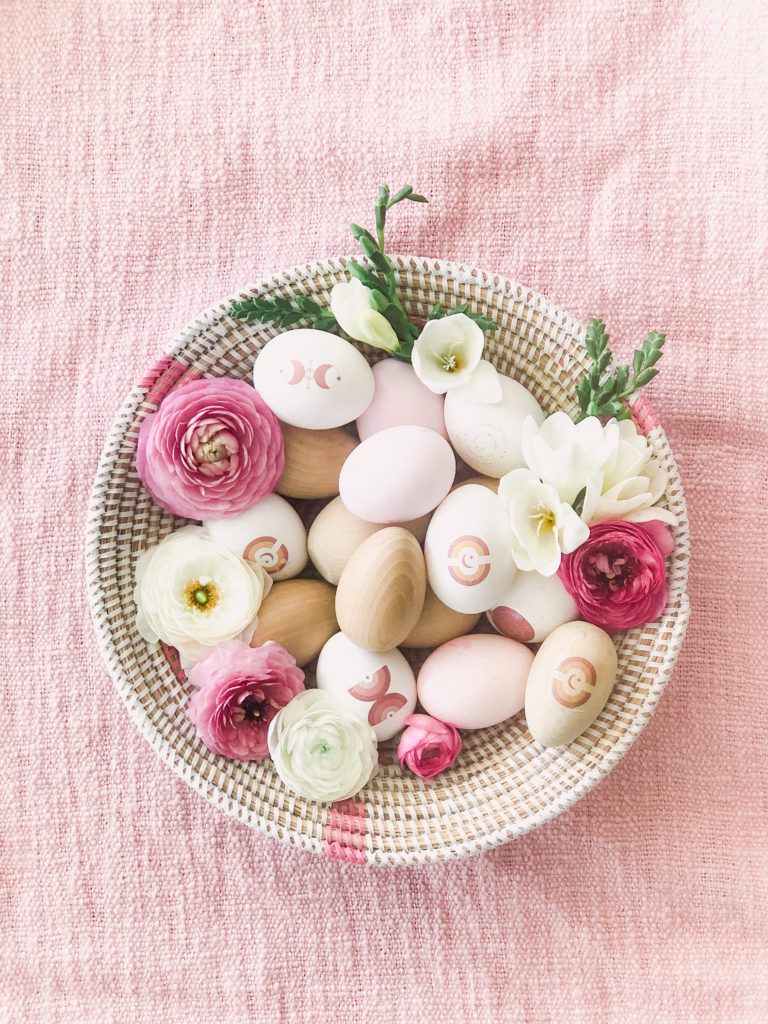
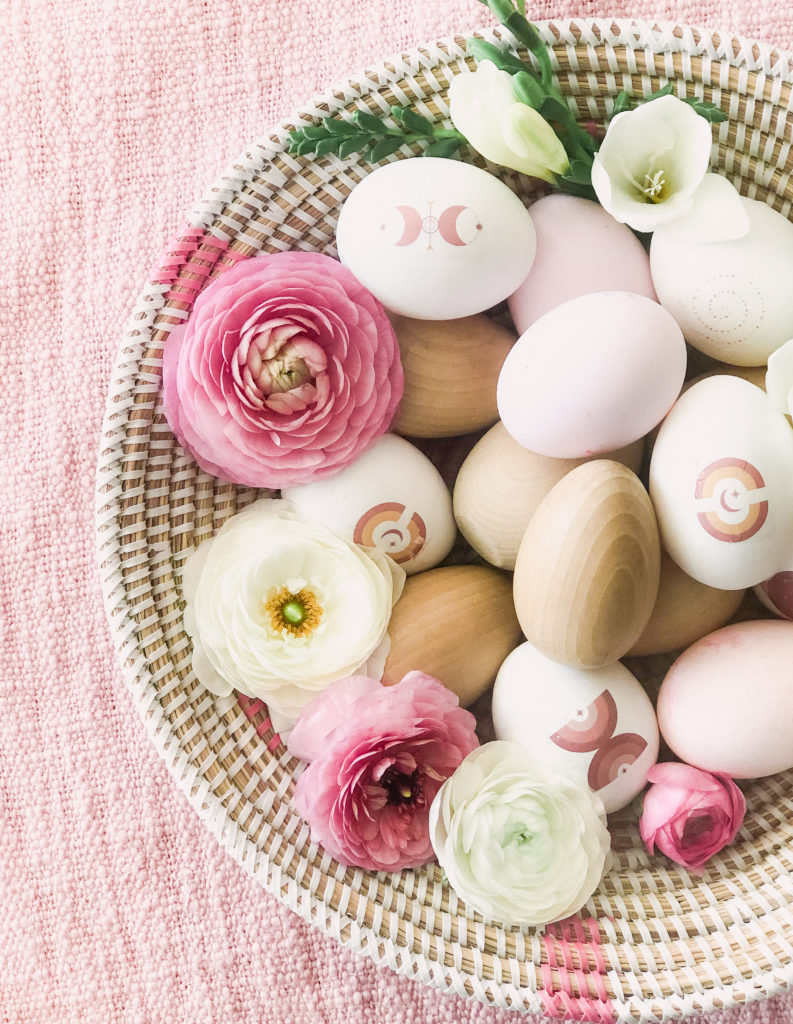
Yay, one of my favorite holiday crafts, decorating Easter eggs! I have been doing this for all you guys for oh gosh, I think we are on year 5. You can scroll down to see the past years. I saw a fun way to put tattoos on eggs a couple of years back. It was actually one of the Easter egg crafts I did, a few years back. See it here! So I wanted to try it again, and make my own tattoos. This time I enlisted the creative and insanely talented Lindsey from Bare Ink Co. to help me with the images. I wanted to do a star and moon vintage vibe with colors of pinks and mustards. These vibe and colors are so up her alley, so I knew she would kill it, and she did!
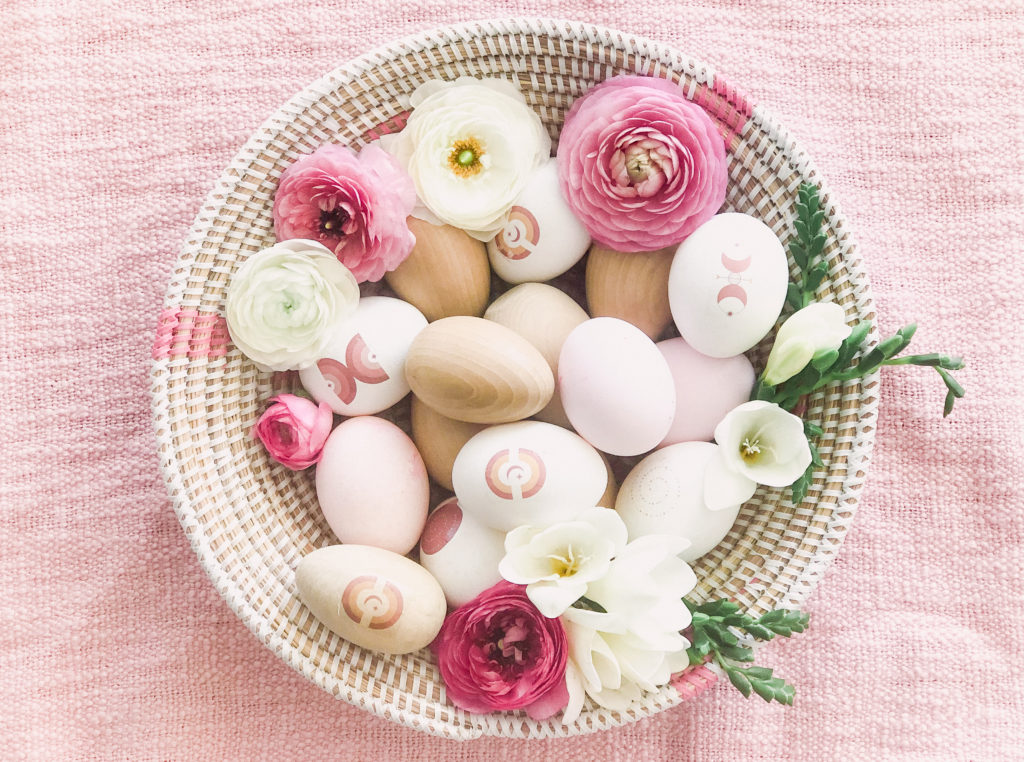
STARS + MOONS TATTOO EASTER EGGS
S U P P L I E S
Silhouette Tattoo Paper (1 pack- 2 sheets)
Desired Images
Printer
Sponge
Eggs (boiled)
This couldn’t be more simple guys! And you can totally do this as a last minute activity! Pick out some images you like online. Print them out on the tattoo paper. Here is how. Grab your tattoo paper! There are 2 white sheets, which you print on. The green sheets you use after you print, they are the adhesive. You need to print on the glossy side of the paper. Test on some good old fashion computer paper, and make sure it comes printed out on the correct side.
Once you’ve printed your images, let the ink dry for a couple of minutes.
Grab an adhesive sheet and start to peel away the green part on top, exposing the plastic backed adhesive. Place the adhesive sticky side down onto your printed sheet. Use something like a credit card to smooth the adhesive sheet down on the tattoo paper. Do this a couple of times to get all the air bubbles out. Then, use scissors to cut around each tattoo. You know the drill here! Peel the plastic backing off one of the tattoos. Place the tattoo face down on an egg. Get the tattoo damp with a sponge, and gently press down on the tattoo. Be careful, since the eggs are fragile. After about 20 seconds, carefully remove the white paper to reveal the fun and pretty tattoo!

BEIJOS EASTER EGG ARCHIVES
Pretty Little Eggs
Easter Egg Decorating + Styling
How to Make All-Natural Easter Eggs
Floral Wreath Crowned Easter Eggs DIY
xx
Abby